 Save
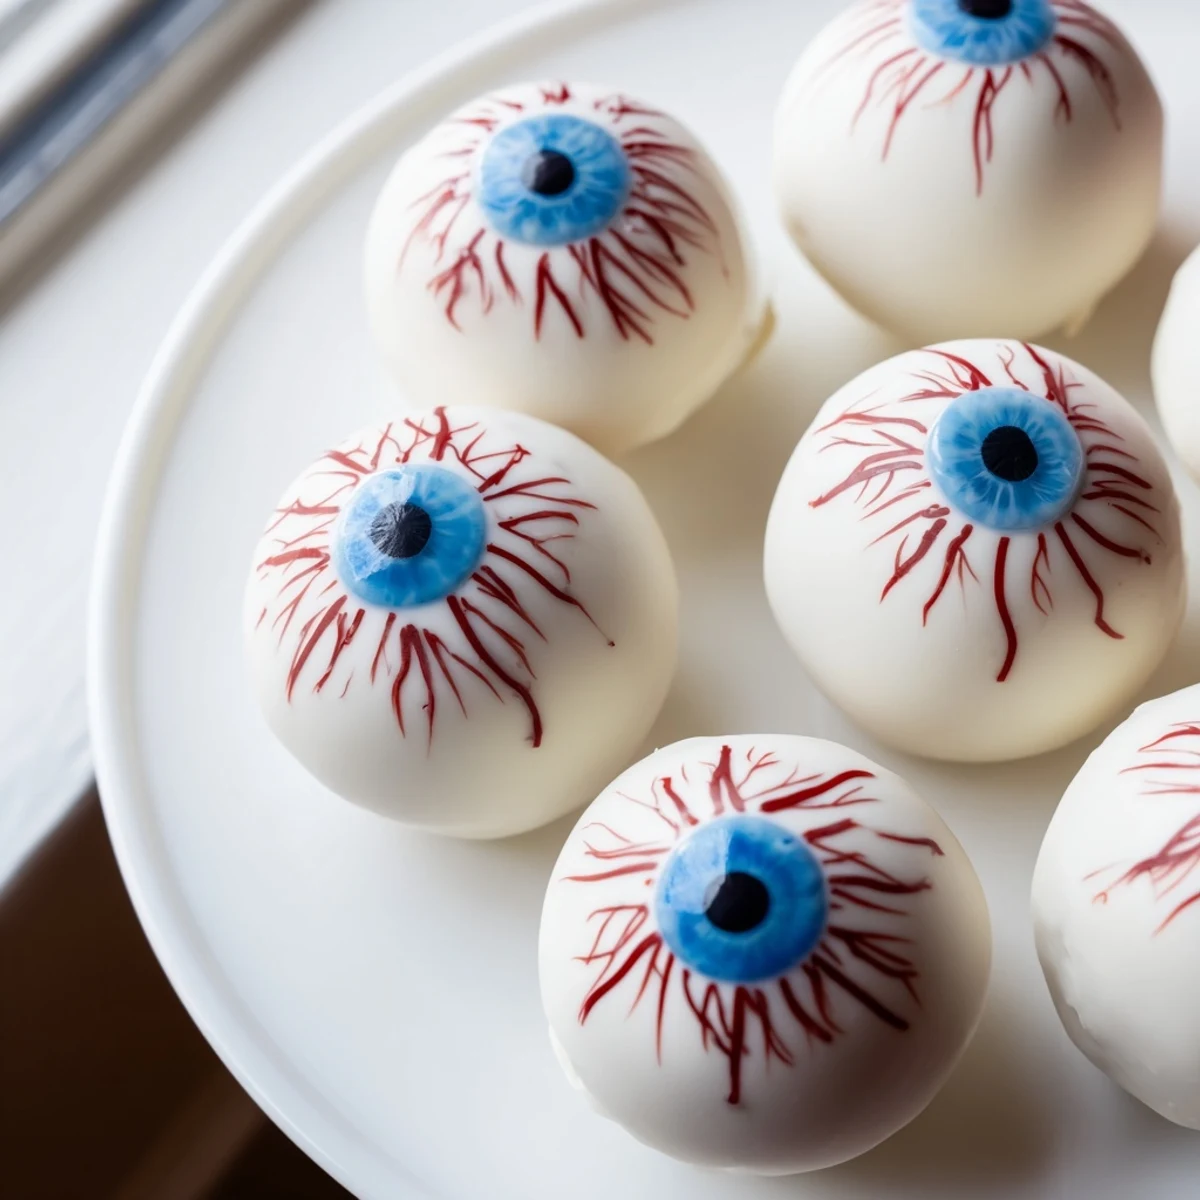
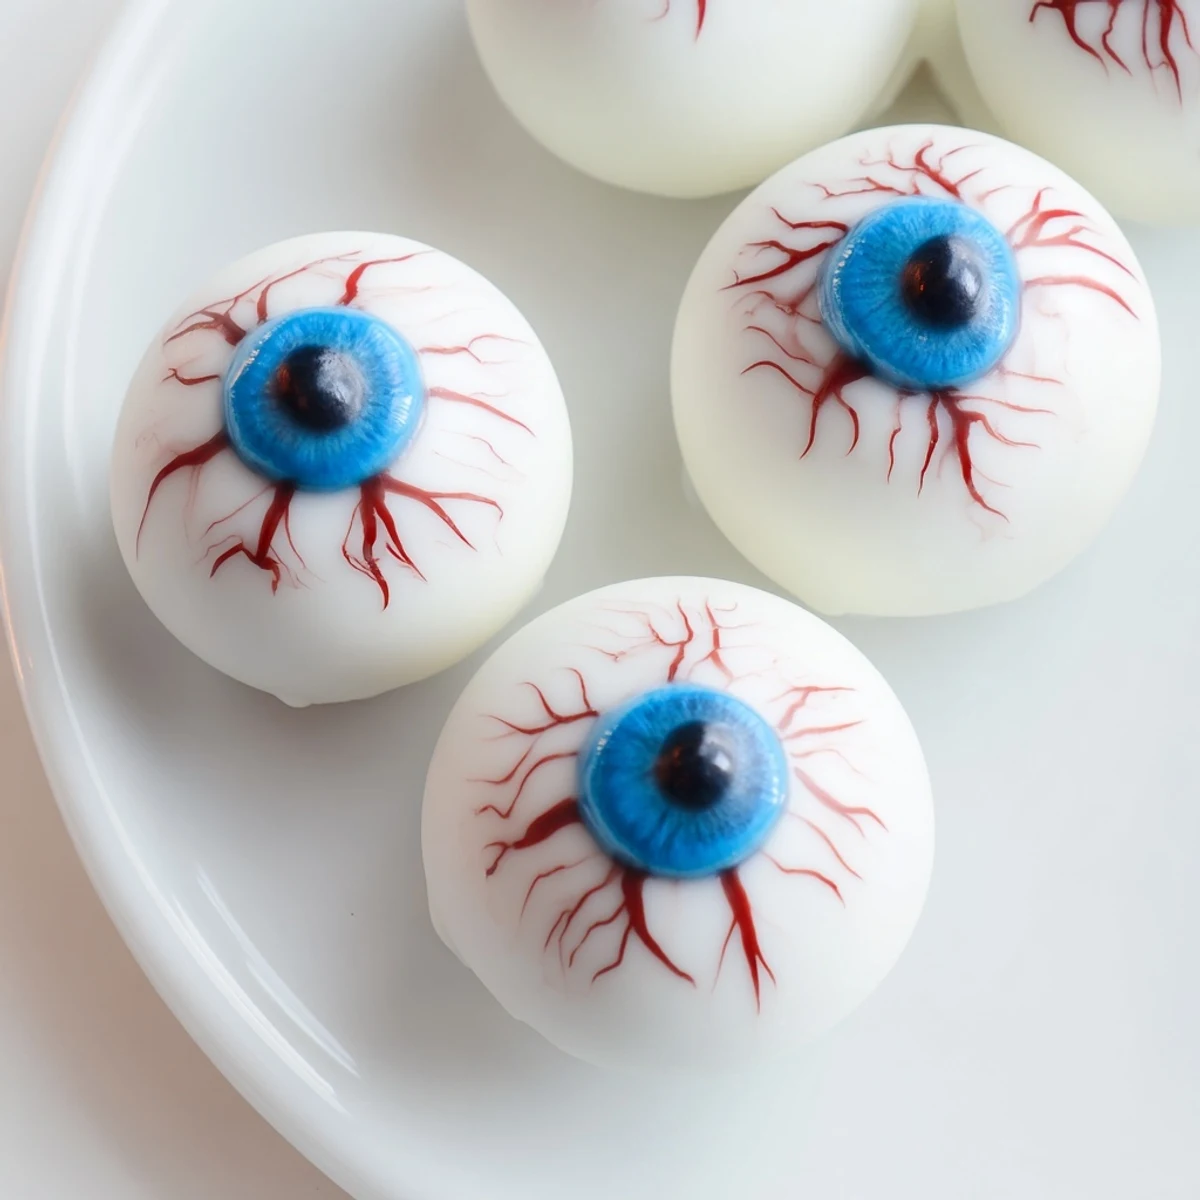
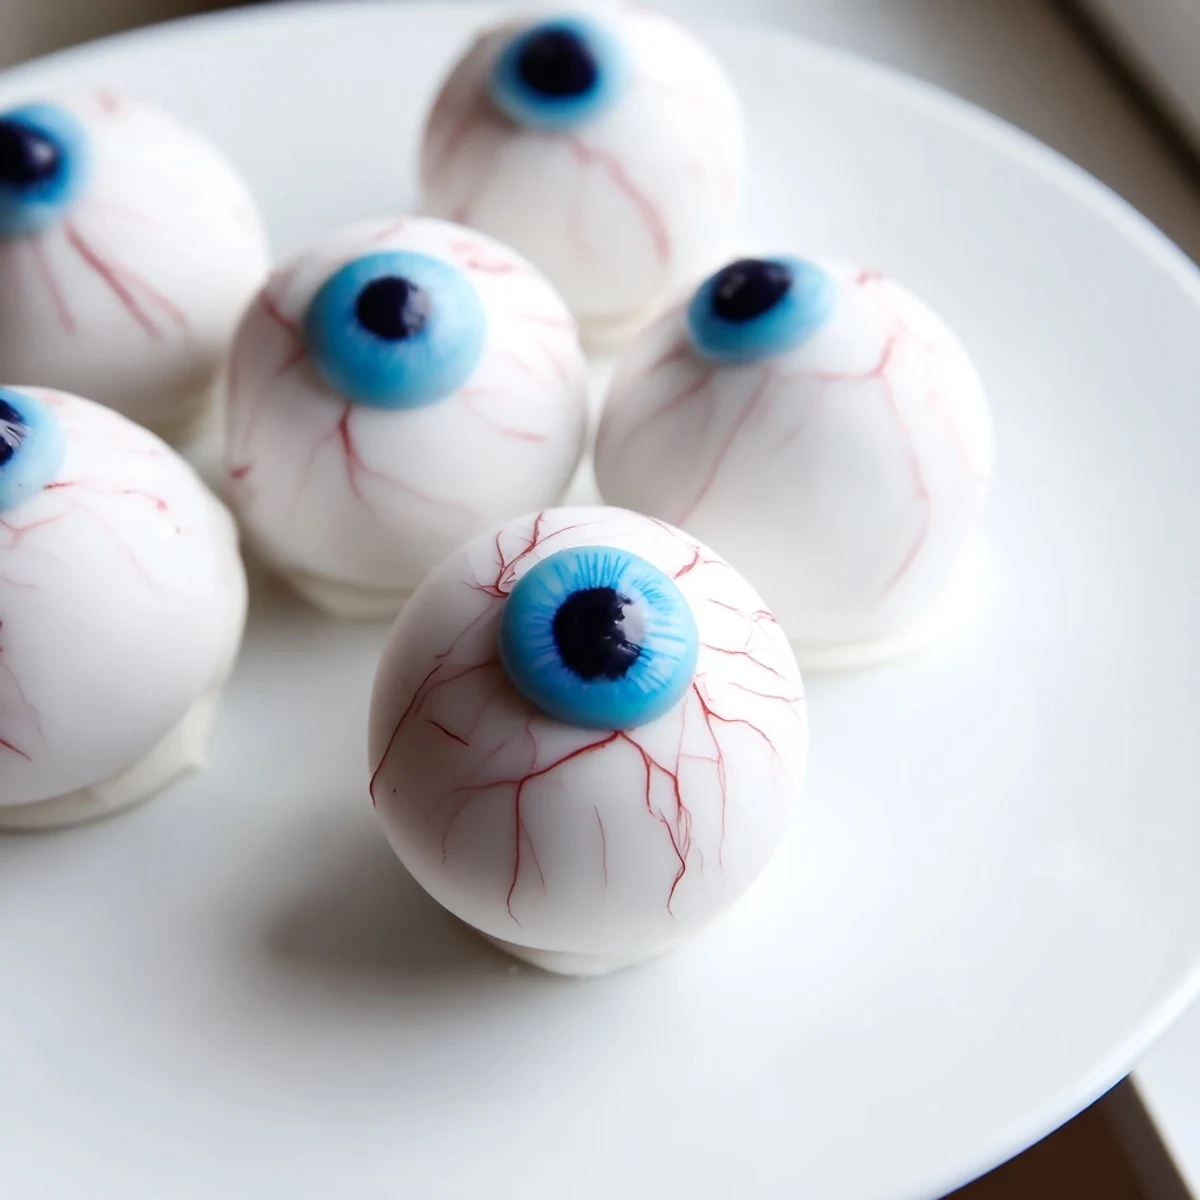
Save These Halloween cake eyeballs transform moist vanilla cake into spooky party treats. The cake is crumbled and mixed with cream cheese frosting, then shaped into balls and coated in white chocolate. Each eyeball gets a colorful iris made from candy melts and a dark pupil, finished with red gel veins for that authentic eerie look. Perfect for Halloween gatherings, these handheld treats combine the nostalgic comfort of cake with playful presentation.
Last Halloween, my kitchen looked like a mad scientist lab gone wonderfully wrong. White chocolate splattered across the counter, red gel staining my fingertips, and twenty four googly eyes staring back at me from every surface. My daughter walked in, took one look at the chaos, and declared these eyeball cake pops the best thing Id ever made. Now theyre requested months in advance, and Ive learned to embrace the beautiful mess that comes with them.
I brought these to my office Halloween potluck last year and watched in delight as grown adults debated whether they were too creepy to eat. Within five minutes, the plate was empty and people were actually asking if there were any more hidden somewhere. Theres something about food that looks back at you that just makes it impossible to resist.
Ingredients
- 1 box vanilla cake mix (or 400 g homemade vanilla cake): The foundation of our eyeballs and honestly, using a box mix gives you more time to focus on the fun decorating part
- 3 large eggs: Room temperature eggs incorporate better into the batter for a more even crumb
- 120 ml vegetable oil: Keeps the cake incredibly moist, which is crucial since were rebaking it into pops
- 240 ml water: Follow the package instructions exactly for the best texture
- 100 g cream cheese, softened: Let it sit out for at least an hour so it blends smoothly without lumps
- 100 g unsalted butter, softened: Same temperature rule applies, and unsalted lets you control the seasoning
- 200 g powdered sugar: Sift it first to avoid any grainy surprises in your frosting
- 1 tsp vanilla extract: Pure vanilla makes a noticeable difference in the final flavor
- 400 g white chocolate or white candy melts: Candy melts are easier to work with but white chocolate tastes better
- 50 g dark chocolate or black candy melts: For those perfect pupils that make the eyes look unsettlingly realistic
- 50 g blue or green candy melts OR colored icing: This is where you can get creative with different eye colors
- Red gel food coloring or red decorating gel: The gel consistency is essential for drawing those creepy blood vessels
Instructions
- Bake and cool the vanilla cake:
- Preheat your oven to 180°C (350°F) and prepare the cake according to package directions. Let it cool completely before proceeding, because warm cake will turn your frosting into a sad, melty mess.
- Create fine cake crumbs:
- Crumble the cooled cake into a large bowl using your hands or a food processor. You want the crumbs to be uniform and fine, almost like sand, for the smoothest texture.
- Prepare the creamy frosting:
- Beat together the softened cream cheese, butter, powdered sugar, and vanilla until silky smooth. This should take about 2 minutes on medium speed.
- Combine cake and frosting:
- Mix the frosting into the cake crumbs gradually until the mixture holds together when you press it. Start with less frosting than you think you need, you can always add more.
- Form the eyeball shapes:
- Scoop out tablespoon portions and roll them into 24 smooth balls. Place them on a parchment lined tray and freeze for 20 minutes, this step is crucial for keeping them round during coating.
- Coat with white chocolate:
- Melt the white chocolate gently in the microwave in 30 second intervals. Dip each ball using a fork or skewer, tapping gently to remove excess coating before returning to the tray.
- Add colorful irises:
- While the white coating is still soft, carefully pipe or place a small circle of colored candy melt in the center of each eyeball. Work quickly so the iris adheres properly.
- Create pupils:
- Once the irises are set, add a tiny dot of dark chocolate or black candy melt in the center. A toothpick works perfectly for this detailed work.
- Draw spooky veins:
- Use red gel food coloring to draw squiggly lines radiating from the iris toward the edge. Thin, jagged lines look creepier and more realistic.
- Set and serve:
- Let the eyeballs set completely at room temperature, about 30 minutes, then arrange them on your serving platter. They are best served chilled but taste great at any temperature.
 Save
Save My nephew took one bite, made a horrified face at the realistic red veins, then immediately reached for a second one. Thats the magic of Halloween treats, they manage to be both gross and delicious at the same time.
Making Them Ahead
You can prepare the cake balls up to three days before decorating and store them in the refrigerator. Coat them with white chocolate no more than 24 hours before serving, otherwise they might start to weep or get sticky.
Flavor Variations
Try using chocolate cake mix instead of vanilla for a darker, more dramatic eyeball. The white coating still provides contrast, and the chocolate interior pairs beautifully with the creamy frosting center.
Presentation Ideas
These look fantastic arranged on a bed of crushed chocolate cookies that resemble dirt. You can also insert skewers into each eyeball before freezing and display them standing up in a pumpkin or mason jar filled with black jelly beans.
- Use different colored irises to create a variety of eyes, some blue, some green, maybe even some yellow for an otherworldly effect
- For a really creepy presentation, arrange the eyeballs in a shallow bowl and pour a little clear gelatin around them to look like specimen jars
- If serving kids, consider making one or two with pink irises so they are less frightening while still being thematically appropriate
 Save
Save Every year I think I am too old for Halloween desserts, and every year I end up eating at least three of these creepy little cake balls while decorating them. Happy haunting.
Recipe FAQs
- → How far in advance can I make these Halloween cake eyeballs?
-
You can prepare the cake balls up to 2 days before decorating. Store them in the refrigerator in an airtight container. Once coated and decorated, they'll keep for 3-4 days refrigerated. The chocolate coating helps maintain freshness while keeping the cake moist.
- → What's the best way to melt the chocolate for coating?
-
Melt white chocolate in 20-second intervals in the microwave, stirring between each burst. Alternatively, use a double boiler over low heat. The chocolate should be smooth and fluid but not hot—around 90°F (32°C) is ideal for dipping. If it's too thick, add 1 teaspoon of vegetable oil to thin it.
- → Can I use homemade cake instead of cake mix?
-
Absolutely. Any vanilla cake recipe works—just ensure it's fully cooled before crumbling. Homemade cakes with a slightly denser texture (like pound cake) hold their shape particularly well. Avoid very light or airy sponge cakes as they may not bind properly with the frosting.
- → Why do my cake balls crack after chocolate coating?
-
Cracking usually happens when cold cake balls meet warm chocolate, or when the coating is too thick. Let the chilled balls sit at room temperature for 5 minutes before dipping. Ensure your melted chocolate is fluid but not hot. Working in a cool room also helps prevent temperature shock.
- → How can I make the veins look more realistic?
-
Use a fine-tip decorating bottle or toothpick with red gel food coloring. Start from the outer edge and draw jagged lines toward the iris. Make some veins thicker and others thinner for variety. Let the white chocolate set completely before adding veins to prevent smudging.
- → Can I make these without cake pop sticks?
-
Yes. These work perfectly as handheld truffle-style treats without sticks. The chilled cake balls hold their shape well during dipping. If you prefer using sticks, insert them before the final chilling step and let them set upright in a foam block or styrofoam after coating.