
 Save
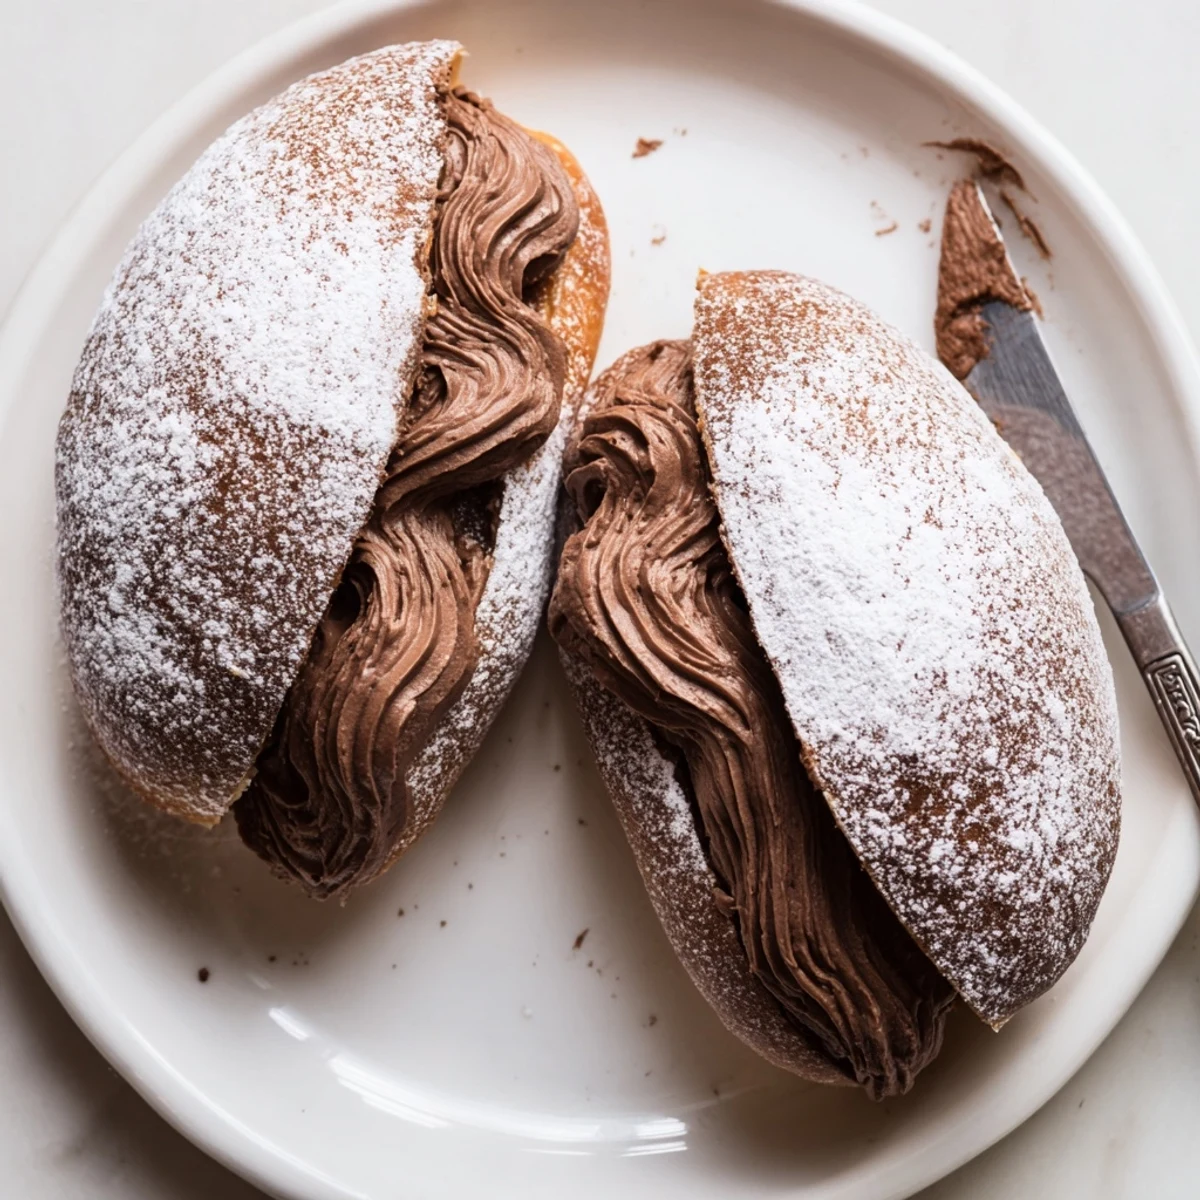
Save Maritozzi are beloved Roman sweet buns, traditionally filled with whipped cream. This chocolate version transforms the classic by incorporating unsweetened cocoa powder directly into the enriched dough, creating a tender, deeply flavored bun.
The filling combines dark chocolate ganache folded into freshly whipped cream, yielding a silky, rich center that contrasts beautifully with the soft cocoa bread.
With a total time of about 2.5 hours including rising, these buns are an intermediate-level baking project well worth the effort. A dusting of powdered sugar finishes them elegantly.
The smell of cocoa and yeast together in one kitchen is enough to make anyone lose track of time, which is exactly what happened to me one rainy Saturday in my tiny apartment. I had been staring at a photo of Roman maritozzi for weeks, those pillowy buns traditionally stuffed with plain whipped cream, and decided that chocolate belonged in every single layer. Three batches later, I finally understood why bakers guard their dough resting times so jealously.
I brought a tray of these to a friends dinner party and watched three grown adults go completely silent after the first bite, which is honestly the highest compliment any baker can receive. One friend said they reminded him of a pastry shop near the Pantheon, and I pretended I was not glowing with pride. They vanished in under ten minutes, and I was asked for the recipe before dessert wine was even poured.
Ingredients
- 350 g all purpose flour: Regular flour works beautifully here because the cocoa powder lightens the structure, so do not reach for bread flour thinking it will help.
- 30 g unsweetened cocoa powder: This is what gives the buns their deep color and a subtle bitterness that balances the sweet cream perfectly.
- 60 g granulated sugar: Just enough sweetness in the dough without competing with the filling.
- 7 g active dry yeast: One packet is exactly right and ensures a reliable rise even if your kitchen is a bit drafty.
- 1 pinch salt: Never skip this, because salt makes chocolate taste more like itself.
- 170 ml whole milk, lukewarm: It should feel like warm bath water, because anything hotter will kill your yeast instantly.
- 50 g unsalted butter, softened: Leave it out for an hour beforehand so it blends into the dough without tearing it apart.
- 1 egg: Adds richness and helps bind everything together into that soft, tender crumb.
- Zest of 1 orange (optional): I strongly recommend this because orange and chocolate are a classic Italian pairing that elevates the whole pastry.
- 200 ml heavy cream: You need the full fat version for a filling that holds its shape without weeping.
- 80 g dark chocolate, 60 to 70 percent cocoa: Finely chop it so it melts quickly and smoothly into the warm cream.
- 2 tbsp powdered sugar: Sweetens the whipped cream just enough without making it grainy.
- Powdered sugar for dusting: A final snowy layer that makes these look like they came from a Roman bakery window.
Instructions
- Wake up the dry ingredients:
- In a large bowl, whisk together the flour, cocoa powder, sugar, yeast, and salt until evenly blended and fragrant with that deep chocolate smell.
- Bring the dough together:
- Pour in the lukewarm milk, softened butter, egg, and orange zest, then mix with your hands or a wooden spoon until you have a sticky, messy, wonderfully shaggy dough.
- Knead with patience:
- Turn the dough onto a floured surface and knead for about ten minutes until it transforms from a tacky lump into something smooth, springy, and slightly glossy under your palms.
- Let it rise in peace:
- Place the dough in a greased bowl, cover it with a damp towel, and find a warm spot in your kitchen for one to one and a half hours until it has puffed up and doubled beautifully.
- Shape the buns:
- Divide the risen dough into eight equal pieces, roll each into a plump oval, and arrange them on a parchment lined tray with space between them, then cover and let them puff up again for thirty minutes.
- Bake until just set:
- Preheat your oven to 180 degrees Celsius, then bake the buns for eighteen to twenty minutes until they look set but still soft, because overbaking will dry them out quickly.
- Make the chocolate cream:
- Heat fifty milliliters of cream until steaming, pour it over the chopped chocolate, and stir gently until you have a glossy ganache that cools to room temperature before you fold it into the remaining whipped cream.
- Fill and finish:
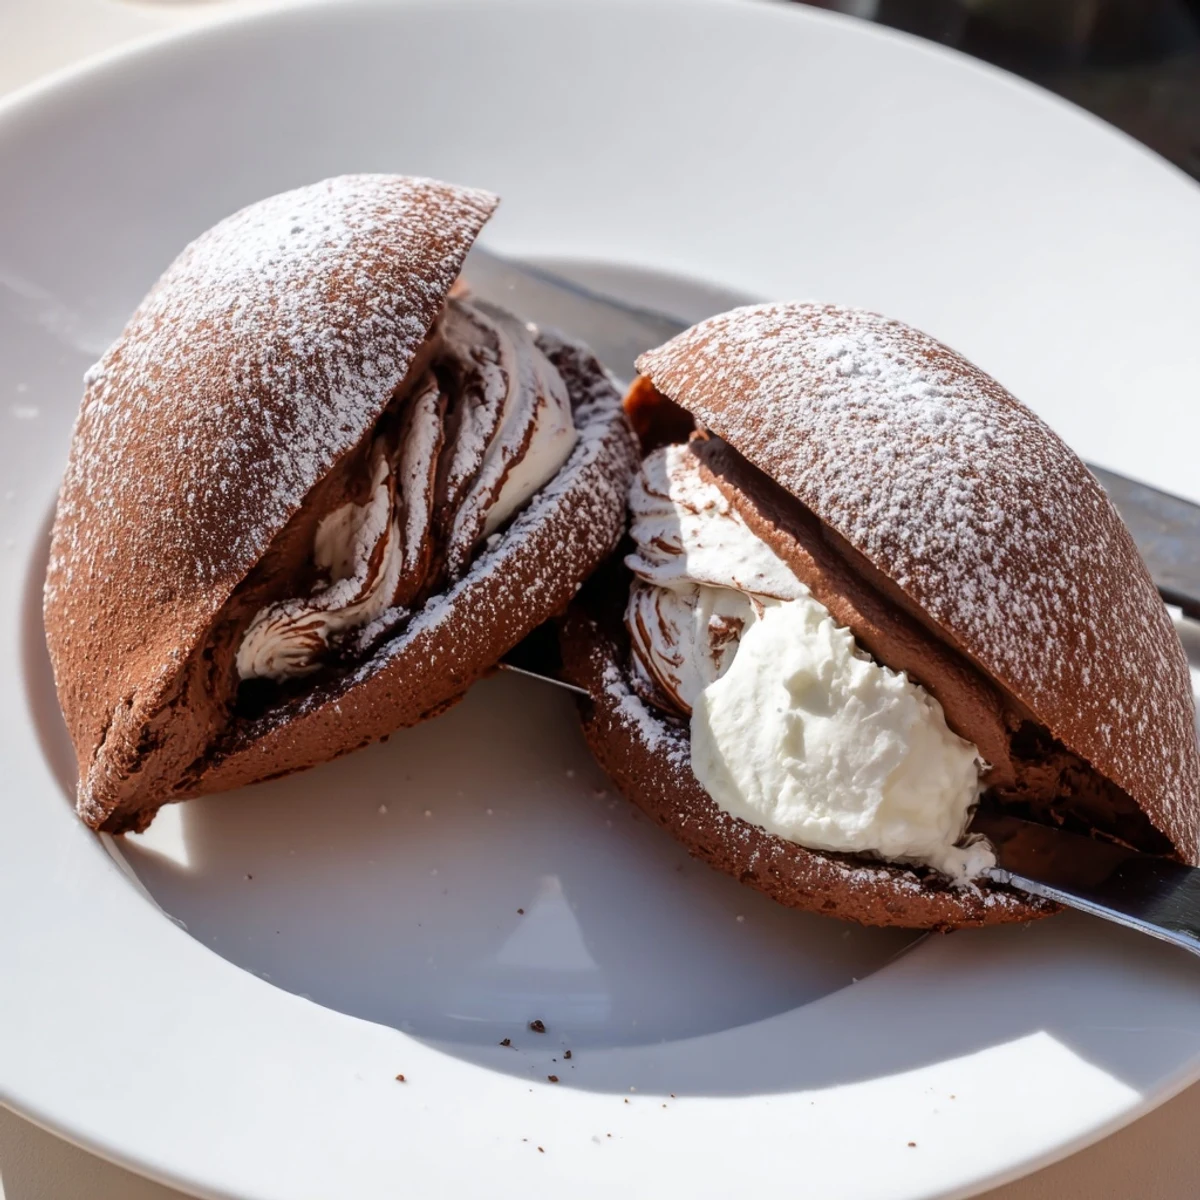
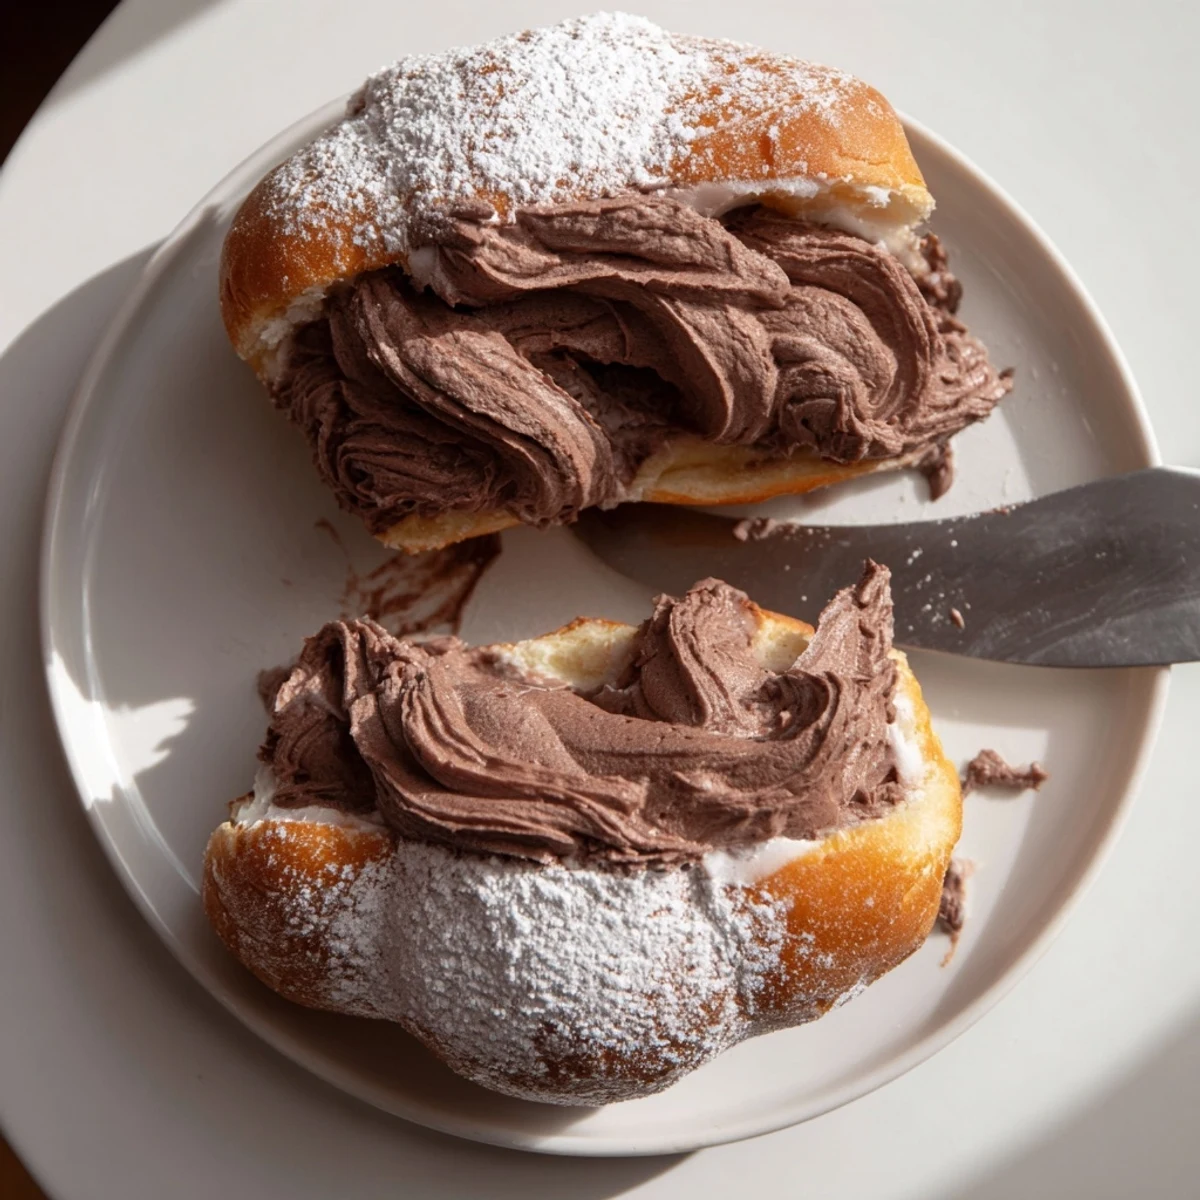
- Slice each cooled bun lengthwise with a hinge still attached, pipe or spoon the chocolate cream generously inside, and dust the tops with powdered sugar while trying not to eat them all immediately.
 Save
Save There is something almost theatrical about slicing open a warm cocoa bun and watching the chocolate cream settle into every crevice. My neighbor once knocked on my door just as I was filling the last one, and we ended up standing in the hallway eating maritozzi with powdered sugar on our chins, laughing about how neither of us owned a proper pastry bag.
Tools That Actually Help
A stand mixer saves your arms during the kneading, but honestly your hands give you better control over when the dough is ready. You will also need a baking tray, parchment paper, a whisk for the cream, and a very sharp serrated knife for slicing the buns cleanly without squishing them. A piping bag makes the filling look professional, but a zip top bag with a corner snipped off works in a pinch.
Keeping Them Fresh
These are absolutely at their peak within the first few hours of assembly, when the cream is cold and the bun is still faintly soft. If you must store them, keep the buns and filling separate in the refrigerator and assemble just before serving, because a soggy maritozzi is a sad maritozzi. They will hold for up to two days this way, though I have never seen them last that long.
Ways to Play With This Recipe
Once you have the base dough down, the variations are genuinely fun to explore. A splash of Amaretto or espresso in the filling transforms the entire flavor profile with almost zero extra effort.
- Swap half the cream for mascarpone if you want a denser, more tiramisu like filling.
- Try a teaspoon of instant espresso powder in the dough for a mocha twist that pairs beautifully with the orange zest.
- Always taste your chocolate before using it, because the filling only tastes as good as what you start with.
 Save
Save Every time I make these, I am reminded that the best pastries are the ones that make you slow down, wait, and trust the process. Hand one to someone you love and watch their face, that is all the reward you will ever need.
Recipe FAQs
- → Can I make the dough without a stand mixer?
-
Yes, you can knead the dough entirely by hand on a floured surface. It will take about 10 minutes of active kneading to reach a smooth, elastic consistency. The dough starts sticky but becomes more manageable as you work it.
- → Why did my maritozzi not rise properly?
-
Insufficient rising is usually caused by inactive yeast or a cold environment. Ensure your milk is lukewarm (around 37°C), not hot, as high temperatures kill yeast. Let the dough rise in a draft-free warm spot, and always check your yeast's expiration date.
- → Can I prepare the chocolate filling ahead of time?
-
Yes, you can make the chocolate ganache base a day in advance and refrigerate it. When ready to use, let it come to room temperature, then fold it into freshly whipped cream. Avoid whipping the cream too far in advance or it may deflate.
- → What type of dark chocolate works best for the filling?
-
Use a good-quality dark chocolate with 60–70% cocoa content. This range offers a balanced flavor that pairs well with the sweetness of the whipped cream without being overly bitter. Finely chopping the chocolate ensures it melts smoothly into the ganache.
- → How should I store leftover maritozzi?
-
Store filled maritozzi in an airtight container in the refrigerator for up to 2 days. The buns are best enjoyed fresh, as refrigeration can firm the bread. Let them sit at room temperature for 15–20 minutes before serving to soften slightly.
- → Can I freeze the unfilled buns?
-
Absolutely. Bake the buns, let them cool completely, then freeze in a sealed bag for up to one month. Thaw at room temperature and fill with freshly made chocolate cream before serving for the best texture and flavor.