 Save
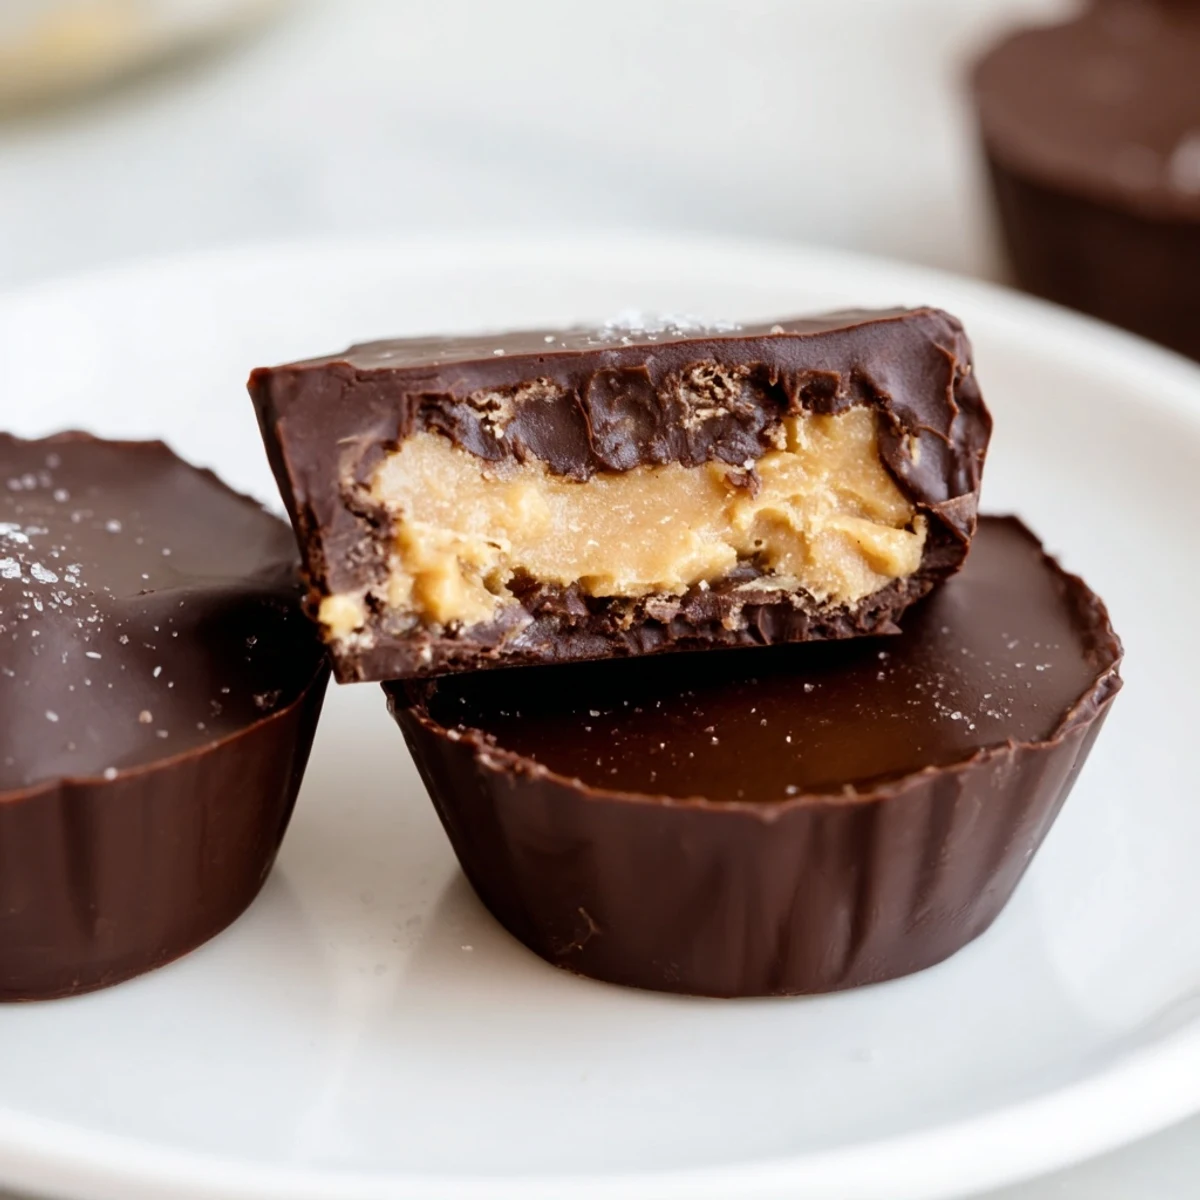
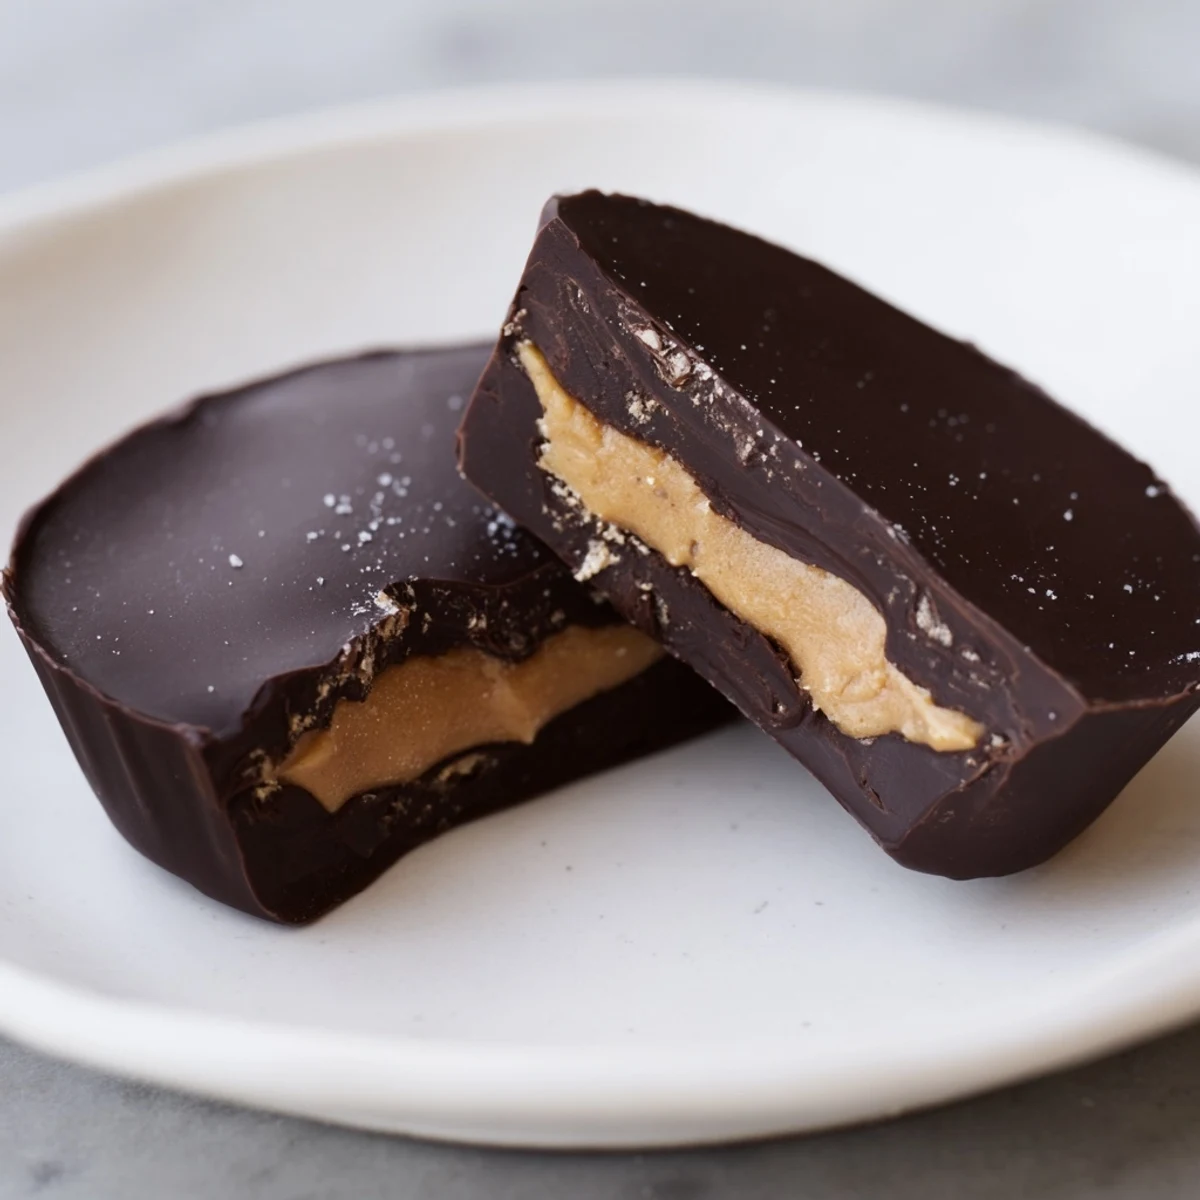
Save These chocolate peanut butter cups combine a smooth, creamy peanut butter filling with rich semi-sweet chocolate layers. Easy to prepare and chill, they offer a deliciously balanced sweet treat that suits vegetarian and gluten-free diets. Perfect for gifting or indulging, the cups can be customized with vegan ingredients or textured crunchy peanut butter. Refrigerate until firm and enjoy at room temperature or chilled for a delightful snack.
The first time I made these, I was snowed in during a February weekend with nothing but a jar of peanut butter and some forgotten chocolate chips in the pantry. Sometimes the best discoveries happen when you are working with whatever you have on hand and just want something sweet. These ended up tasting better than anything I had bought from a store, and the way the chocolate cracks when you bite into them is absolutely perfect.
I brought a batch to a potluck last summer and watched my friend Sarah literally light up when she took her first bite. She admitted she had been sneaking them from the box all afternoon, and honestly, I cannot blame her one bit. There is something about that combination of salty peanut butter and smooth chocolate that just makes people happy instantly.
Ingredients
- 225 g (8 oz) semi-sweet or dark chocolate: The quality really matters here since chocolate is the star of the show, and chopping bars yourself gives a smoother melt than chips
- 1 tbsp coconut oil or unsalted butter: This helps the chocolate set with a perfect snap and makes it easier to coat the filling evenly
- 120 g (½ cup) creamy peanut butter: Room temperature peanut butter mixes more smoothly and creates that silky texture we all love
- 30 g (¼ cup) powdered sugar: Essential for sweetening the filling without making it grainy, and it helps stabilize the texture
- 20 g (2 tbsp) unsalted butter, softened: Room temperature butter blends seamlessly into the peanut butter for that melt in your mouth consistency
- ¼ tsp vanilla extract: A small amount that elevates the entire filling and makes it taste professionally made
- Pinch of salt: Crucial for balancing the sweetness and making all the flavors pop
Instructions
- Prep your muffin tin:
- Line a standard 12 cup muffin tin with paper liners and set it near your workspace so you are ready to work quickly once the chocolate is melted
- Melt the chocolate layer:
- Combine chocolate and coconut oil in a heatproof bowl, then melt gently over a double boiler or in 30 second microwave bursts, stirring until completely smooth and glossy
- Create the chocolate base:
- Spoon about 1 teaspoon of melted chocolate into each liner, tilting them gently to coat the bottom evenly, then chill in the freezer for 10 minutes until completely set
- Make the peanut butter filling:
- Mix peanut butter, powdered sugar, softened butter, vanilla, and salt in a bowl until smooth and thick, with no lumps remaining
- Shape the filling centers:
- Roll the peanut butter mixture into 12 small discs and place one on top of each chocolate layer, pressing gently to flatten slightly without touching the edges
- Seal with chocolate tops:
- Spoon the remaining melted chocolate evenly over the peanut butter discs, covering them completely, then tap the tin gently on the counter to level the tops
- Set completely:
- Refrigerate for 30 minutes or until fully set, then peel off liners and serve chilled or at room temperature
 Save
Save My daughter helped me make these last holiday season, and seeing her carefully spoon the chocolate into each liner was the sweetest thing. Now whenever she sees me get out the muffin tin, she asks if we are making our special peanut butter cups together.
Making Them Your Own
Once you master the basic technique, the variations are endless and fun to experiment with. I have tried adding a tiny pinch of cinnamon to the filling, which adds this lovely warmth that people cannot quite identify but love. Crunchy peanut butter creates incredible texture, and a sprinkle of flaky sea salt on top transforms them into something restaurant worthy.
Storage Tips
These keep beautifully in an airtight container in the fridge for up to a week, though they rarely last that long in my house. You can also freeze them for longer storage, and they are actually quite good straight from the freezer with that extra firm texture.
Serving Suggestions
These make incredible gifts, especially during the holidays when you want something homemade but impressive. Layer them in a cute tin with parchment paper between the layers, and tie with a ribbon for a thoughtful present that people genuinely appreciate.
- Pair with a glass of cold milk for the classic afternoon snack experience
- Crush one over vanilla ice cream for an instant sundae upgrade
- Keep a stash in your freezer for emergency sweet cravings
 Save
Save There is something deeply satisfying about making your own candy, and these peanut butter cups might just become your new favorite thing to make. I hope they bring as much joy to your kitchen as they have to mine.
Recipe FAQs
- → How do I melt the chocolate without burning it?
-
Use a double boiler or microwave in short bursts, stirring frequently until smooth to prevent burning.
- → Can I use crunchy peanut butter instead of creamy?
-
Yes, crunchy peanut butter can add a pleasant texture contrast to the smooth chocolate layers.
- → What is the best way to set the cups quickly?
-
Chilling the cups in the freezer for about 10 minutes after the first chocolate layer helps them set faster before adding the filling.
- → How can I make these cups vegan-friendly?
-
Substitute dairy chocolate with dairy-free chocolate and use plant-based butter alternatives in the filling.
- → How should I store the chocolate peanut butter cups?
-
Keep them in an airtight container in the refrigerator for up to one week to maintain freshness and texture.