 Save
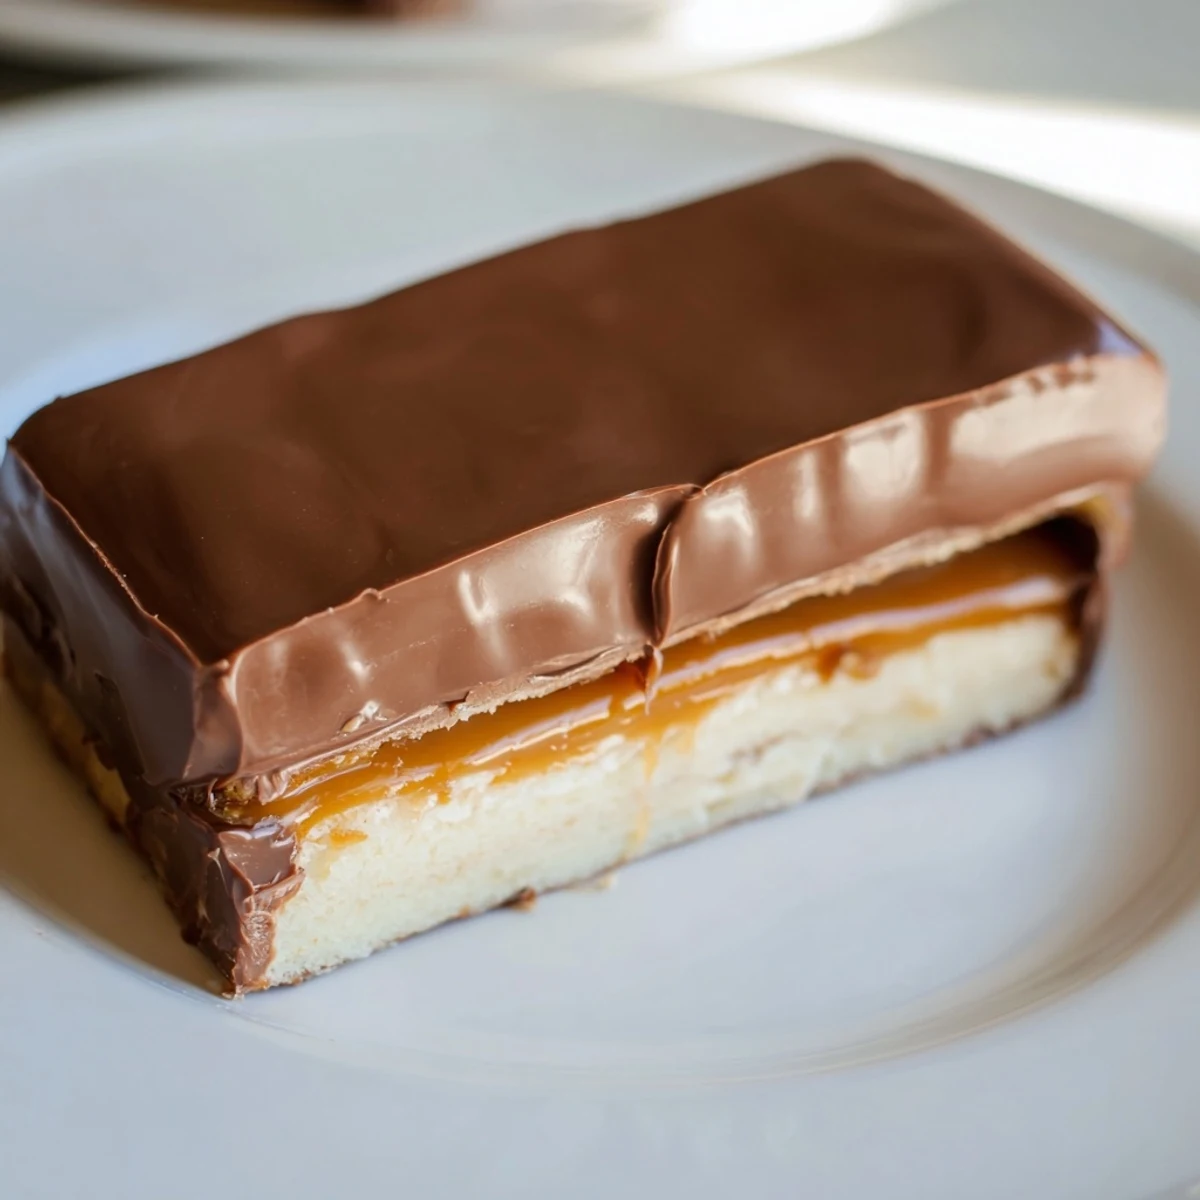
Save Indulge in the ultimate homemade version of the classic candy bar with these elegant three-layer dessert squares. Each bite combines a melt-in-your-mouth buttery shortbread foundation, a luscious golden caramel center cooked to perfect consistency, and a velvety milk chocolate crown. The process involves baking a tender shortbread crust, preparing a rich caramel sauce from butter, brown sugar, and condensed milk, then finishing with a smooth chocolate layer. These impressive bars require patience for cooling and setting but deliver bakery-quality results that surpass any store-bought version.
My college roommate Sarah and I spent an entire weekend trying to recreate the candy aisle in our tiny kitchen. We failed at everything except these bars, which turned out better than the original inspiration.
Last Christmas my normally skeptical father took one bite and immediately asked if I could double the batch for his office party. Seeing a sixty year old man hover around the dessert table like a kid was worth every minute of stirring that caramel.
Ingredients
- Unsalted butter (softened for base, room temp for caramel): Using the same butter throughout creates harmony, but keep separate portions since temperature matters enormously for each layer
- Granulated sugar: This sweetens the shortbread without interfering with the buttery flavor we want from the base
- All purpose flour: No need to sift, just measure properly and you will get that tender crumb that contrasts beautifully with the caramel
- Fine sea salt: A small amount in each layer prevents these from becoming cloyingly sweet
- Packed light brown sugar: The molasses content gives the caramel its signature flavor and gorgeous amber color
- Light corn syrup or golden syrup: This prevents the caramel from crystallizing while it cooks, ensuring smooth results every time
- Sweetened condensed milk: The backbone of the caramel layer, creating that creamy texture that sets perfectly
- Milk chocolate: Choose a good quality brand since the chocolate flavor shines through, though dark chocolate lovers can absolutely make that substitution
Instructions
- Prepare your pan and oven:
- Parchment paper is not optional here, the overhang becomes your handles for lifting the bars out later
- Make the shortbread base:
- Cream the butter and sugar until they practically become one fluffy mixture, then fold in the dry ingredients just until combined
- Bake the foundation:
- Pressing the dough evenly takes patience, use the bottom of a measuring cup to create a uniform layer that bakes at the same rate throughout
- Cook the caramel:
- Constant stirring is non negotiable here, burned milk is not something you can fix, so stay present and attentive until it reaches that gorgeous amber color
- Layer and set:
- Pour slowly and evenly, then walk away, letting the caramel set undisturbed is the secret to clean layers
- Add the chocolate crown:
- Melting in short bursts prevents seizing, and adding that tablespoon of butter creates a glossy finish that sets perfectly
- The final cut:
- A hot knife wiped between cuts creates those professional looking edges, though nobody will complain about ragged pieces that taste this good
 Save
Save My niece now requests these for every family gathering instead of cake. Watching her carefully stack three bars on her plate as if they are precious gold makes all the stirring and waiting completely worth it.
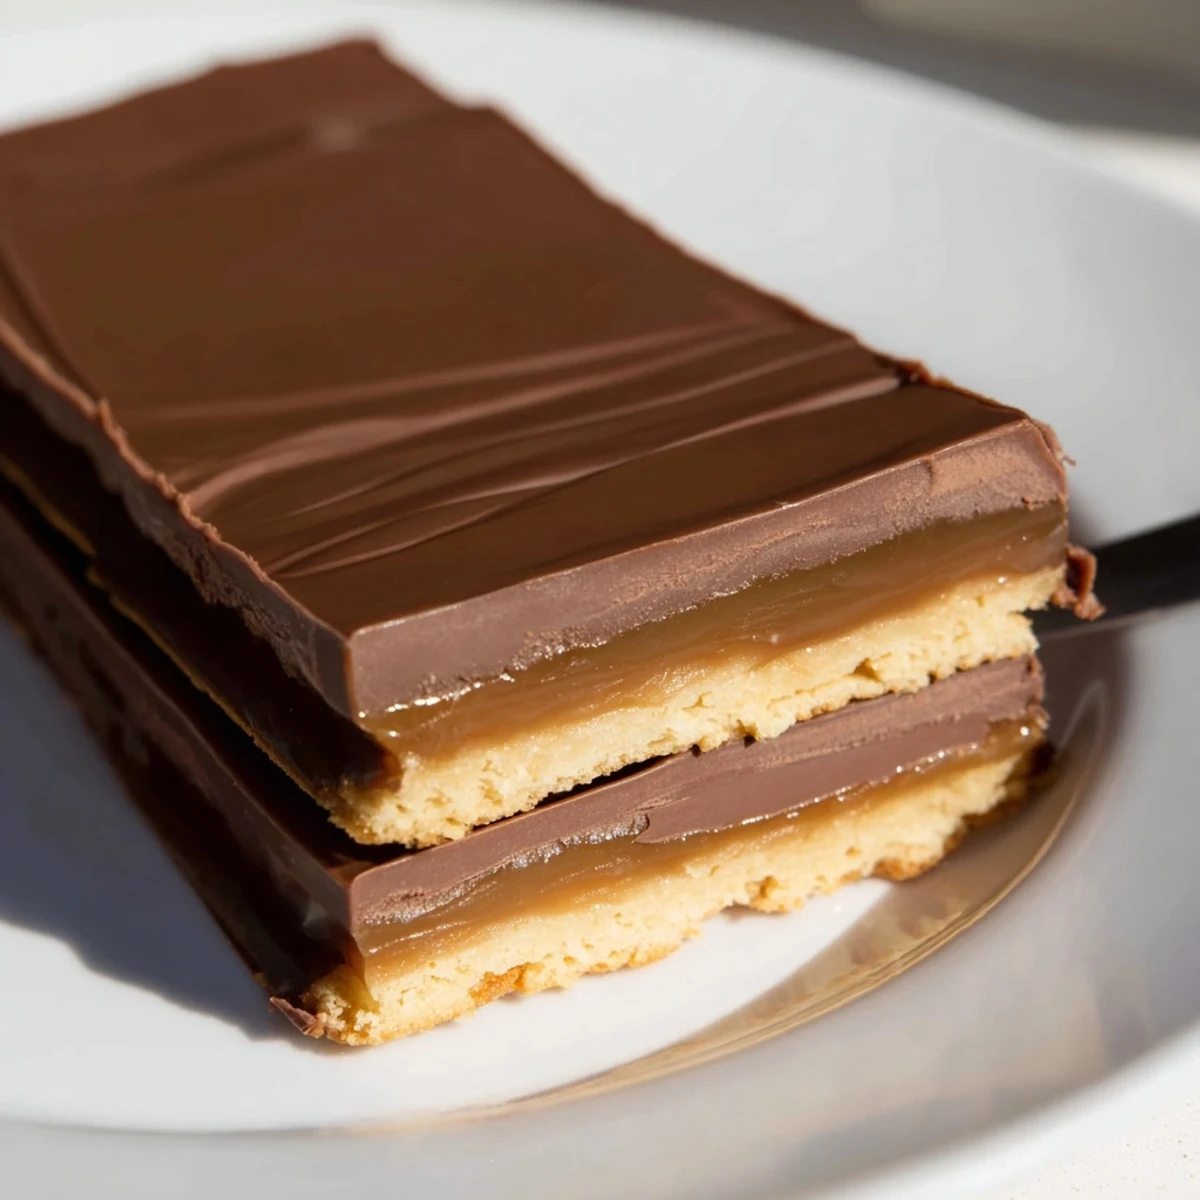
Getting The Layers Right
Each layer needs to cool completely before adding the next one. Rushing this process means melted chocolate swirling into caramel, which still tastes fantastic but will not give you those distinct restaurant quality layers.
Temperature Management
The shortbread needs a hot oven while the caramel requires medium heat and patience. Chocolate needs gentle warmth to melt gracefully. Working with three different temperature requirements means mise en place becomes your best friend.
Make Ahead Strategy
These bars actually improve after 24 hours as the flavors meld together. Cut them before storing and layer between parchment paper in an airtight container, and you will have dessert ready for unexpected guests or midnight cravings.
- Freeze uncut bars for up to a month wrapped tightly in plastic and foil
- Bring frozen bars to room temperature before slicing for the cleanest edges
- A sprinkle of flaky salt on the chocolate layer creates a salted caramel version that feels gourmet
 Save
Save There is something deeply satisfying about recreating a childhood favorite with real ingredients. Every time I make these, I am reminded that the best things really do take time, patience, and plenty of butter.
Recipe FAQs
- → How long do these bars need to set before cutting?
-
Allow the caramel layer to set for approximately 1 hour at room temperature after pouring, then refrigerate for 30 minutes once the chocolate topping is added. The total setting time is around 1.5 to 2 hours for clean, neat slices.
- → Can I use dark chocolate instead of milk chocolate?
-
Absolutely. Dark chocolate creates a less sweet, more sophisticated flavor profile that balances beautifully with the rich caramel and buttery shortbread layers.
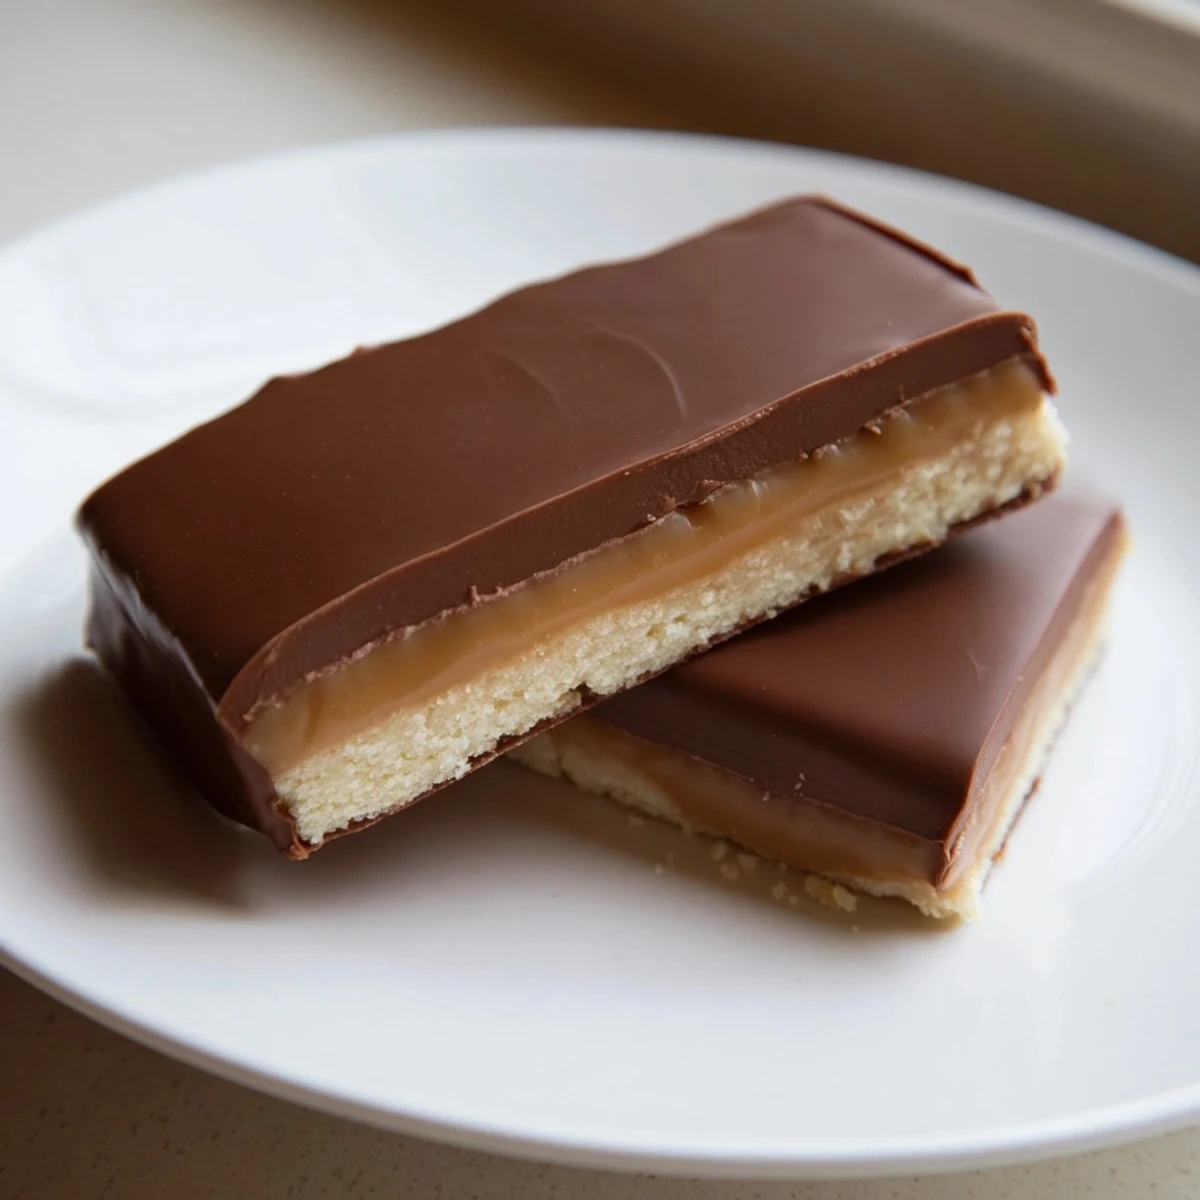
- → What's the best way to achieve clean cuts?
-
Use a sharp knife warmed under hot water and wiped dry between each cut. Slice with one decisive motion rather than sawing back and forth. The chocolate should be firm but not rock-hard.
- → How should I store these bars?
-
Keep in an airtight container at room temperature for up to 5 days. The bars hold their texture beautifully without refrigeration, though they can be chilled in warm weather.
- → Can I make these gluten-free?
-
Substitute the all-purpose flour with a 1:1 gluten-free flour blend containing xanthan gum. The texture remains remarkably similar, making these accessible for gluten-sensitive guests.
- → Why is a candy thermometer recommended?
-
Reaching exactly 225°F (107°C) ensures the caramel achieves the perfect consistency—thick enough to hold its shape but still creamy and smooth in texture.