 Save
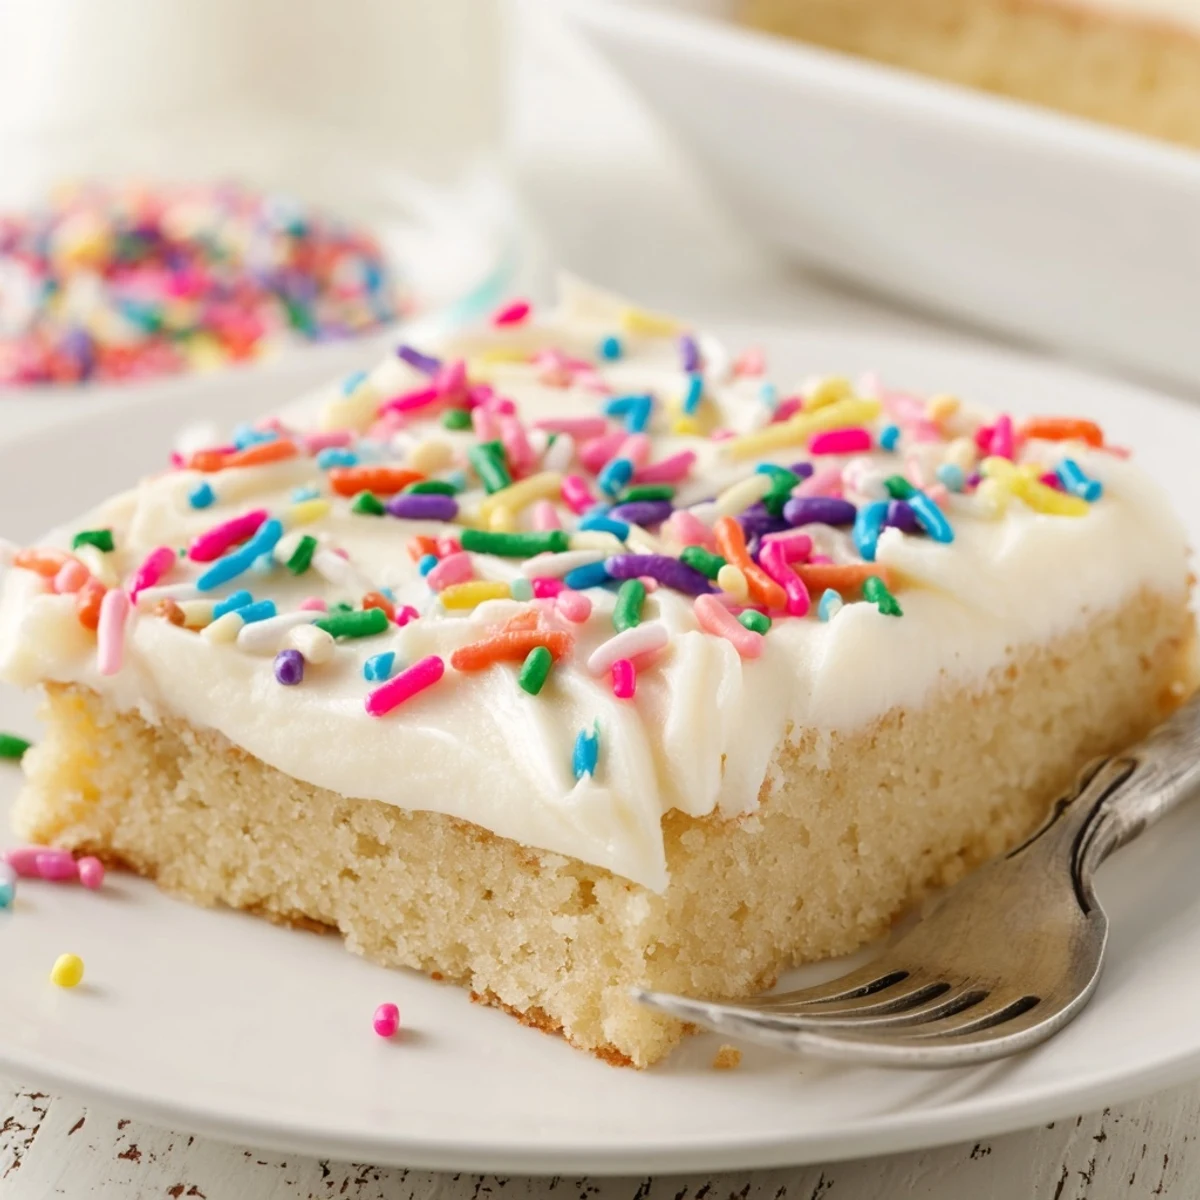
Save These soft and buttery sugar cookie bars combine the classic taste of traditional sugar cookies with the ease of a bar format. The dough comes together quickly with basic pantry ingredients like butter, sugar, flour, and vanilla. After baking to golden perfection, the bars are topped with a rich and creamy vanilla frosting that can be customized with food coloring and sprinkles for any occasion.
What makes these bars special is their texture—soft and tender with slightly crisp edges. They're ideal for feeding a crowd without the hassle of individually shaping cookies. The parchment paper overhang makes removal and cutting effortless, yielding 24 perfectly portioned squares.
You can easily customize these bars by adding citrus zest to the dough or swapping vanilla extract for almond in the frosting. They store beautifully at room temperature for several days, making them perfect for make-ahead treats for birthdays, holidays, or everyday sweet cravings.
My apartment smelled like pure butter and vanilla when I made these for the first time. I had zero plan for bringing dessert to a potluck, remembered I had everything for sugar cookies, but refused to stand at the counter rolling individual dough balls for an hour. So I pressed the whole batch into a pan, crossed my fingers, and showed up with these slab cookies that disappeared before anyone even touched the elaborate cake someone else brought.
Last summer my niece helped me make a batch for her birthday, and she insisted on rainbow sprinkles covering every square inch. We ended up with frosting on our noses and confetti all over the kitchen floor, but watching her proudly serve them to her friends made the mess completely worth it. Now whenever I smell vanilla baking, I think of her standing on a chair, stirring with way too much enthusiasm.
Ingredients
- Unsalted butter: Room temperature butter is non-negotiable here because it creams into the sugar properly and creates those tender pockets of air that make these bars impossibly soft
- Granulated sugar: This sweetens the dough while creating that signature crackly top sugar cookies are famous for
- Large egg: One egg is all you need to bind everything together without making the bars dense or cakey
- Pure vanilla extract: Do not skip or skimp because vanilla is the backbone of that classic sugar cookie flavor everyone craves
- All-purpose flour: This structure builder keeps the bars tender while still sturdy enough to hold up under thick frosting
- Baking powder: Just a half teaspoon gives these the slightest lift so they are not flat or heavy
- Salt: A small amount balances all that sugar and makes the butter flavor actually come through
- Powdered sugar: Sifting first prevents those annoying lumps that ruin an otherwise smooth frosting experience
- Milk: Start with two tablespoons and add the third only if your frosting needs thinning
Instructions
- Get your oven ready:
- Preheat to 350°F and line a 9x13 pan with parchment, letting the ends hang over like little handles because this trick makes lifting the whole batch out ridiculously easy later.
- Cream the butter and sugar:
- Beat them together for a solid 2 to 3 minutes until the mixture looks pale and fluffy, which is literally the secret to texture that melts in your mouth.
- Add the egg and vanilla:
- Mix until everything is incorporated and the batter looks smooth and glossy.
- Whisk the dry ingredients:
- Combine flour, baking powder, and salt in a separate bowl so they distribute evenly throughout the dough.
- Combine everything:
- Pour the dry ingredients into the wet and mix just until you no longer see flour streaks because overmixing makes tough cookies nobody wants.
- Press into the pan:
- Use your hands or the back of a measuring cup to press the dough into an even layer, paying special attention to the corners so every bakers gets a fair share.
- Bake until set:
- Go for 18 to 20 minutes, watching for light golden edges while the center still looks slightly soft because residual heat finishes the job.
- Cool completely:
- Let the bars cool in the pan because frosting warm cookies is a disaster that ends with melted streaks everywhere.
- Make the frosting:
- Beat butter until creamy, then gradually add powdered sugar and milk, alternating between the two until you have something spreadable and fluffy.
- Finish and frost:
- Stir in vanilla and salt, then spread the frosting over the cooled bars and go wild with sprinkles if that is your vibe.
- Slice and serve:
- Use the parchment overhang to lift the entire slab onto a cutting board, then cut into 24 squares and try to eat just one.
 Save
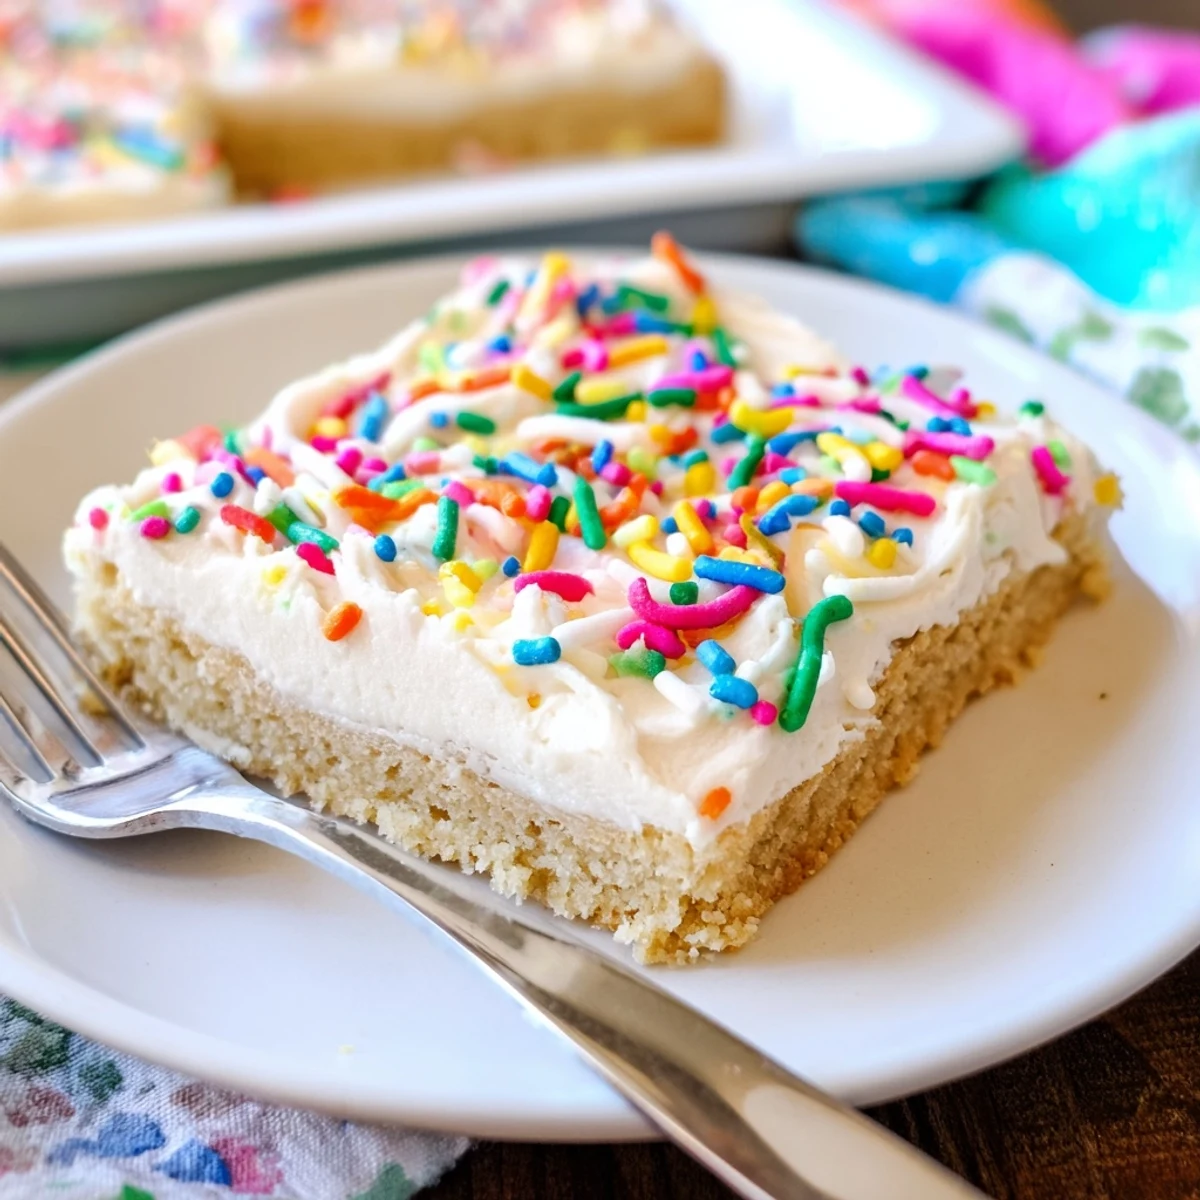
Save These became my go-to for every office birthday after someone literally cheered when I walked in with that parchment lined pan. Something about slab cookies feels more generous and inviting than individual rounds, like you are saying I made this just for us to share together instead of here is your pre portioned dessert.
Making These Your Own
Lemon or orange zest folded into the dough transforms these from classic to something bright and unexpected. I have swapped vanilla for almond extract in the frosting, and let me tell you, that subtle nutty flavor makes people think you bought them from a fancy bakery.
Storage Secrets
These bars actually taste better on day two after the frosting has had time to settle into the cookie. Store them in an airtight container at room temperature for up to three days, or pop them in the fridge if your kitchen runs warm like mine does in summer.
Serving Ideas
Cut them smaller for parties because people love grabbing two bite treats without committing to a full dessert. For holidays, tint the frosting and coordinate the sprinkles to match whatever celebration is happening that month.
- Serve these slightly chilled in summer for a cookie that feels almost like a cold buttercream treat
- Add a teaspoon of espresso powder to the frosting for a mocha version that coffee lovers go crazy for
- Press crushed candy canes into the frosting while it is still soft for a peppermint holiday twist
 Save
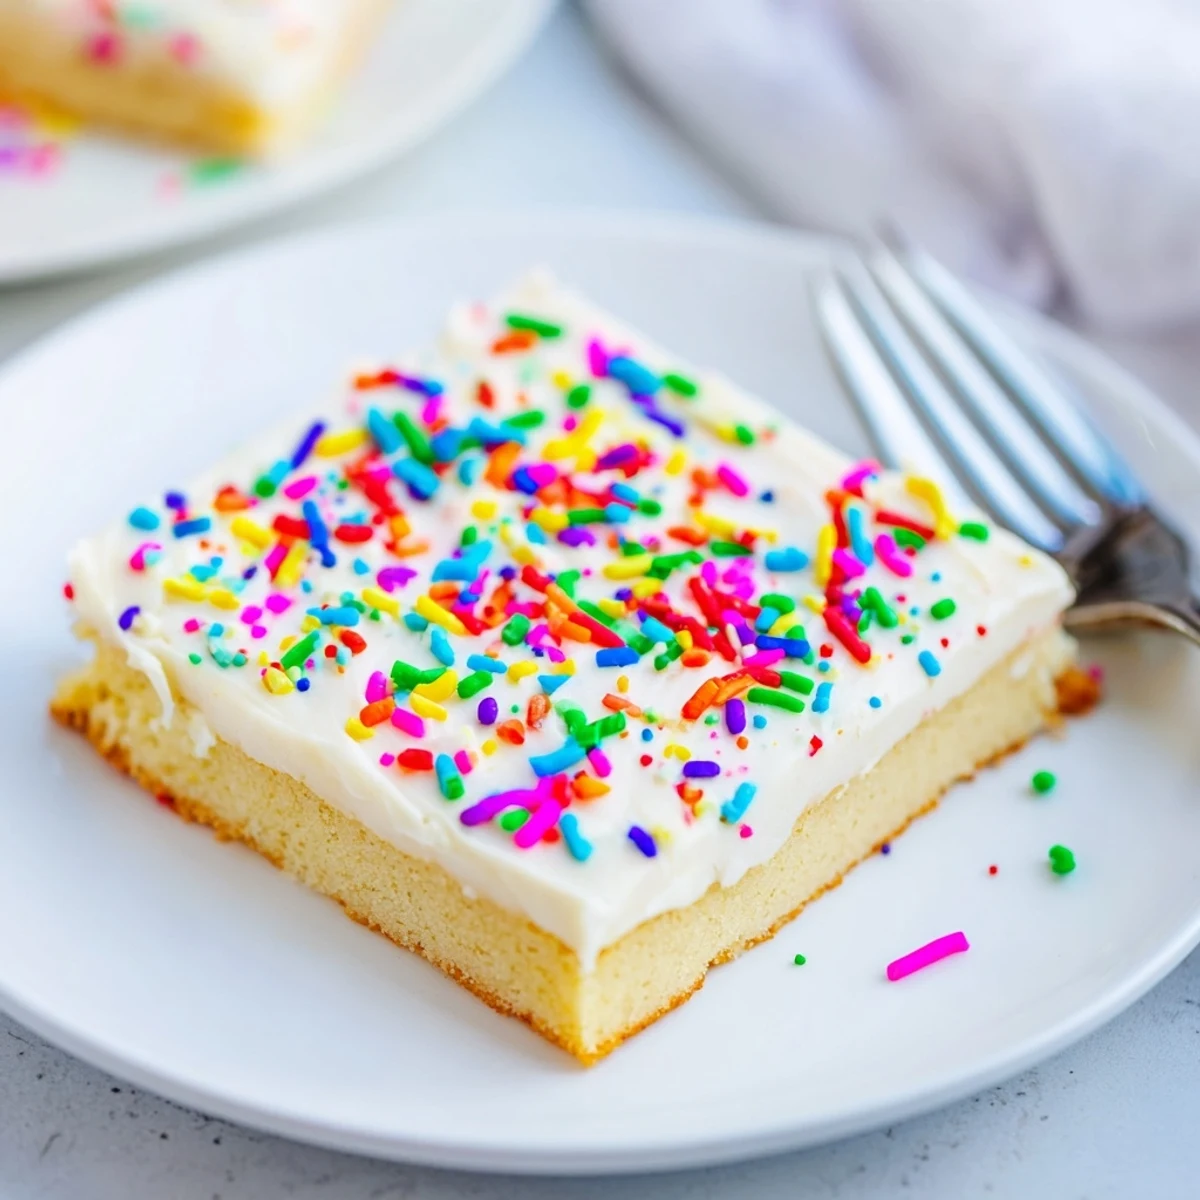
Save There is something genuinely happy-making about a pan full of frosted sugar cookie bars sitting on the counter. Hope these bring as much joy to your kitchen as they have to mine.
Recipe FAQs
- → What makes sugar cookie bars different from regular cookies?
-
Sugar cookie bars are baked in a single pan instead of individual portions, making them faster to prepare and serve. The texture is slightly denser and more uniform, with soft centers and lightly crisp edges. They're perfect for feeding crowds and easier to frost than individual cookies.
- → How do I know when the bars are done baking?
-
The bars are ready when the edges are lightly golden and the center is set, about 18–20 minutes. The surface should spring back lightly when touched. Avoid overbaking as this can make them dry. They'll continue to firm slightly as they cool in the pan.
- → Can I make these bars ahead of time?
-
Yes, these bars store exceptionally well. Keep them in an airtight container at room temperature for up to 3 days, or refrigerate for up to 1 week. You can also freeze unfrosted bars for up to 3 months and thaw before frosting. The frosted bars can be frozen, though the frosting texture may change slightly.
- → Why is my cookie dough too sticky or dry?
-
Sticky dough usually means the butter was too soft or the kitchen is warm. Chill the dough for 15–20 minutes before pressing into the pan. Dry dough indicates too much flour—measure by weight if possible, or fluff the flour before spooning into measuring cups. The dough should be soft and pliable but not sticky.
- → Can I use salted butter instead of unsalted?
-
Yes, you can substitute salted butter, but reduce the added salt in both the cookie dough and frosting by half. Salted butter contains about ¼ teaspoon salt per stick, so adjusting helps maintain the proper flavor balance without making the bars too salty.
- → What's the best way to get clean, even cuts?
-
Let the bars cool completely before frosting, then chill the frosted bars for 30–60 minutes before cutting. Use a large sharp knife and wipe it clean between cuts. The parchment paper overhang allows you to lift the entire slab out for easier cutting on a flat surface.