 Save
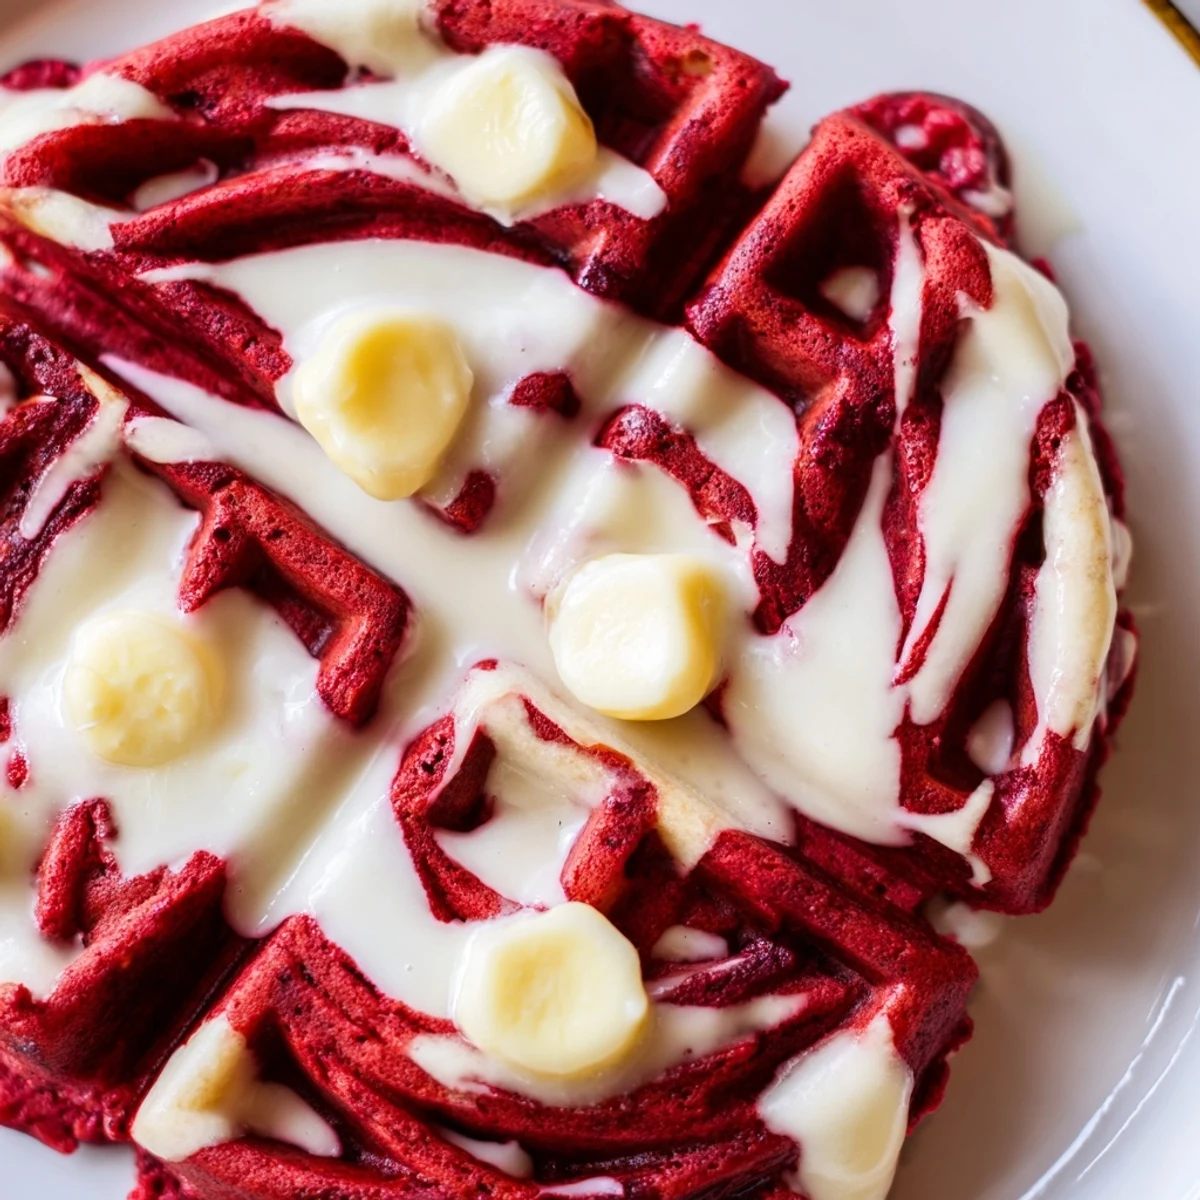
Save Create striking marbled waffles by combining classic vanilla batter with vibrant red velvet. The technique involves preparing one base batter, then splitting it—half remains plain vanilla while the other gets cocoa and red food coloring. Alternating spoonfuls of each batter onto your waffle iron creates that signature swirl pattern. These cook up crisp outside with tender, cake-like interiors in just 3-5 minutes per batch. The rich buttermilk base ensures moist results every time.
Last Sunday, my sister challenged me to waffle roulette. She showed up with red food coloring and demanded something that looked like dessert but ate like breakfast. The first batch looked like a crime scene, but by the third waffle, we had marbled magic.
My niece took one bite and declared these fancy pants waffles. Now she asks for them every sleepover, and I have learned that four year olds do not accept unmarbled waffles as a substitute.
Ingredients
- 2 cups all-purpose flour: The foundation that holds everything together, scoop and level it for accuracy
- 2 tbsp granulated sugar: Just enough sweetness to balance the tangy buttermilk
- 2 tsp baking powder: This creates those beautiful pockets inside each waffle
- 1/2 tsp baking soda: Works with the buttermilk for extra lift and tenderness
- 1/4 tsp salt: Essential to balance the sugar and enhance all flavors
- 1 3/4 cups buttermilk: Room temperature is crucial here, it adds tang and tenderness
- 2 large eggs: Also room temperature helps them incorporate better into the batter
- 4 tbsp unsalted butter, melted and slightly cooled: Butter adds superior flavor, but let it cool so it does not scramble your eggs
- 1 tsp vanilla extract: Pure vanilla makes the plain batter sing on its own
- 2 tbsp unsweetened cocoa powder: Just enough cocoa for that classic red velvet depth
- 1 tbsp red food coloring: Gel coloring gives a deeper red without thinning your batter
Instructions
- Whisk your dry base:
- In a large bowl, combine flour, sugar, baking powder, baking soda, and salt until everything is evenly distributed
- Mix the wet ingredients:
- In another bowl, whisk buttermilk, eggs, melted butter, and vanilla until completely smooth
- Combine gently:
- Fold the wet mixture into dry ingredients just until combined, some small lumps are perfectly fine
- Create the swirl:
- Divide batter between two bowls, whisk cocoa and red food coloring into one bowl, leave the other plain
- Heat your iron:
- Preheat your waffle iron and give it a quick spray of oil for easy release
- Marble the magic:
- Drop alternating spoonfuls of each batter onto the iron, then use a chopstick to swirl them together once
- Cook to golden:
- Close the lid and cook for 3 to 5 minutes until the waffles are crisp and set
- Serve immediately:
- These are best enjoyed straight from the iron with your favorite toppings
 Save
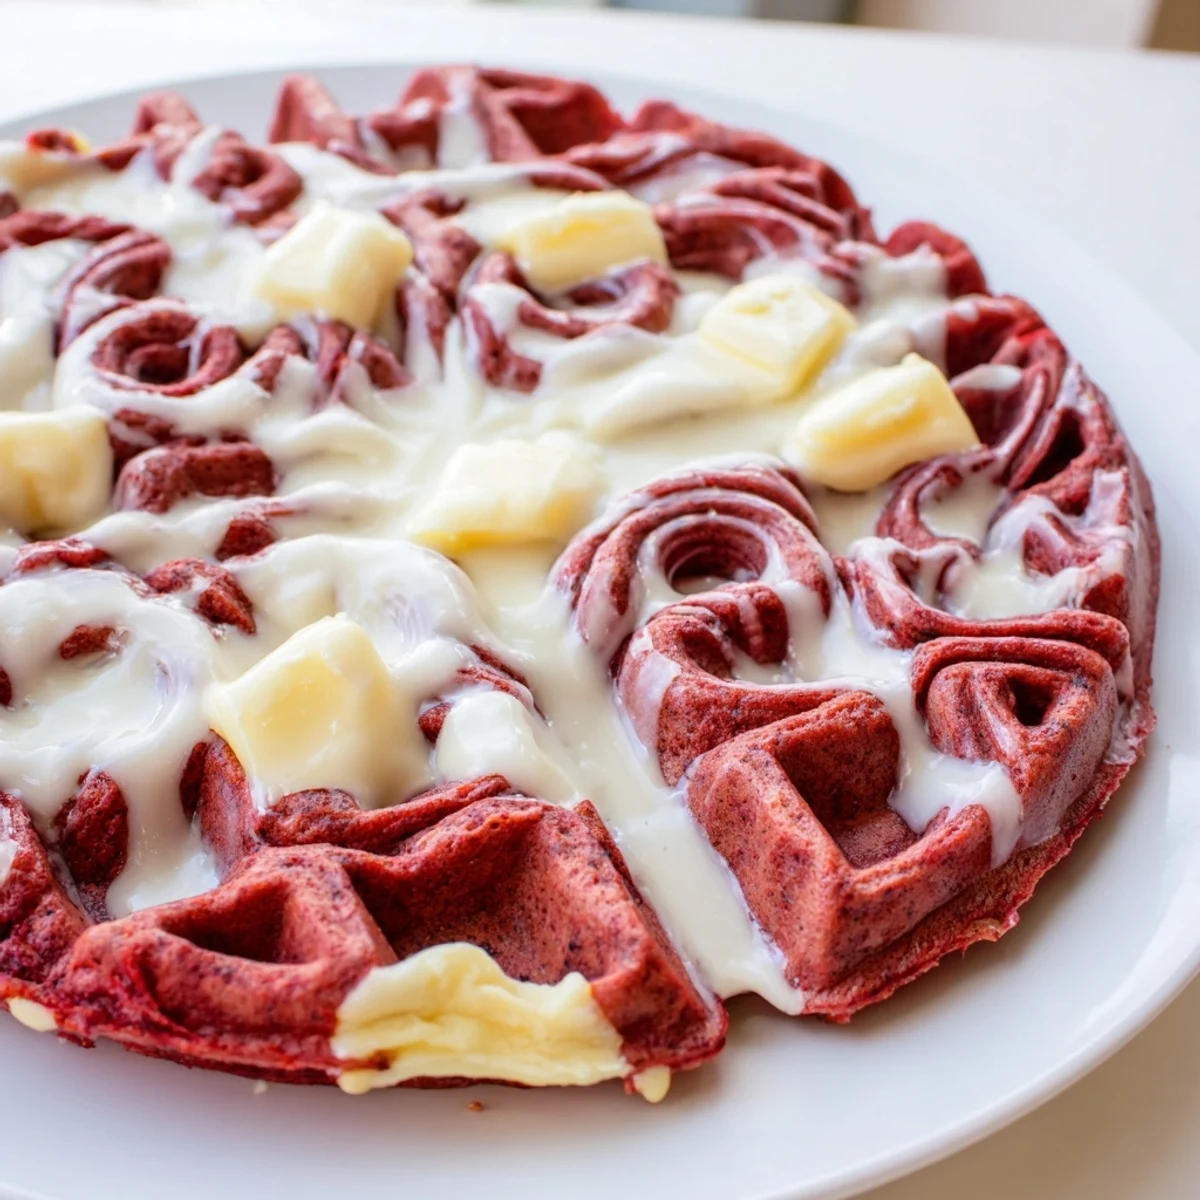
Save These waffles became my go to for impressing guests without actually trying hard. There is something satisfying about serving breakfast that looks like it came from a restaurant kitchen.
Getting The Marble Right
The key is not over swirling. One gentle pass with your chopstick is enough. Too much swirling turns the batter muddy brown, which still tastes great but defeats the purpose of the dramatic presentation.
Make Ahead Strategy
You can mix both batters the night before and store them in separate containers. Give each a quick stir in the morning before marbling and cooking. The baking powder still works beautifully overnight.
Serving Ideas That Work
These deserve toppings that match their energy. Simple syrup is fine, but cream cheese glaze is where it is at.
- Whip together cream cheese, powdered sugar, and milk until it drizzles perfectly
- Fresh berries cut through the richness and add pops of color
- A dusting of powdered sugar right before serving makes them look bakery worthy
 Save
Save There is something delightful about cutting into a waffle and seeing that surprise of red and vanilla swirling together.
Recipe FAQs
- → How do I achieve the marble effect?
-
Drop alternating spoonfuls of red velvet and vanilla batters onto the hot waffle iron. Gently swirl together using a chopstick or butter knife before closing the lid—just one or two light movements creates beautiful marbling without overmixing the colors.
- → Can I make these ahead of time?
-
Yes! Cook the waffles completely, let cool, then freeze in a single layer before transferring to a freezer bag. Reheat in a toaster or oven at 350°F for 5-8 minutes until crisp and warmed through.
- → What if I don't have buttermilk?
-
Substitute with Greek yogurt thinned with a splash of milk, or make your own by adding 1 tablespoon of vinegar or lemon juice to regular milk and letting it sit for 5 minutes until curdled.
- → Can I use natural food coloring?
-
Beet juice or pomegranate juice work as natural alternatives, though they'll produce a deeper burgundy shade rather than bright red. You may need to increase the amount slightly to achieve desired color intensity.
- → What toppings work best?
-
Cream cheese glaze complements the tangy cocoa notes beautifully. Fresh strawberries, whipped cream, or a drizzle of warm maple syrup also enhance the flavors while adding visual appeal.
- → Why did my waffles turn out dense?
-
Overmixing the batter develops gluten, leading to tough results. Fold wet ingredients into dry just until combined—some lumps are okay. Also, ensure your waffle iron is fully preheated before adding batter.