 Save
Save These homemade English muffins deliver everything you love about the classic bakery version - soft, airy interiors with golden-brown crusts and those signature nooks and crannies that perfectly catch melted butter and jam. The straightforward dough comes together with basic pantry ingredients, requiring just a bit of patience for rising and proofing. Cooked on a griddle like traditional muffins, they develop that distinctive split-open texture that makes them ideal for toasting. The recipe yields eight generous muffins, perfect for breakfast or afternoon tea, and they freeze beautifully for future enjoyment.
The aroma of butter melting into fresh toasted English muffins used to fill our tiny apartment kitchen every Sunday morning. My roommate Sarah and I had stumbled upon a recipe card in her grandmother wooden recipe box, yellowed and stained with decades of baking adventures. We were both terrible bakers back then, but something about making bread from scratch felt like magic we needed to learn. Those first attempts came out dense and doughy, but we ate them anyway, slathering on extra butter to compensate for our inexperience.
Last winter, during that terrible ice storm that trapped us inside for three days, I made batch after batch of these English muffins. My neighbor across the hall texted that she could smell them through the vents, and somehow we ended up having an impromptu breakfast party in my kitchen. We stood around the stove with forks, splitting warm muffins and sharing whatever jam and butter we could scrounge from our nearly empty refrigerators. Something about breaking bread during a crisis makes everything feel less lonely.
Ingredients
- Bread flour: The higher protein content creates that classic chewy texture and structure that all purpose flour simply cannot achieve
- Whole milk: Lactose in milk helps the yeast work better while adding subtle sweetness and a tender crumb
- Active dry yeast: Make sure your yeast is fresh and bubbly after blooming, or your muffins will not rise properly
- Granulated sugar: Just enough to feed the yeast without making these taste sweet like breakfast pastries
- Fine sea salt: Do not skip this, salt balances flavor and strengthens the gluten structure
- Unsalted butter: Melted butter adds richness and helps create that signature golden exterior
- Cornmeal or semolina: This prevents sticking and gives English muffins their classic textured surface
Instructions
- Wake up the yeast:
- Stir the yeast and sugar into lukewarm milk and watch it bloom into a foamy layer that proves your yeast is alive and ready to work
- Build the dough foundation:
- Whisk flour and salt together in a large bowl, create a well in the center, then pour in your yeast mixture and melted butter
- Bring it together:
- Mix until shaggy dough forms, then turn onto a floured surface and knead for 8 to 10 minutes until the dough feels smooth and elastic
- Let it rise:
- Place dough in an oiled bowl, cover, and find a warm spot where it can double in size over the next hour to 90 minutes
- Shape the muffins:
- Roll the dough to three quarter inch thickness and cut circles with a 3 inch round cutter, rerolling scraps until you have 8 muffins
- Second rise:
- Set muffins on a cornmeal dusted baking sheet, cover loosely, and let them puff for 25 to 30 minutes
- Cook to perfection:
- Cook in a buttered skillet over medium low heat for 7 to 9 minutes per side until deeply golden and the center reaches 200 degrees
 Save
Save My daughter now requests these for her birthday breakfast every year instead of cake. She stands on her step stool at the counter, flour dusting her nose, carefully cutting out the circles and declaring each one the most perfect muffin ever made. Watching her hands, small and sure, working the dough that I learned to make in my own small kitchen years ago, feels like passing down something more precious than just a recipe.
Getting The Rise Right
Temperature matters more than you might expect. Yeast thrives between 80 and 90 degrees, so find the warmest corner of your kitchen, or create a makeshift proof box by turning your oven light on and placing the dough inside with the door cracked. Too cold and the dough will take forever to rise, too hot and you might kill your yeast entirely.
The Perfect Split
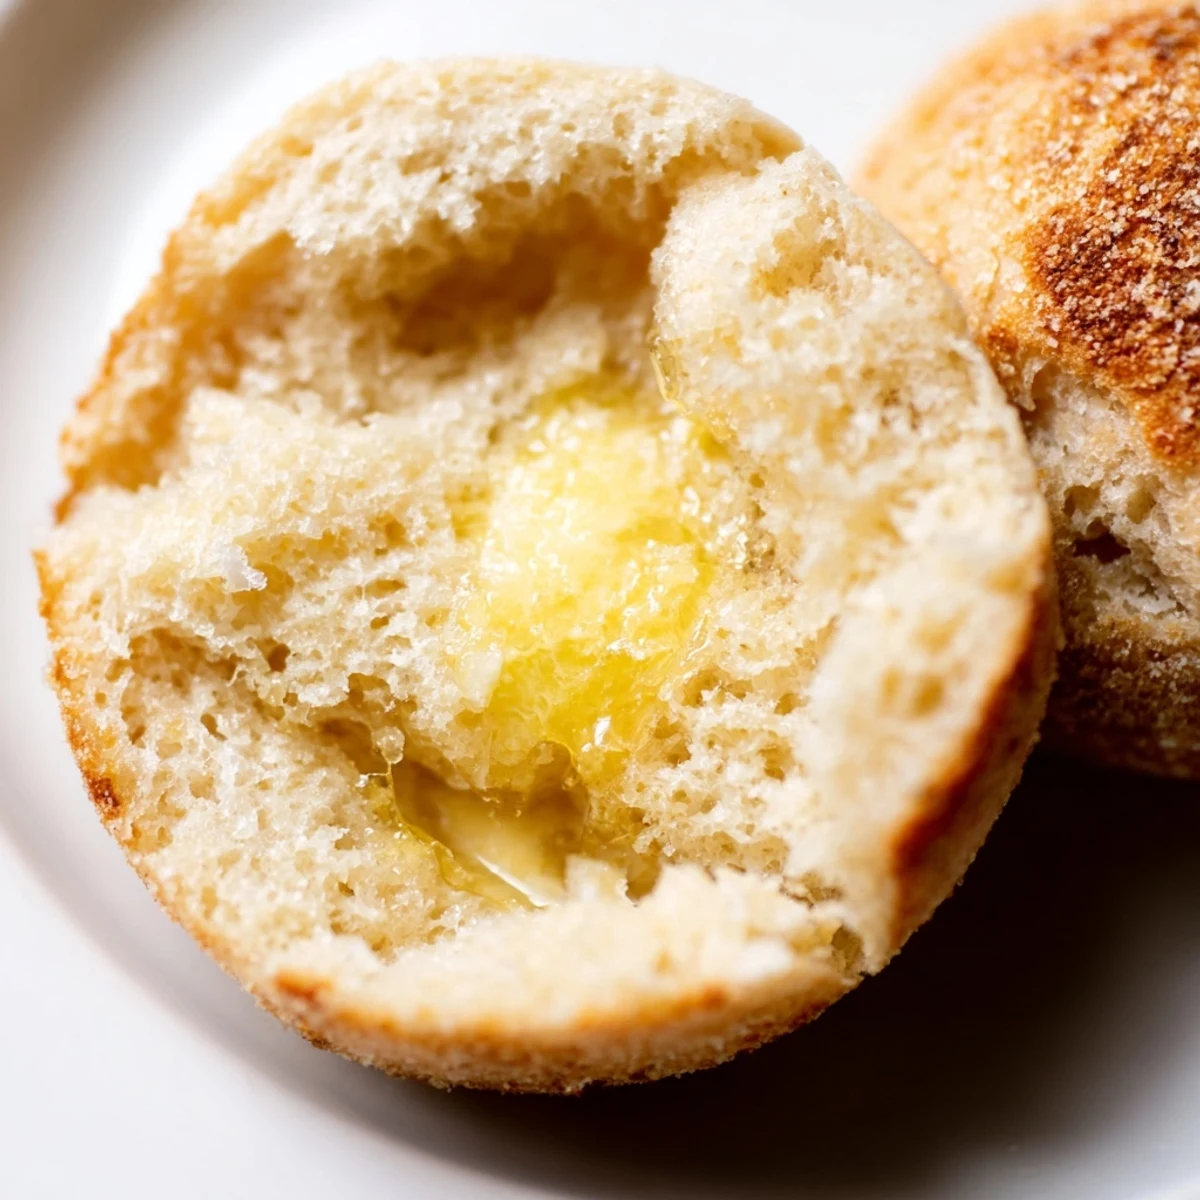
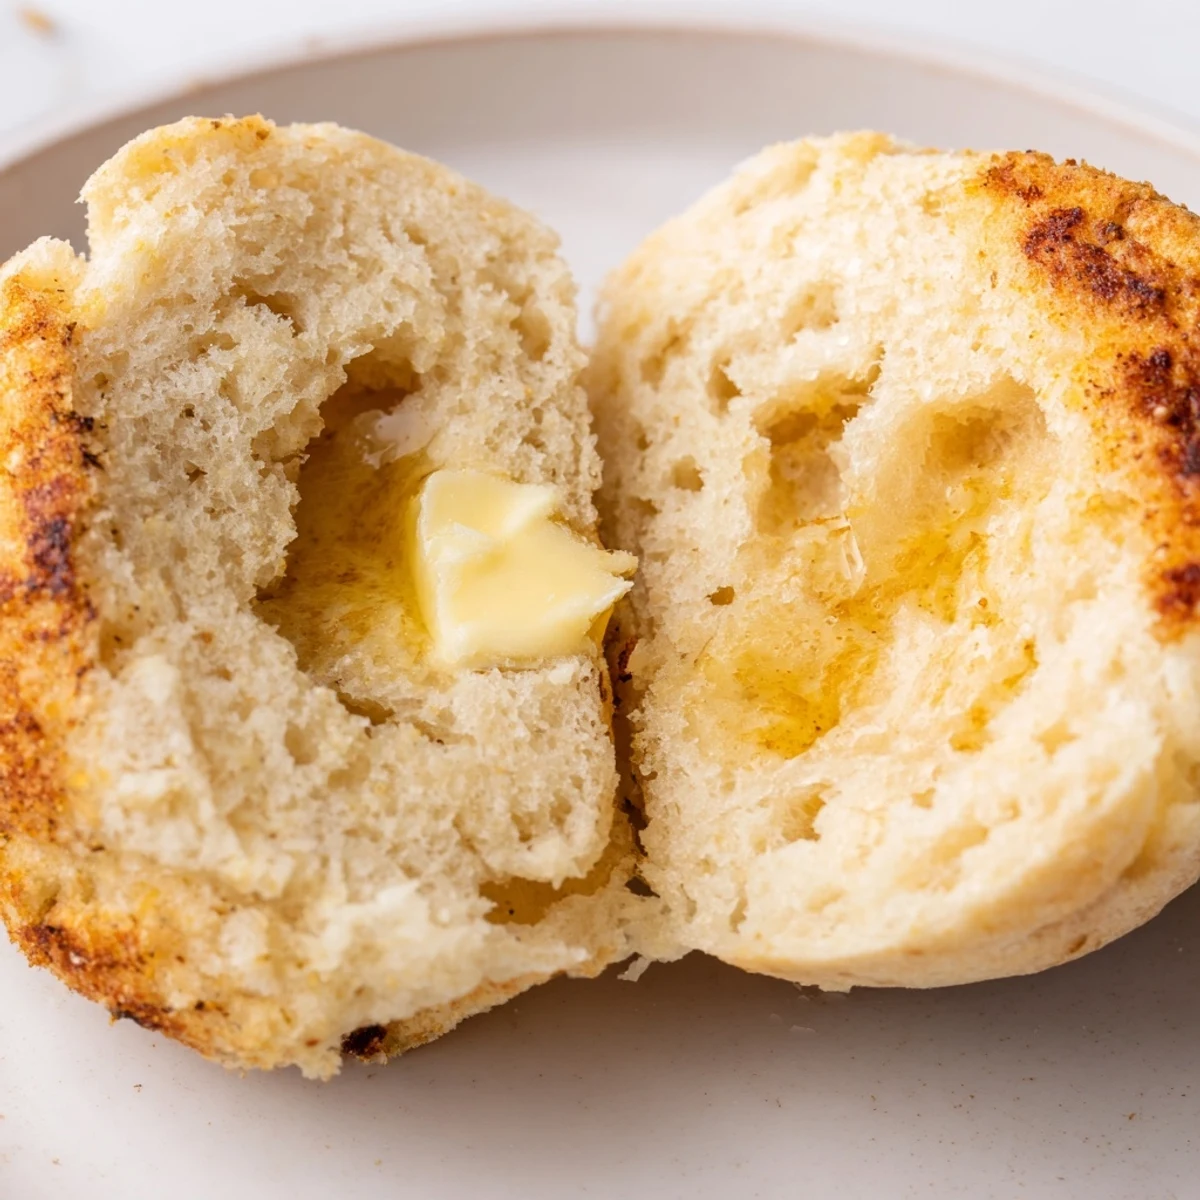
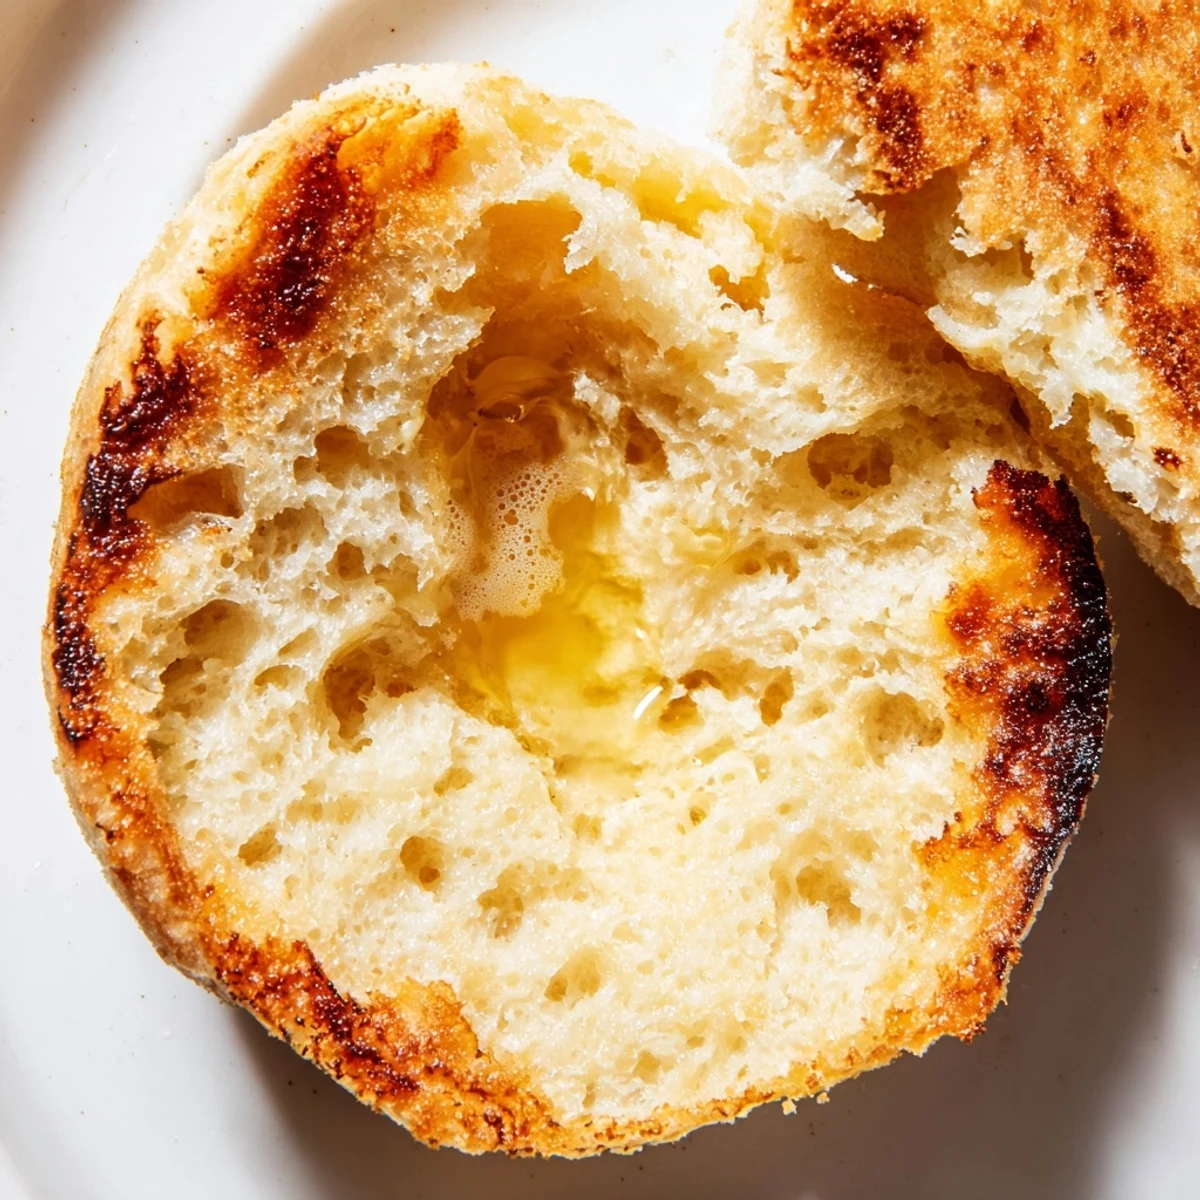
Always use a fork to split your English muffins, never a knife. Insert the tines around the edge and work your way around, then pull apart gently. This rough separation creates all those craggy pockets that make English muffins superior at holding melted butter and jam compared to sliced bread.
Make Ahead Strategy
The dough actually benefits from an overnight rest in the refrigerator, developing deeper flavor from slow fermentation. You can also freeze cooked muffins for up to two months, simply thaw and pop in the toaster to refresh.
- Double the batch and freeze half for busy weekday mornings
- Wrap individually before freezing for easier portion control
- Reheat frozen muffins directly in the toaster, no thawing needed
 Save
Save There is something profoundly satisfying about making something most people only ever buy in plastic bags at the grocery store. Once you taste homemade English muffins, still warm from the skillet, you will understand why this simple recipe has earned a permanent place in my recipe collection.
Recipe FAQs
- → Why split English muffins with a fork instead of a knife?
-
Using a fork to split English muffins preserves the signature nooks and crannies texture. A knife slices through and compresses these air pockets, while fork prongs separate the halves naturally, maintaining those rough surfaces that become perfectly crispy when toasted and excellent at holding melted butter and jam.
- → Can I make English muffins without a griddle?
-
Yes, you can use a large skillet or cast-iron pan instead of a griddle. The key is cooking over low-medium heat to ensure the centers cook through before the exteriors burn. A heavy-bottomed pan helps distribute heat evenly for that golden-brown crust.
- → How do I know when the muffins are cooked through?
-
The muffins should reach an internal temperature of 200°F (93°C) when fully cooked. Visual cues include deep golden coloring on both sides and a slightly puffed appearance. If you tap the muffin, it should sound hollow rather than dense or doughy.
- → Can I substitute whole wheat flour in this recipe?
-
You can replace up to half of the bread flour with whole wheat flour, though the muffins will be slightly denser and less airy. For best results, use whole wheat bread flour and consider adding an extra tablespoon of liquid to compensate for whole wheat's absorbency.
- → Why is cornmeal used for dusting?
-
Cornmeal or semolina creates that classic textured coating on English muffins and prevents sticking during cooking and storage. It adds a subtle crunch and authentic bakery appearance while also helping the muffins release easily from the baking sheet and cooking surface.
- → How should I store homemade English muffins?
-
Keep muffins at room temperature in an airtight container or bag for up to 3 days. For longer storage, freeze them individually wrapped in plastic and then placed in a freezer bag for up to 2 months. Thaw at room temperature or toast directly from frozen.