 Save
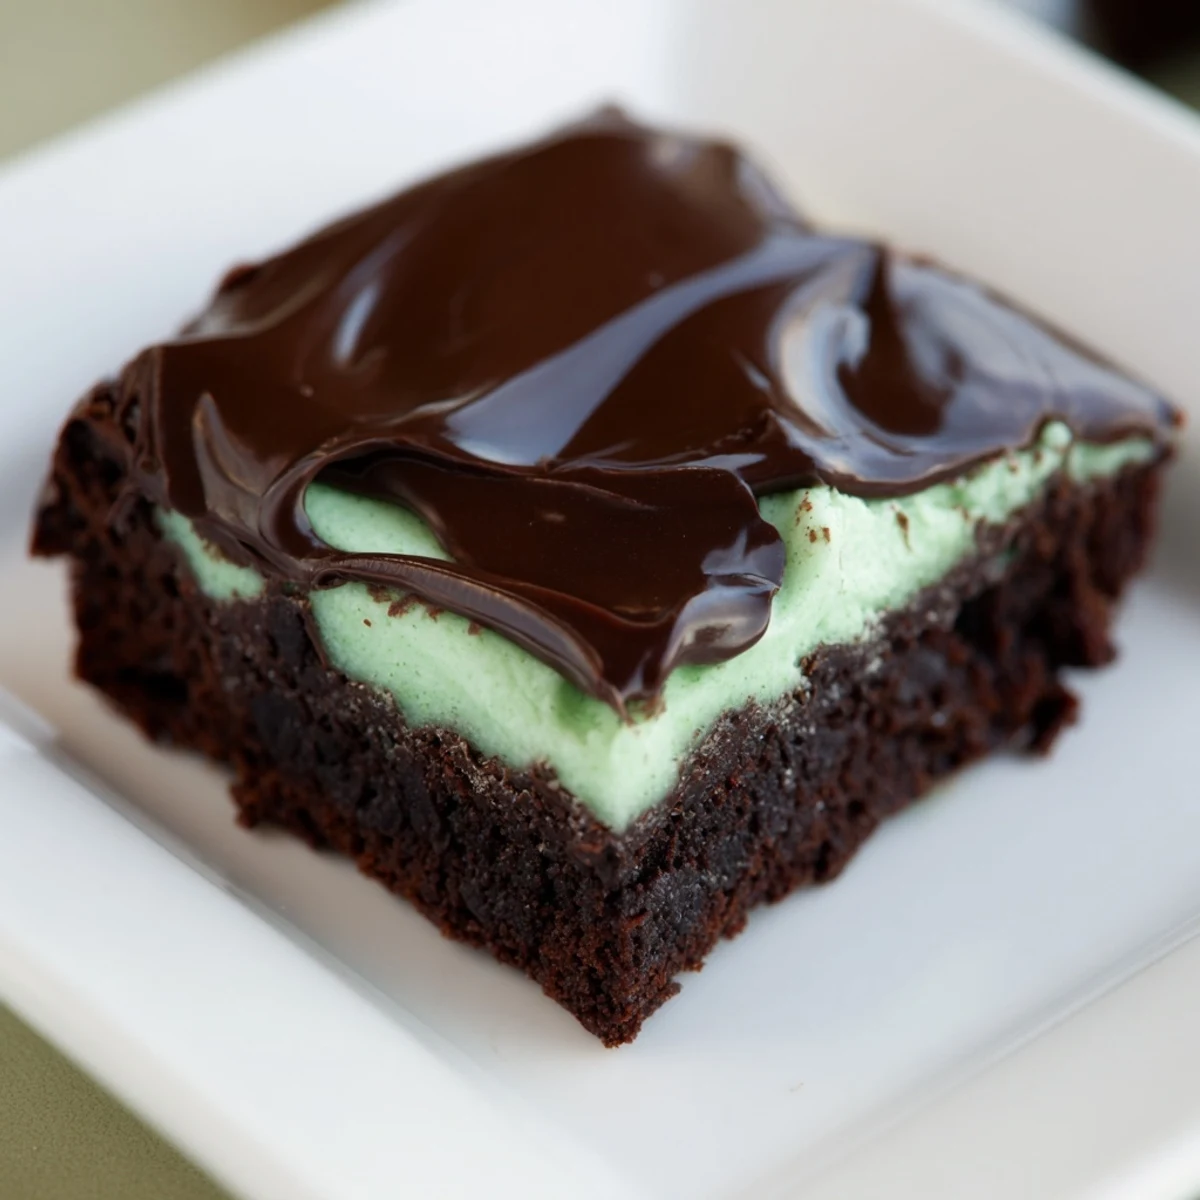
Save These brownies blend a dense, fudgy chocolate base with a velvety mint cream layer, crowned by a luscious chocolate glaze. The process starts with melting butter and whisking together a cocoa-infused batter that bakes to moist perfection. Once cooled, a mint-infused creamy spread is added for a refreshing lift. The final touch is a smooth chocolate topping, chilled to set into a delightful finish. Ideal for those who appreciate the balance of mint and chocolate, this treat combines layers and textures for an indulgent experience.
The first time I made these, I was skeptical about the green layer sitting on top of dark chocolate. My roommate walked in mid-process and asked if I was making something from a cartoon. But when that first bite happened the skepticism vanished completely.
I brought a batch to a dinner party last winter, and my friend Sarah literally gasped when she bit into one. She texted me the next morning asking for the recipe, claiming her husband had eaten three for breakfast.
Ingredients
- Unsalted butter: Use room temperature butter for the mint layer to prevent lumps from forming
- Granulated sugar: This creates that crackly top on brownies when properly creamed with the butter
- Large eggs: Room temperature eggs incorporate better and create a smoother texture
- Vanilla extract: Do not skip this even though mint is the star flavor
- All purpose flour: Measure by weight if possible for consistent fudgy results
- Unsweetened cocoa powder: Dutch process cocoa gives a deeper, darker chocolate flavor
- Salt: This small amount enhances the chocolate without making the brownies taste salty
- Powdered sugar: Sifting it first prevents grainy spots in the mint cream
- Peppermint extract: Start with one teaspoon and taste before adding more
- Green food coloring: A little goes a long way, add drop by drop
- Semisweet chocolate chips: High quality chips melt more smoothly for the glaze
Instructions
- Prep your baking pan:
- Lining with parchment paper makes removal effortless and cleanup much easier
- Melt the butter:
- Let it cool slightly before adding to the sugar so the eggs do not scramble
- Whisk the wet ingredients:
- Mix until the mixture looks glossy and slightly thickened
- Combine the dry ingredients:
- Sifting the flour and cocoa eliminates lumps that create dry pockets in the brownies
- Spread the batter:
- An offset spatula gives the most even layer before baking
- Bake until just set:
- Start checking at 22 minutes since overbaking makes them cakey instead of fudgy
- Make the mint cream:
- Beat the butter alone first until it looks pale and fluffy for the smoothest results
- Add color gradually:
- Deep green looks striking against the dark chocolate layers
- Chill before glazing:
- This step keeps the mint layer from mixing into the chocolate topping
- Melt the glaze ingredients:
- Stir constantly and remove from heat as soon as smooth to prevent seizing
- Finish and set:
- Pour slowly and tilt the pan to spread the glaze without disturbing the mint layer
- Cut clean squares:
- Wipe your knife between cuts for the prettiest presentation
 Save
Save These became my go to birthday treat after my sister requested them instead of cake three years in a row. Something about that mint chocolate combination feels festive without trying too hard.
Getting the Right Consistency
The mint cream should hold soft peaks when you lift the beaters. If it is too thin, refrigerate the bowl for ten minutes and beat again before spreading.
Storage Secrets
These brownies actually improve after sitting overnight. The flavors meld together and the texture becomes even more fudgy, making them perfect for making ahead.
Serving Suggestions
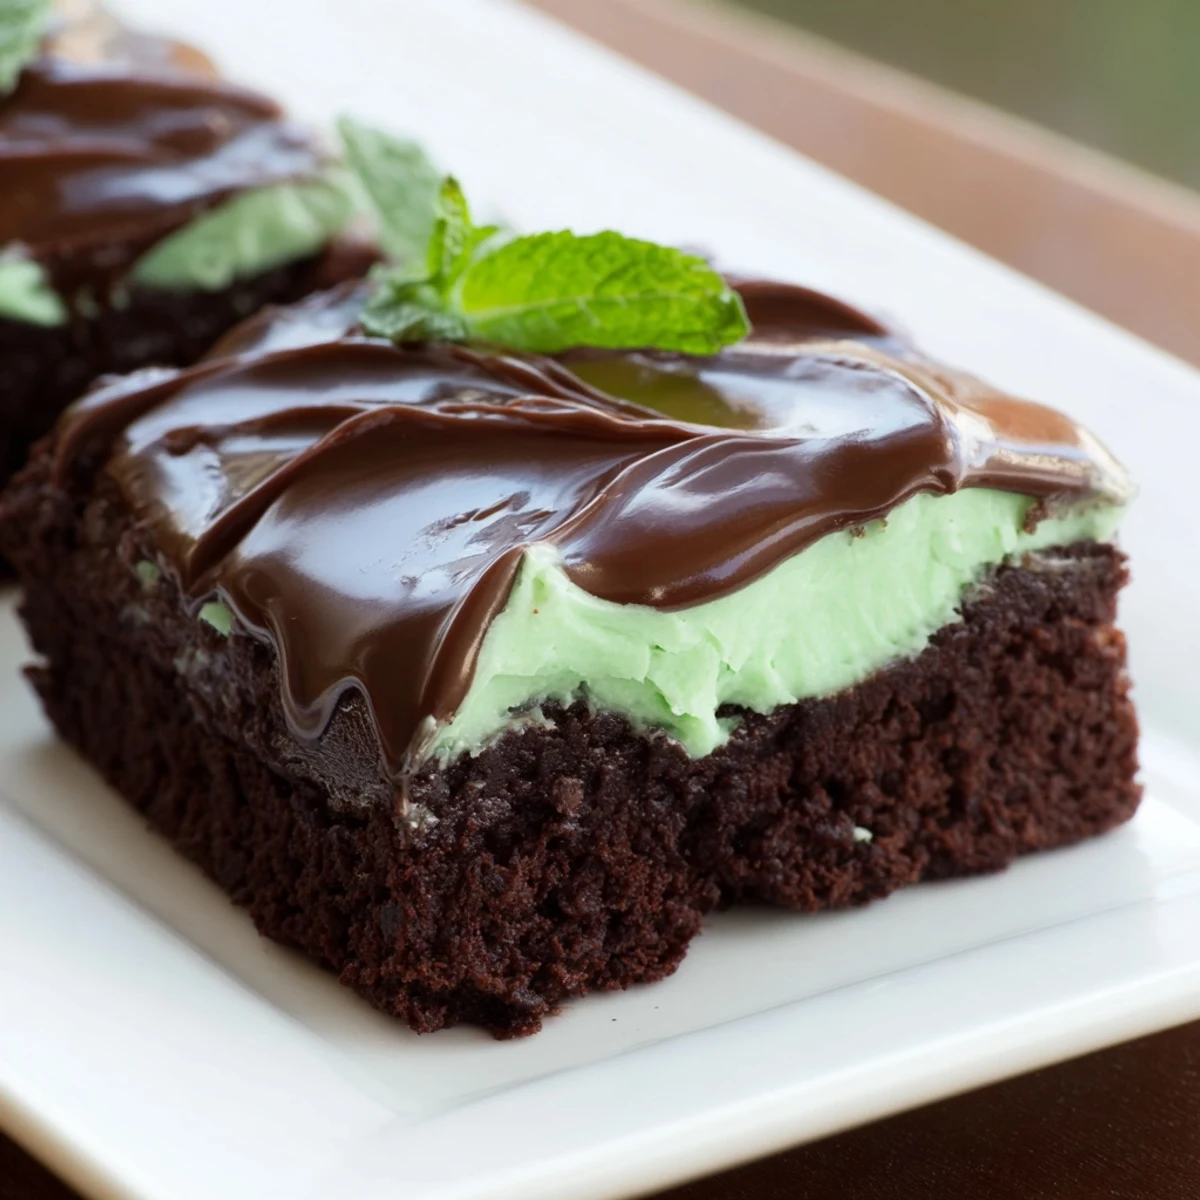
A light dusting of crushed peppermint candies on top makes these extra special for holidays. The red and white pieces look beautiful against the green and dark layers.
- Serve slightly chilled for clean cuts
- Pair with vanilla ice cream to balance the richness
- Coffee cuts through the sweetness perfectly
 Save
Save Every time I serve these, someone asks for the recipe. The combination is so satisfying that people remember them long after the party ends.
Recipe FAQs
- → How can I achieve a fudgy texture in the brownies?
-
Use the correct butter-to-flour ratio and avoid overbaking to keep the brownies moist and fudgy inside.
- → What is the best way to evenly spread the mint cream layer?
-
Chill the brownie base completely before spreading the smooth mint cream using an offset spatula for an even layer.
- → How do I prevent the chocolate glaze from melting the mint layer?
-
Allow the mint cream to chill firmly in the refrigerator before pouring the slightly cooled glaze over it.
- → Can I add nuts for extra texture?
-
Yes, folding chopped walnuts into the batter before baking adds a pleasant crunch without altering the balance of flavors.
- → How long should the finished dessert be refrigerated?
-
Chill the layered treat for at least 30 minutes after glazing to ensure the layers set well before serving.