 Save
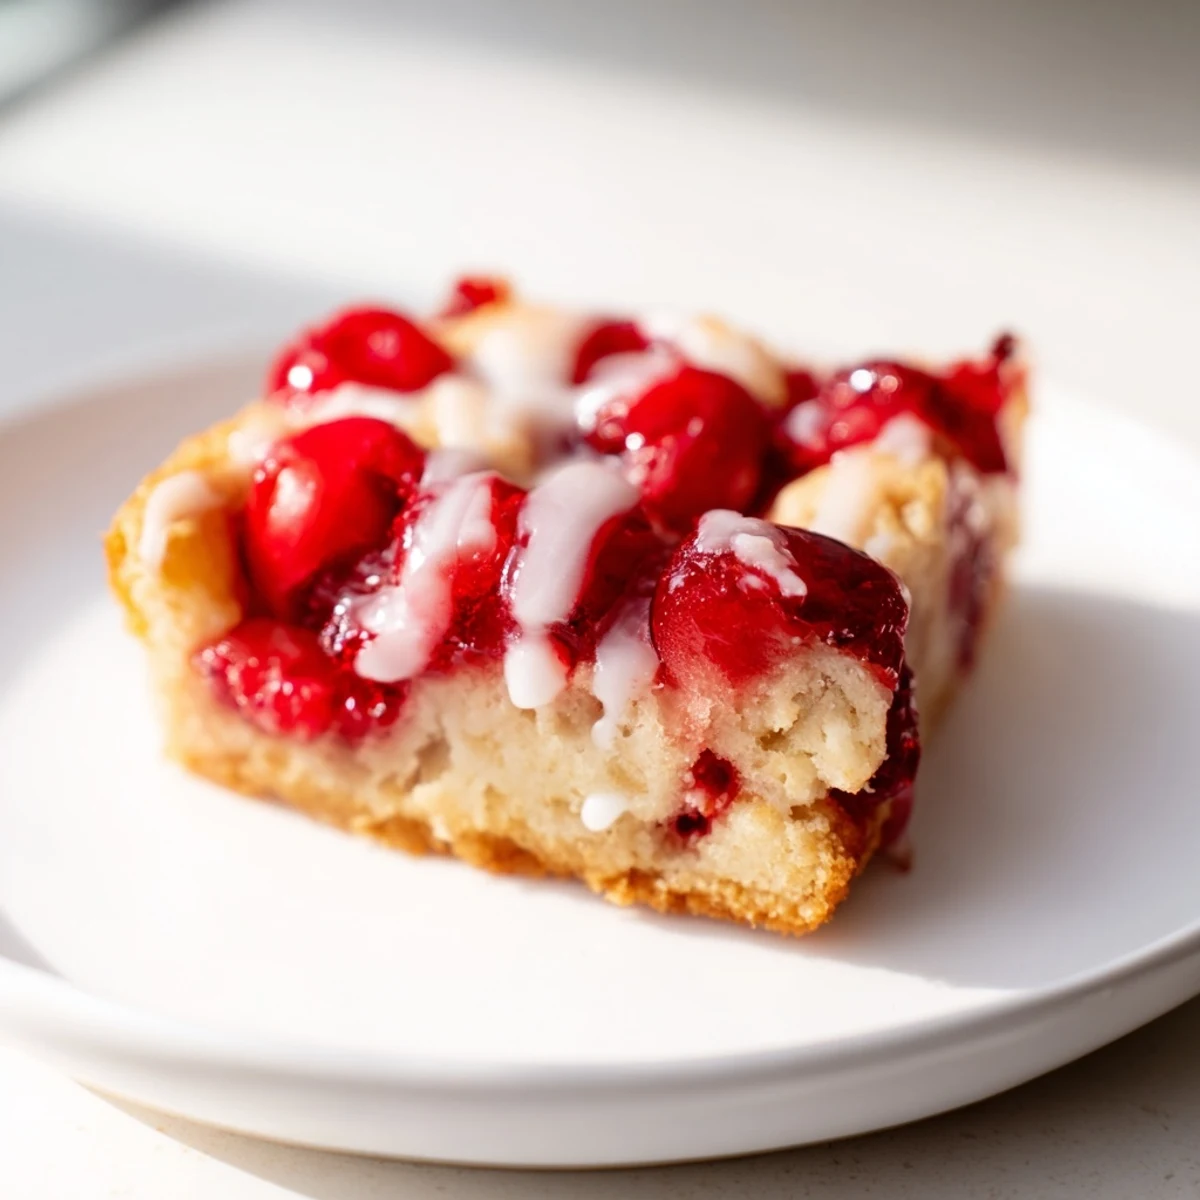
Save These cherry pie bars feature a tender, buttery shortbread-style dough that's incredibly simple to prepare. The base is layered with sweet cherry pie filling, then topped with dollops of the same dough creating a beautiful pattern as it bakes. A quick vanilla glaze adds the perfect finishing touch.
The entire process takes just 15 minutes of active prep time, making these ideal for busy bakers or last-minute gatherings. The bars cut cleanly and hold their shape well, making them perfect for potlucks, bake sales, or casual family desserts.
You can easily customize these by swapping the cherry filling for blueberry, apple, or peach pie filling. The almond extract in the dough adds a lovely depth that pairs beautifully with the cherries, though it's completely optional.
The smell of warm cherries and vanilla always pulls me into the kitchen, no matter what I was doing before. These cherry pie bars started as a desperate attempt to use up a random can of pie filling gathering dust in my pantry, but they have somehow become the most requested dessert at every family gathering since.
I brought these to a potluck last summer and watched my friend Sarah hover by the pan for twenty minutes, claiming she was just guarding them. Later she admitted she had eaten three before dinner even started, and now she texts me every few months asking for the recipe again.
Ingredients
- Unsalted butter: Softening it properly makes all the difference in achieving that tender, cookie like texture
- Granulated sugar: Sweetens the dough and creates that lovely golden crust
- Eggs: Room temperature eggs incorporate better and help bind everything together
- Vanilla and almond extract: The almond extract is optional but adds such a lovely depth that complements cherries
- All purpose flour: Provides structure without becoming tough when mixed gently
- Salt: Balances the sweetness and enhances all the flavors
- Cherry pie filling: Use any brand you love, or homemade if you are feeling ambitious
- Powdered sugar: Creates that perfect drizzle glaze on top
- Milk: Adjust to get your glaze to just the right consistency
Instructions
- Preheat and prep your pan:
- Get your oven to 350°F and grease a 9x13 inch pan, or use parchment paper for easy lifting later
- Cream butter and sugar:
- Beat the softened butter and sugar until it looks pale and fluffy, about 3 minutes
- Add eggs and extracts:
- Drop in the eggs one at a time, then mix in both extracts until everything is combined
- Combine the dry ingredients:
- Whisk the flour and salt in another bowl, then gradually mix into the wet mixture just until no flour streaks remain
- Layer the dough:
- Press about two thirds of the dough into the bottom of your prepared pan in an even layer
- Add the cherry filling:
- Spoon the cherry pie filling over the dough and spread it gently to cover the base
- Top with remaining dough:
- Drop small pieces of the remaining dough over the cherries, letting some red peek through for that pretty look
- Bake until golden:
- Bake for 30 to 35 minutes until the top is lightly golden and the edges are set
- Cool completely:
- Let the bars cool fully on a wire rack before adding the glaze
- Make the glaze:
- Whisk powdered sugar, milk, and vanilla until smooth and drizzle over the cooled bars
- Slice and serve:
- Let the glaze set for about 15 minutes before cutting into 16 squares
 Save
Save My neighbor actually knocked on my door the first time I baked these, following the smell all the way from her house. She left with a plate of warm bars and the recipe written on a napkin.
Making The Dough
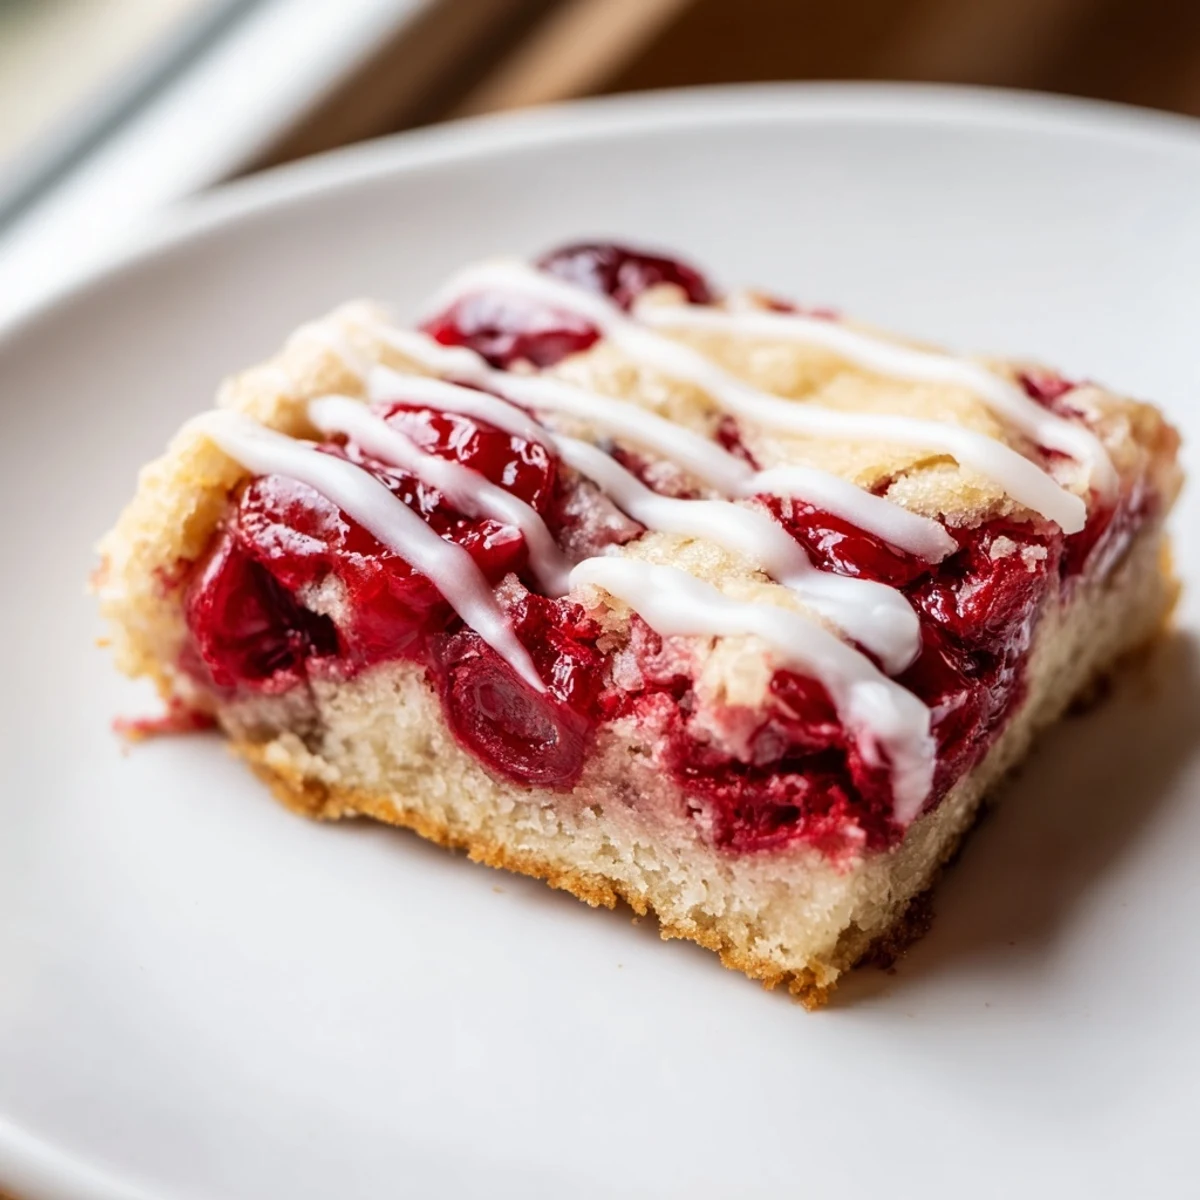
The dough for these bars is essentially a thick cookie batter, and treating it gently yields the most tender result. I have learned that rushing the creaming step makes a noticeable difference in the final texture.
The Cherry Filling
While canned filling works beautifully, I have experimented with thawed frozen cherries tossed with a bit of sugar and cornstarch during cherry season. The fresh fruit version is delicious but the canned version is perfectly reliable.
Storage And Serving
These bars actually taste even better on the second day as the flavors meld together. Store them in an airtight container at room temperature for up to three days, or freeze them unglazed for longer storage.
- Warm each bar for 15 seconds in the microwave before serving
- A scoop of vanilla ice cream turns this into an elegant dessert
- The glaze can be omitted if you prefer a simpler finish
 Save
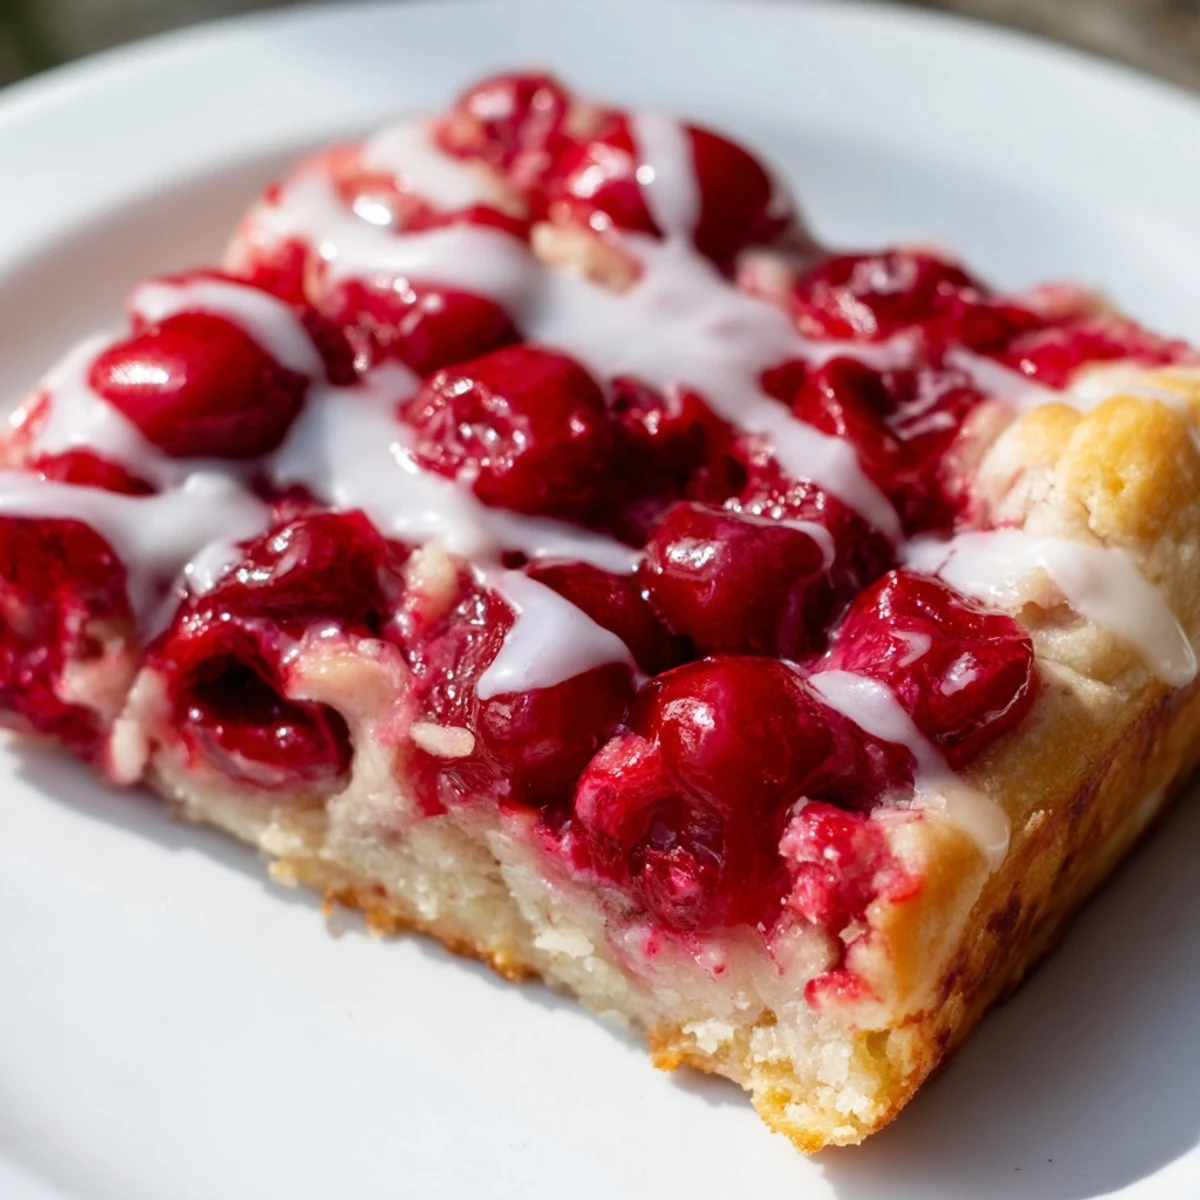
Save There is something about the contrast of sweet cherries against buttery dough that makes these impossible to stop eating, and I am okay with that.
Recipe FAQs
- → Can I use fresh cherries instead of canned pie filling?
-
While you can make your own cherry filling from fresh cherries, canned pie filling provides the perfect consistency and sweetness level that this recipe was designed around. If using fresh cherries, you'll need to cook them down with sugar and cornstarch to create a thick filling similar to canned.
- → How should I store these bars?
-
Store the bars in an airtight container at room temperature for up to 3 days. For longer storage, refrigerate for up to a week. You can also freeze them, either with or without glaze, for up to 3 months. Thaw at room temperature before serving.
- → Why is my dough too soft to work with?
-
The dough should be soft but manageable. If it's too sticky, chill it for 15-20 minutes in the refrigerator before spreading. Make sure your butter is softened, not melted. If the kitchen is very warm, the dough may become difficult to work with.
- → Can I make these ahead of time?
-
Absolutely! You can bake the bars a day ahead and glaze them the next day, or prepare and glaze them fully 1-2 days before serving. The flavors actually develop nicely overnight. Just wait to add the glaze until completely cooled.
- → What size pan should I use?
-
A standard 9x13-inch baking pan is essential for this recipe. Using a different size will affect the baking time and thickness of the bars. A larger pan will yield thinner bars that may overcook, while a smaller pan will prevent proper baking.