 Save
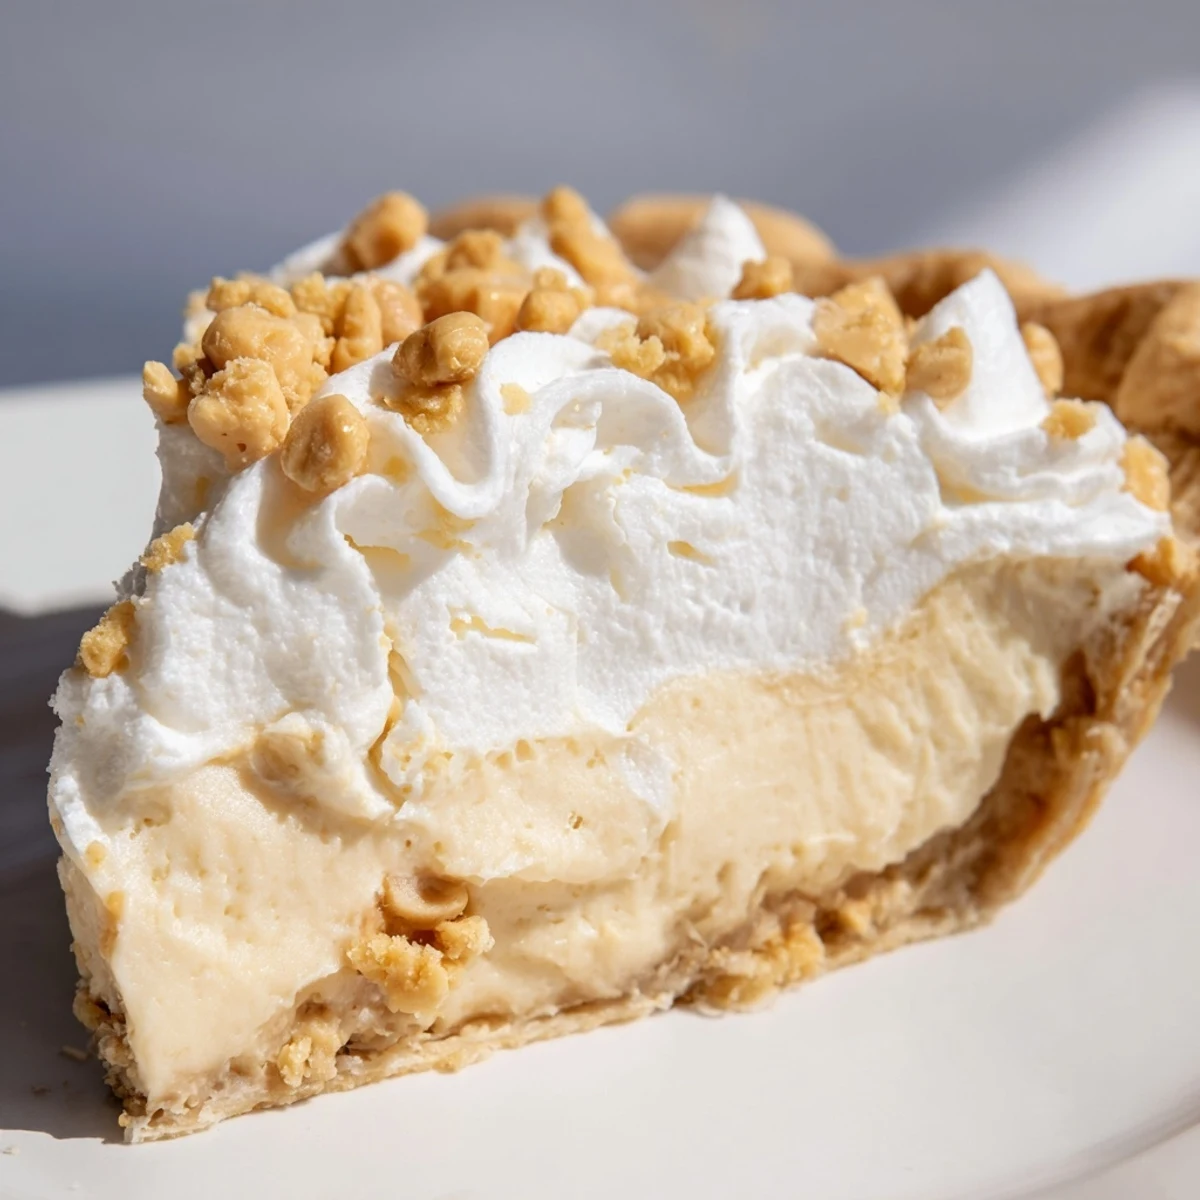
Save This old-fashioned Amish dessert combines the rich, nutty flavor of peanut butter with a classic pie tradition. The velvety custard-style filling is made on the stovetop with milk, egg yolks, and vanilla, then layered with sweet peanut butter crumbs in a crisp baked crust. After chilling until set, the pie is topped with freshly whipped cream and a final sprinkle of crumbly peanut butter mixture. The result is a dreamy, indulgent treat that balances sweet and creamy textures with the satisfying crunch of the crumb topping. Perfect for gatherings, holidays, or whenever you crave comfort food with a homemade touch.
The first time I encountered this pie at an Amish market in Lancaster County, I couldn't believe something so simple could taste so extraordinary. The woman behind the counter just smiled when I asked what made it special, saying sometimes the old ways are the best ways. I've been making it ever since, and it never fails to make people close their eyes in pure dessert happiness.
Last summer I made this for my father in laws birthday, and he practically inhaled two slices before admitting he'd never been a pie person until that moment. Now it's the only dessert he actually requests by name.
Ingredients
- 1 9-inch prepared pie crust: Having this ready baked and cooled saves so much time and lets you focus on the good stuff
- 3/4 cup creamy peanut butter: Don't use natural here, the regular creamy stuff gives the best crumb texture
- 1 cup powdered sugar: This sweetens the peanut butter without making it grainy
- 2/3 cup granulated sugar: Sweetens the custard filling just right
- 1/3 cup all-purpose flour: This is what thickens the filling into that perfect pudding consistency
- 1/4 teaspoon salt: Balances all that sweetness and makes the peanut butter pop
- 2 cups whole milk: Full fat makes such a difference in creaminess, trust me on this
- 3 large egg yolks: Save the whites for another use, but don't skip these yolks
- 1 teaspoon pure vanilla extract: Use the good stuff, you can really taste it here
- 2 tablespoons unsalted butter: Adds that luxurious finish to the filling
- 1 cup heavy whipping cream: Cold from the fridge works best for whipping
- 2 tablespoons powdered sugar: Sweetens the whipped topping just enough
- 1/2 teaspoon vanilla extract: A little more vanilla never hurt anyone
Instructions
- Make the peanut butter crumbs:
- Grab a medium bowl and mash that peanut butter and powdered sugar together with a fork until it looks like damp sand, the texture matters more than getting it perfectly uniform.
- Layer the bottom crust:
- Press half of those crumbs into your cooled pie crust, just enough to create a lovely surprise layer at the bottom.
- Start the custard base:
- Whisk the granulated sugar, flour, and salt in your saucepan until no flour lumps remain, then slowly stream in the milk while whisking like your life depends on it.
- Cook until thickened:
- Set it over medium heat and keep whisking, watching for that first bubble and feeling the mixture thicken under your whisk, about 4 to 5 minutes of constant attention.
- Temper those egg yolks:
- Whisk your yolks in a separate bowl while the milk heats, then slowly drizzle in about a half cup of the hot mixture, whisking furiously so you don't end up with scrambled eggs.
- Combine and finish cooking:
- Pour that warmed egg mixture back into the saucepan, keep whisking for another 2 minutes until everything's glossy and thick enough to coat the back of a spoon.
- Add the finishing touches:
- Remove from heat and stir in the butter and vanilla until melted and completely smooth, breathing in that incredible smell.
- Assemble the pie:
- Pour the warm filling over those peanut butter crumbs in your crust, let it cool about 15 minutes on the counter, then pop it in the fridge for at least 2 hours.
- Whip the cream:
- Beat the heavy cream, powdered sugar, and vanilla until you have stiff peaks that hold their shape when you lift the beaters.
- Finish and serve:
- Spread that whipped cream over your completely chilled pie, then sprinkle with the remaining peanut butter crumbs right before serving for that beautiful presentation.
 Save
Save My youngest daughter calls this the happy pie because it's the one that makes the whole house smell comfort and brings everyone running to the kitchen. Something about peanut butter and nostalgia just works.
Making It Ahead
You can make this pie up to 24 hours in advance, just wait to add the whipped cream topping until a couple hours before serving. The crumbs might soften slightly overnight, but honestly that just makes it more like a peanut butter truffle situation.
Serving Suggestions
This pie cuts best when it's nice and cold, so keep it chilled until the very last minute. A warm cup of coffee alongside is practically mandatory, though I've been known to eat it for breakfast with zero regrets.
Little Tweaks That Work
Sometimes I'll drizzle a little melted chocolate over the top, especially for holidays, because chocolate and peanut butter is never a bad idea. You could also use a graham cracker crust if you want more texture.
- Try adding a pinch of cinnamon to the peanut butter crumbs
- Toasted chopped peanuts on top add nice crunch
- A chocolate wafer crust instead of regular pie crust changes everything in the best way
 Save
Save There's something about old recipes that just hits different, and this pie has earned its place in my regular rotation. Hope it finds a permanent home in yours too.
Recipe FAQs
- → How long does it take to make this peanut butter pie?
-
Active preparation takes about 25 minutes with 10 minutes of cooking time on the stovetop. However, the pie requires at least 2 hours of chilling time to set properly, so plan for a total of 3 hours from start to serving.
- → Can I make this pie ahead of time?
-
Yes, this dessert actually improves when made ahead. The pie can be prepared and refrigerated up to 24 hours before serving. Add the whipped cream topping and crumb garnish shortly before serving for the freshest presentation.
- → What type of peanut butter works best?
-
Creamy peanut butter is recommended for both the filling and crumbs as it provides a smooth, consistent texture. Popular brands like Jif or Skippy work well, but any creamy commercial peanut butter will deliver excellent results.
- → Can I substitute the milk?
-
Whole milk provides the creamiest texture, but you can use 2% milk if needed. Avoid skim milk as it will result in a thinner, less rich filling. For a dairy-free version, coconut milk may work but will alter the flavor profile.
- → How should I store leftovers?
-
Store any remaining pie in the refrigerator, covered loosely with plastic wrap or aluminum foil. It will keep well for 3-4 days. The crust may soften slightly over time, but the flavor will remain delicious.
- → Can I make this gluten-free?
-
Yes, use a gluten-free pie crust and replace the all-purpose flour in the filling with a 1:1 gluten-free flour blend. Ensure all other ingredients, including the peanut butter, are certified gluten-free.