 Save
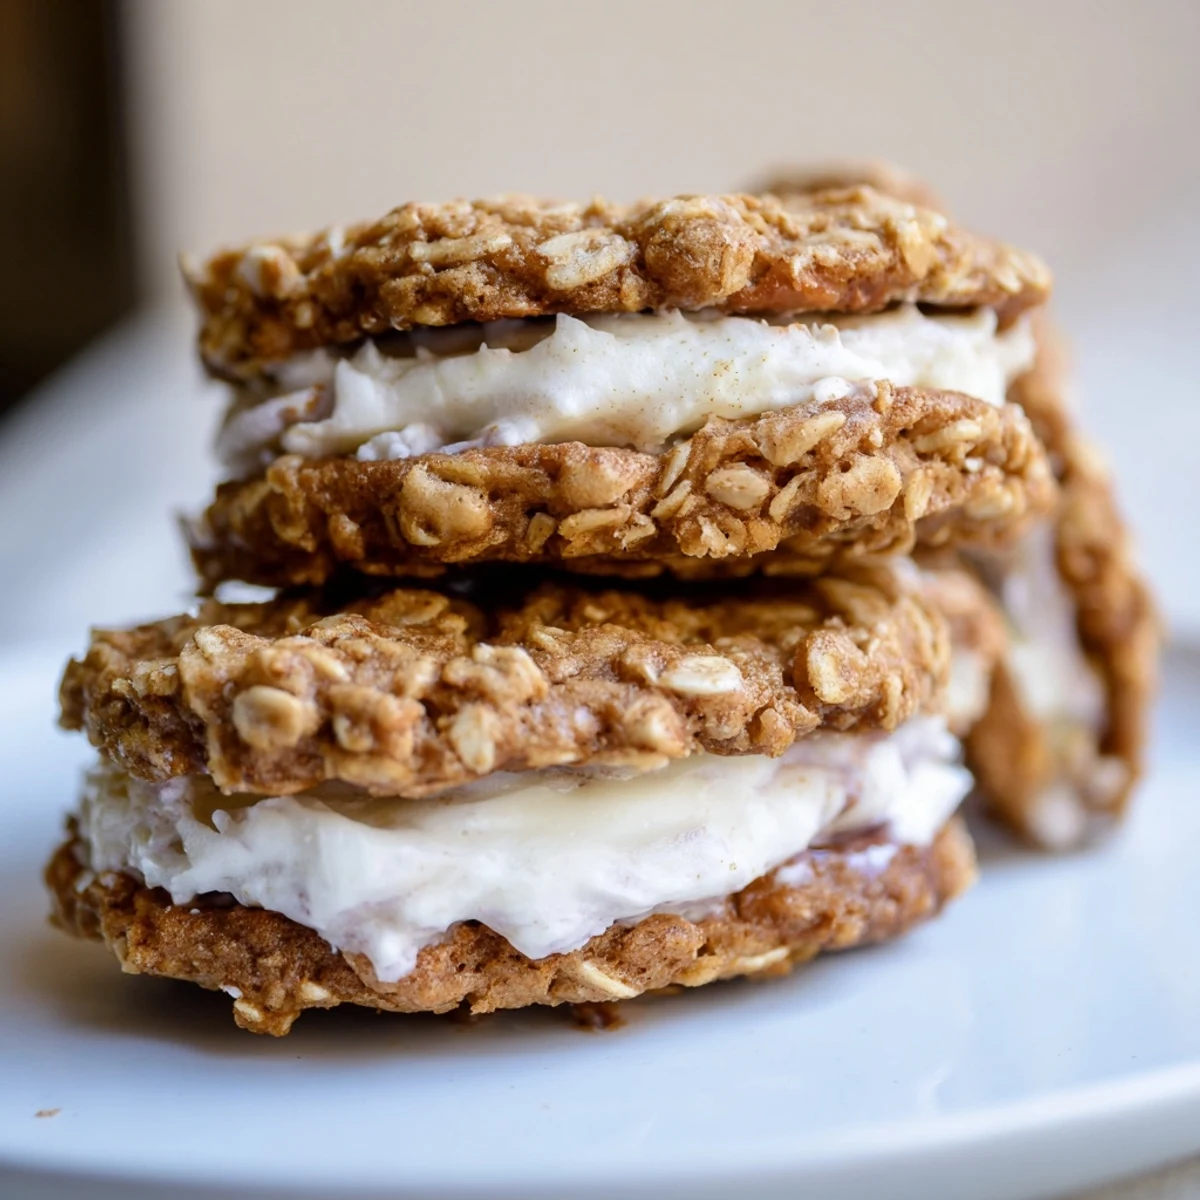
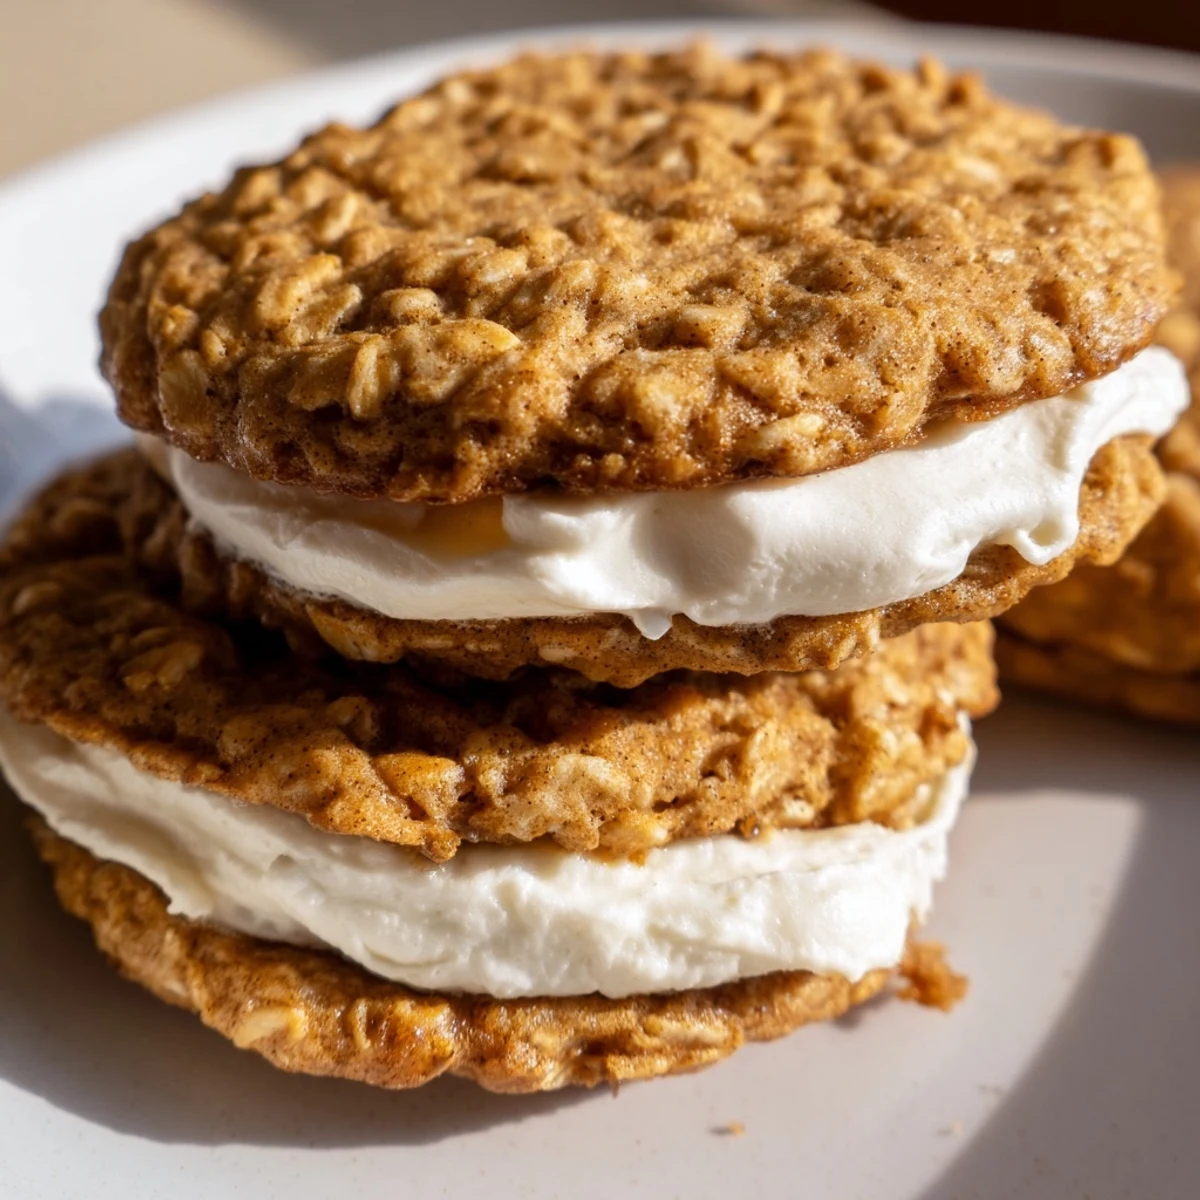
Save These nostalgic treats feature soft, chewy oatmeal cookies with perfectly golden edges, filled with a luscious vanilla cream. Each bite delivers that beloved childhood flavor with a homemade touch.
The preparation comes together in under 40 minutes, yielding 12 generously filled sandwich pies. The oatmeal cookies stay tender thanks to a careful balance of brown sugar and butter, while the cream filling offers just the right amount of sweetness.
Perfect for bake sales, lunchbox treats, or afternoon snacking. You can freeze unfilled cookies for up to two months and assemble them fresh whenever cravings strike.
My college roommate used to hide these in the back of the freezer, thinking I wouldn't find them. She was wrong, and I'm not even sorry about the three I ate during finals week that one time.
Last summer I made a batch for a backyard barbecue and watched my dad sneak four of them in the span of twenty minutes. He claimed he was "testing for quality control" but I saw the powdered sugar on his chin.
Ingredients
- Unsalted butter (softened): Room temperature butter is non-negotiable here, it creates that tender melt-in-your-mouth texture that separates okay cookies from great ones
- Light brown sugar: The molasses in brown sugar adds moisture and a subtle caramel depth that granulated sugar just can't provide
- Granulated sugar: Helps create crisp edges while keeping centers chewy, the classic two-sugar approach never fails
- Large eggs: Bring them to room temperature too, cold eggs can cause the butter to seize and create weird textured cookies
- Pure vanilla extract: Don't skimp here, it's the backbone flavor that ties everything together
- All-purpose flour: Provides structure without making cookies tough, measure properly by spooning and leveling
- Baking soda and powder: This duo gives the cookies just enough lift to stay soft instead of flat and hard
- Fine sea salt: Enhances all the other flavors and balances the sweetness, don't skip it
- Ground cinnamon: Warm spice that makes these taste like childhood even if you didn't grow up with them
- Old-fashioned rolled oats: These create the perfect chewy texture, quick oats will make the cookies too dense and mealy
- More butter for filling: The base of the cream filling needs to be perfectly soft and pliable
- Powdered sugar (sifted): Sifting prevents lumps in the frosting, there is nothing worse than crunchy cream filling
- Heavy cream or milk: Just enough to make the filling smooth and spreadable without making it sloppy
- More vanilla: Because the filling should be just as flavorful as the cookies
- Pinch of salt: A tiny amount keeps the filling from tasting cloyingly sweet
Instructions
- Preheat your oven:
- Set it to 350°F (175°C) and line two baking sheets with parchment paper, the paper saves you from scrubbing baked-on sugar later
- Cream the butter and sugars:
- Beat them together for about 2 minutes until the mixture looks pale and fluffy, this step creates air pockets that make cookies tender
- Add eggs and vanilla:
- Mix until everything is thoroughly combined, scrape down the sides of the bowl so no egg is hiding unmixed at the bottom
- Whisk the dry ingredients:
- In a separate bowl combine the flour, baking soda, baking powder, salt, and cinnamon so they're evenly distributed
- Combine wet and dry:
- Gradually add the flour mixture to the butter mixture, mixing only until you no longer see visible flour streaks
- Fold in the oats:
- Use a spatula to gently incorporate the oats by hand, overmixing at this stage can make cookies tough
- Scoop the dough:
- Drop tablespoon-sized portions onto the prepared sheets, leaving about 2 inches between each for spreading
- Bake to perfection:
- Cook for 10–12 minutes until edges are lightly golden but centers still look slightly underbaked, they'll finish cooking on the sheet
- Cool completely:
- Let them sit on the baking sheets for 5 minutes before moving to a wire rack, warm cookies will melt the filling right off
- Make the cream filling:
- Beat the butter until creamy, then gradually add powdered sugar, cream, vanilla, and salt until fluffy and spreadable
- Assemble the pies:
- Match cookies by size, spread about 1 tablespoon of filling on one half and press another cookie gently on top
- Store or serve:
- These are best eaten the same day but will keep in an airtight container for a few days if you have that kind of self-control
 Save
Save My mom started making these for school bake sales when I was in elementary school, and I still remember the principal asking if she could buy some to take home. The ones that made it home were always gone before dinner.
Getting The Texture Right
The key to that signature soft center is pulling the cookies from the oven when they look slightly underdone. The residual heat on the baking sheet finishes the cooking process without drying them out. I learned this after one particularly disappointing batch that could have been used as coasters.
Making The Filling Your Own
Sometimes I add a drop of almond extract to the cream filling, which gives it that classic bakery flavor nobody can quite put their finger on. A tiny bit goes a long way, and people will spend the whole dessert trying to guess your secret ingredient.
Storage And Make-Ahead Tips
You can freeze the unfilled cookies for up to two months, which means spontaneous pie emergencies are completely manageable. Thaw them on the counter for about an hour before filling.
- Press a small indent into warm cookies with the back of a spoon to create a natural well for the filling
- Wrap assembled pies individually in plastic wrap if you're taking them somewhere, they travel much better that way
- The unfilled cookies actually freeze better than the finished pies, so fill them after thawing for the freshest taste
 Save
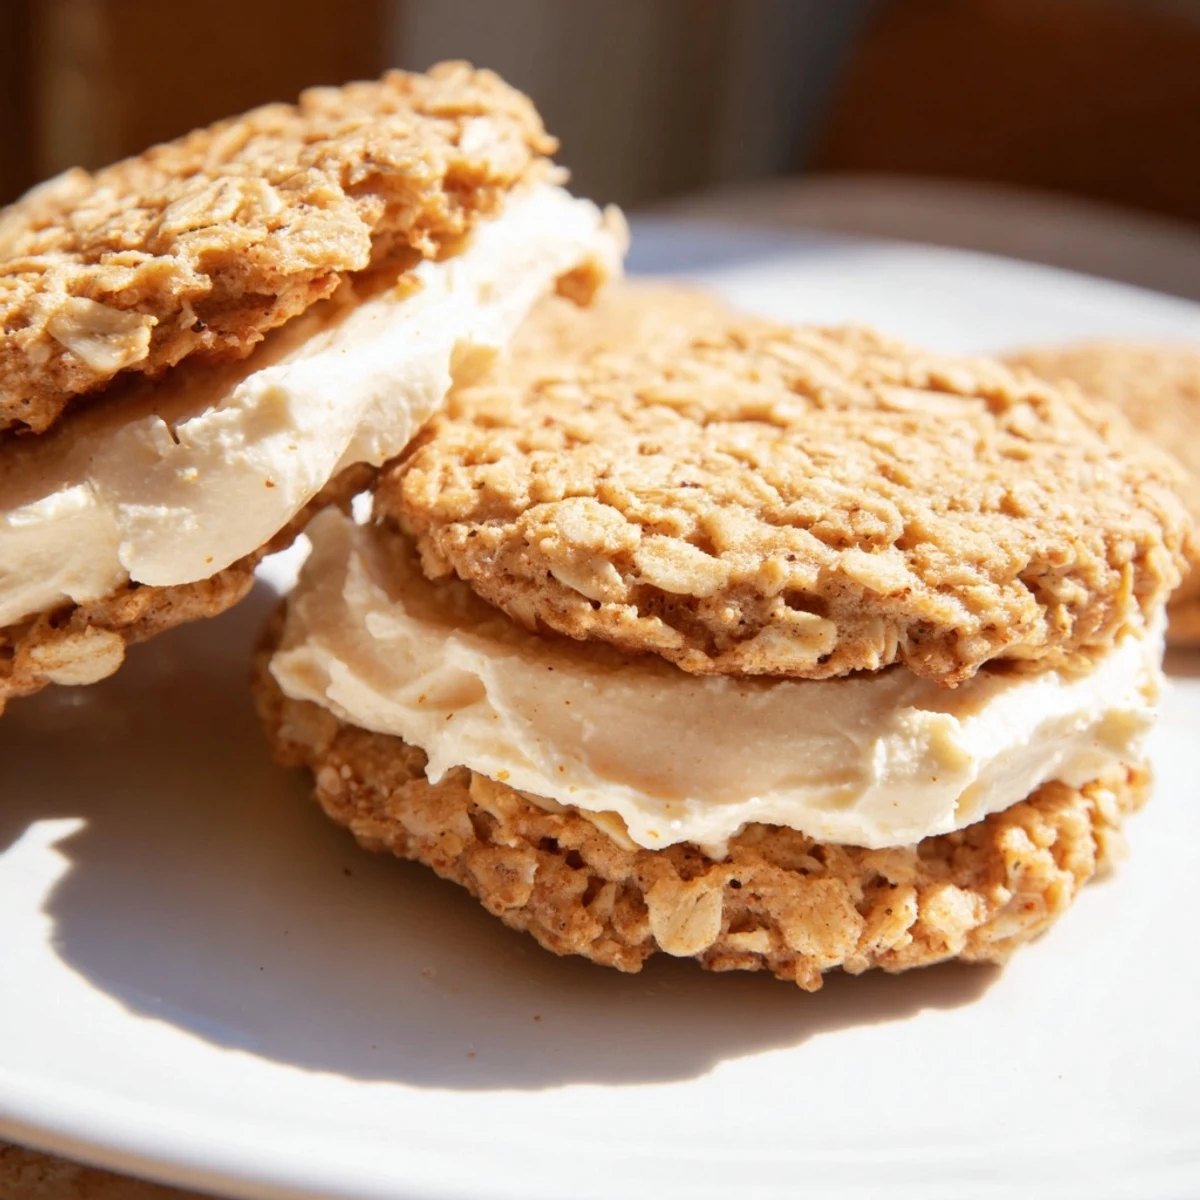
Save There is something genuinely comforting about two cookies hugging a cloud of vanilla cream together. Maybe that is why these have been lunchbox favorites for generations.
Recipe FAQs
- → How should I store these?
-
Keep in an airtight container at room temperature for up to 5 days. For longer storage, freeze unfilled cookies and assemble when ready to serve.
- → Can I make the dough ahead?
-
Yes, refrigerate dough for up to 24 hours before baking. Let it come to room temperature for about 15 minutes before scooping and baking.
- → What's the trick for soft cookies?
-
Slightly underbake by 1-2 minutes and let cool on the baking sheet for 5 minutes. This residual heat continues setting the centers while keeping them tender.
- → Can I use quick oats instead?
-
Quick oats work fine and create a slightly finer texture. Old-fashioned oats provide more chew and a rustic texture—both yield delicious results.
- → How do I get uniform sandwich sizes?
-
Scoop dough with a cookie scoop for consistent portions. Pair cooled cookies by size before filling to ensure even, professional-looking sandwiches.
- → Can I add mix-ins to the cookies?
-
Absolutely! Try adding raisins, chocolate chips, or chopped nuts to the dough. Fold in about 1/2 cup of your favorite add-ins with the oats.