 Save
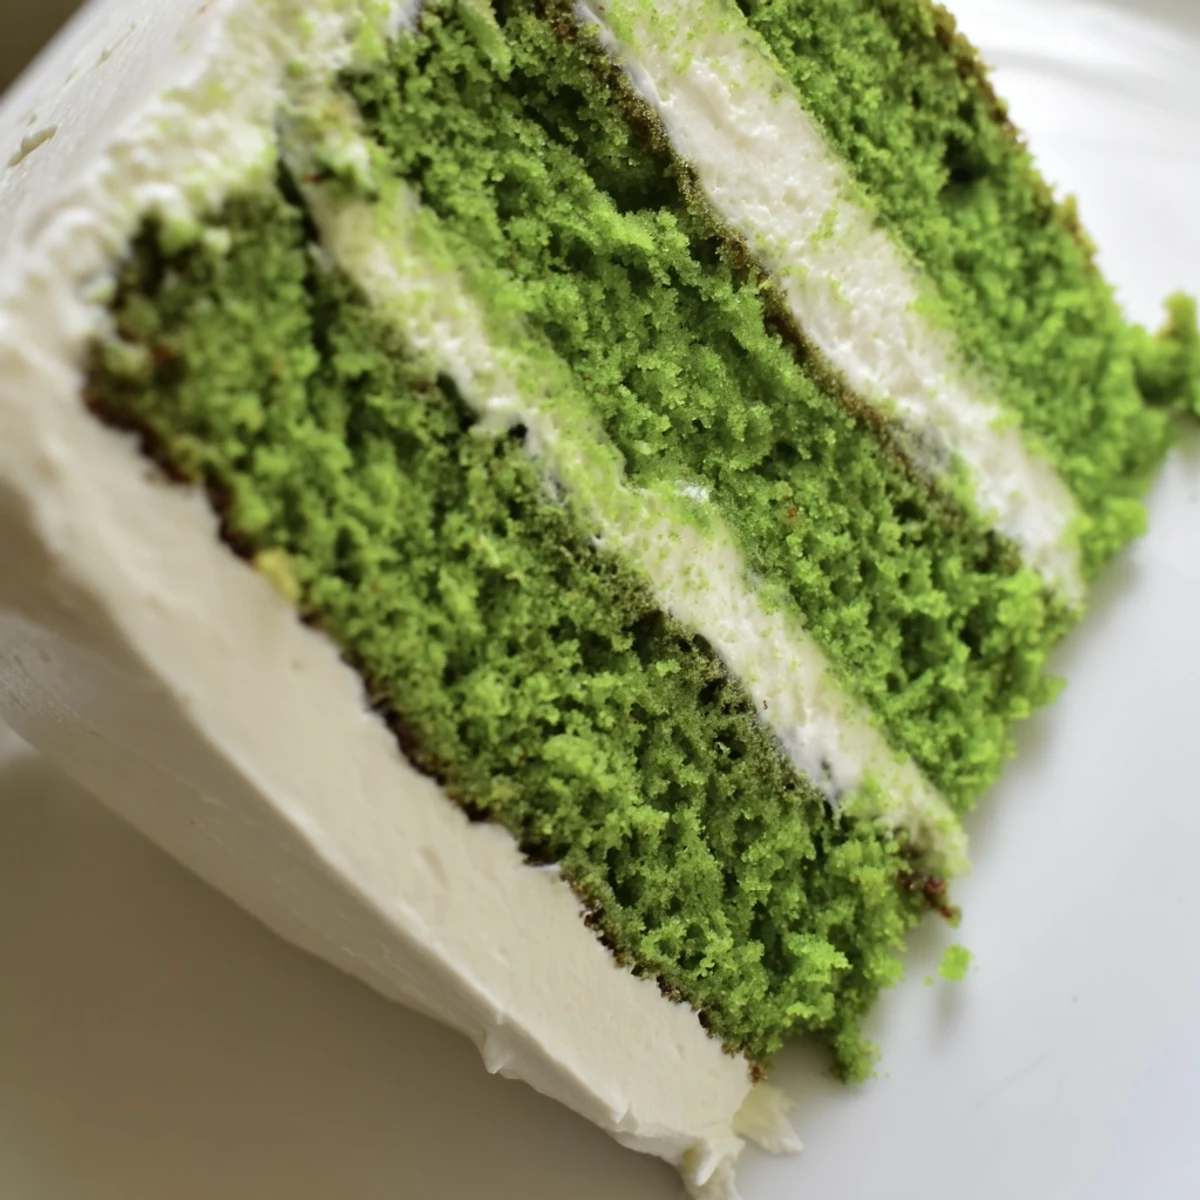
Save This vibrant layer cake transforms the classic red velvet into a stunning emerald showstopper. The tender crumb delivers subtle cocoa notes while buttermilk and vinegar create that signature velvety texture. A rich tangy cream cheese frosting perfectly complements the vibrant green sponge. The entire cake comes together in just over an hour, including cooling time, making it an achievable yet impressive dessert for St. Patrick's Day or any festive gathering. The green gel coloring provides that jewel-toned hue without altering the delicate flavor profile.
The first time I pulled this cake from the oven, that electric green color made me laugh out loud. My roommate walked in, did a double take at the oven, and asked if I was baking something from a cartoon. We sliced into it that evening, and the way the cream cheese frosting cut through the gentle cocoa created this perfect balance that kept us going back for just one more sliver.
I made this for a St. Patricks Day party last year, and honestly, people were skeptical until they took their first bite. My friend Sarah, who claims to not even like cake, went back for seconds. The cake disappeared faster than the Guinness, and now it is the one thing everyone asks me to bring to March gatherings.
Ingredients
- All-purpose flour: The structure that holds everything together, do not pack it down when measuring
- Unsweetened cocoa powder: Just enough to give depth without overpowering the delicate flavor
- Baking soda: Works with that splash of vinegar to give the cake its signature tender rise
- Salt: A small pinch that makes all the flavors pop
- Granulated sugar: Sweetens and keeps the crumb tender and moist
- Vegetable oil: The secret to staying fresh for days, unlike butter cakes that dry out
- Large eggs: Bring them to room temperature for better emulsification
- Buttermilk: Adds tang and tenderness, but see the notes for a quick substitute
- Pure vanilla extract: Do not skimp here, it rounds out everything beautifully
- White vinegar: Reacts with baking soda and buttermilk for that velvet texture
- Green gel food coloring: Gel is concentrated and will not thin your batter like liquid can
- Cream cheese: Make sure it is properly softened for silky smooth frosting
- Unsalted butter: Room temperature butter blends seamlessly into the frosting
- Powdered sugar: Sifting first prevents those frustrating lumps in your frosting
Instructions
- Get your oven ready:
- Preheat to 350°F and grease those cake pans really well, lining the bottoms with parchment paper for peace of mind
- Whisk the dry team:
- Combine flour, cocoa, baking soda, and salt in a medium bowl, then set it aside while you work on the wet ingredients
- Beat sugar and oil:
- Mix them in a large bowl until they are combined, then crack in the eggs one at a time, letting each one fully incorporate before adding the next
- Add the liquids and color:
- Pour in buttermilk, vanilla, vinegar, and that food coloring, whisking until the batter transforms into this gorgeous shade of green
- Combine everything:
- Add the dry ingredients in two batches, folding gently just until you no longer see streaks of flour
- Bake the layers:
- Divide batter between your pans and bake for 28 to 32 minutes, until a toothpick comes out clean
- Cool completely:
- Let them rest in the pans for 10 minutes, then turn them out onto wire racks to cool entirely before frosting
- Make the frosting:
- Beat cream cheese and butter until smooth, then gradually add powdered sugar, vanilla, and salt until fluffy and spreadable
- Assemble and decorate:
- Stack the layers with frosting between them, coat the whole cake, and go wild with green sprinkles if the mood strikes
 Save
Save Last Christmas, my little sister declared this her new favorite cake and requested it instead of the traditional yule log. Watching her face light up when I brought out that green beauty against all the red and silver decorations made all the mixing and measuring worth it.
Making It Ahead
The cake layers freeze beautifully wrapped tightly in plastic and foil. I have frozen them for up to a month and thawed them overnight in the fridge before frosting. The frosting does not freeze well, so make that fresh the day you plan to serve.
Getting The Perfect Green
Start with one tablespoon of gel coloring and add more from there, remembering that baked goods darken slightly in the oven. I once went overboard and ended up with a color that my husband jokingly called nuclear waste green, so a little restraint goes a long way.
Serving Suggestions
This cake deserves to be the star of the show, so keep the rest simple. A cup of coffee or cold milk is all you really need. If you want something more festive, chilled Moscato or even a green tea sets off the flavors nicely.
- Let the cake come to room temperature before serving for the best texture
- Run your knife under hot water between slices for clean cuts
- Store any leftovers in the refrigerator, the frosting stays firm that way
 Save
Save Whether you are celebrating a holiday or just need something that makes people smile, this cake delivers joy in every slice.
Recipe FAQs
- → What makes this cake different from red velvet?
-
The primary difference is the green gel food coloring instead of red, creating a stunning emerald appearance. The flavor profile remains similar with subtle cocoa notes and that characteristic velvety texture from buttermilk and vinegar.
- → Can I make this cake ahead of time?
-
Yes, the cake layers can be baked and wrapped tightly up to 2 days in advance. The frosted cake also keeps well refrigerated for 3-4 days. Bring to room temperature before serving for the best texture and flavor.
- → Why use gel food coloring instead of liquid?
-
Gel food coloring provides more vibrant color with less liquid, preventing the batter from becoming too thin. You need less gel to achieve that rich emerald shade compared to traditional liquid coloring.
- → Can I substitute the buttermilk?
-
You can create a buttermilk substitute by combining 1 cup of regular milk with 1 tablespoon of white vinegar. Let it sit for 5 minutes until slightly thickened before using in the batter.
- → How do I know when the cake is done baking?
-
Insert a toothpick into the center of the cake—if it comes out clean or with just a few moist crumbs, the cake is ready. The edges should also start pulling away slightly from the pan sides.
- → What's the best way to frost this cake?
-
For the smoothest results, chill the cake layers for 30 minutes before frosting. Apply a thin crumb coat first, refrigerate for 15 minutes, then finish with the remaining frosting for a pristine presentation.