 Save
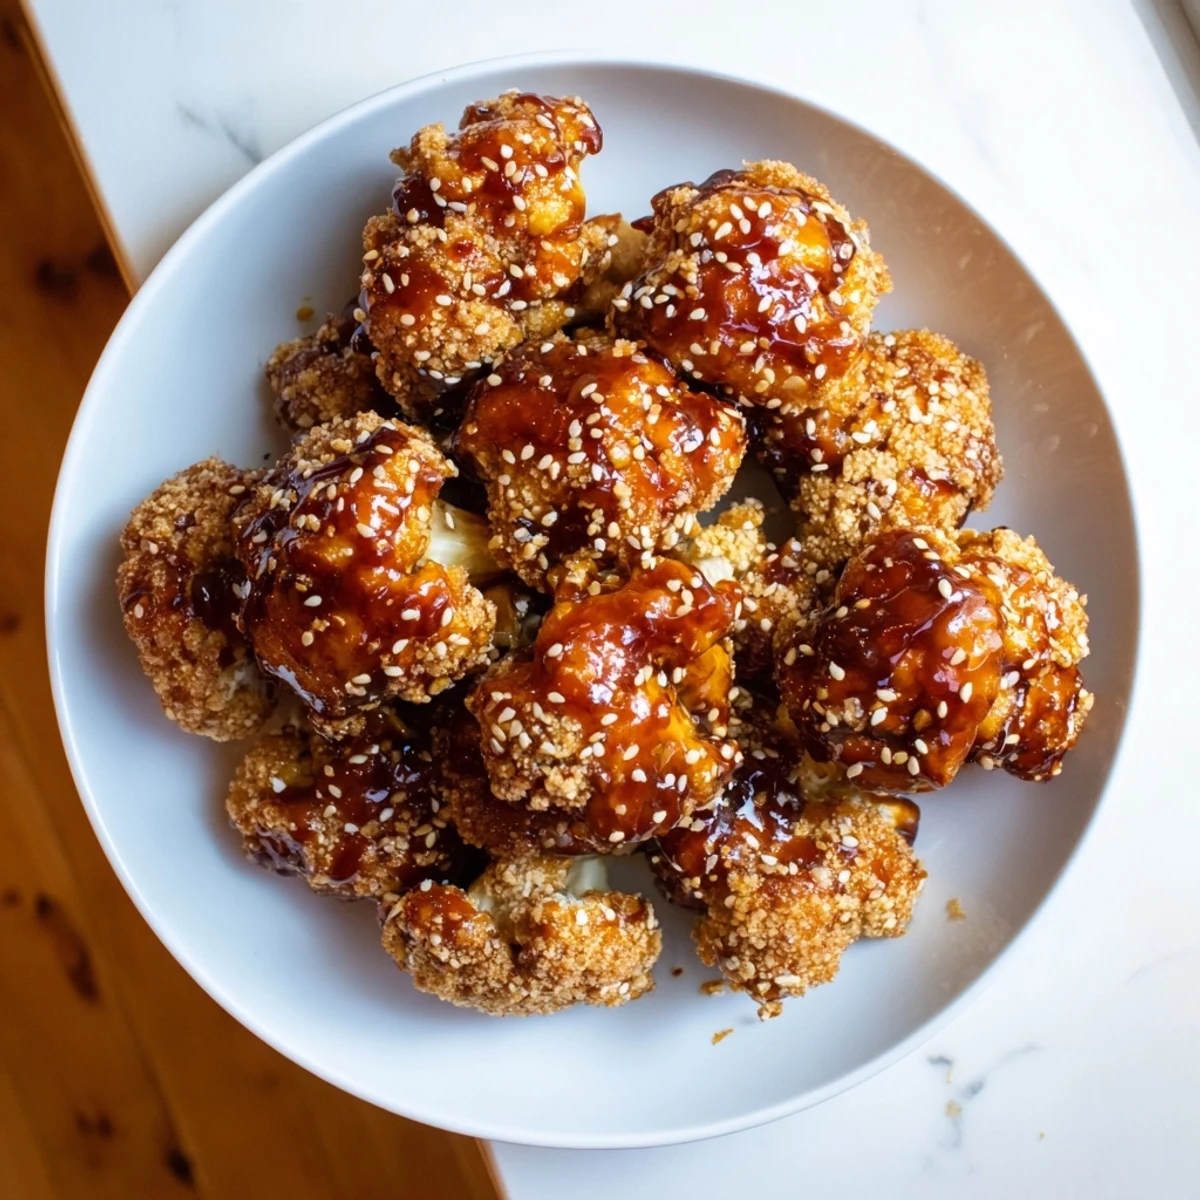
Save These vibrant bowls feature golden crispy cauliflower florets oven-roasted to perfection, then coated in a homemade General Tsos sauce balancing sweet, savory, and spicy notes. The tangy glaze gets its depth from hoisin, brown sugar, garlic, and ginger with a kick of sriracha. Served over fluffy jasmine rice with crunchy julienned carrots, fresh snow peas, and aromatic garnishes like sesame seeds and green onions, each bowl delivers satisfying texture contrast. Complete the dish in under an hour with simple baking and simmering techniques that yield restaurant-quality results at home.
The first time I made General Tsos anything, I was skeptical that cauliflower could stand up to such bold flavors. But that first crispy bite converted me completely—sweet, tangy, and somehow satisfying in a way that never made me miss the takeout version.
My roommate walked in while I was tossing the crispy florets in the sauce and immediately asked if wed ordered takeout. The look on her face when I told her it was entirely plant based and homemade made the slightly messy prep absolutely worth it.
Ingredients
- 1 large head cauliflower: Cut into uniform bite sized florets so they cook evenly and get crispy on all edges
- 1 cup all purpose flour: Creates the base coating that helps the batter stick to each piece
- 1 cup unsweetened plant based milk: Soy or almond work best for creating a smooth batter consistency
- 1½ cups panko breadcrumbs: These Japanese style breadcrumbs create the crunchiest coating possible
- ½ tsp salt and ¼ tsp black pepper: Season the flour so every layer has flavor
- 2 tbsp vegetable oil: Essential for helping the breadcrumbs get golden and crispy in the oven
- ¼ cup low sodium soy sauce: The salty umami base of the sauce
- ¼ cup water and 3 tbsp rice vinegar: Balance out the sweetness and add brightness
- 3 tbsp hoisin sauce and 3 tbsp brown sugar: Create that signature General Tsos sweet and savory profile
- 2 tsp freshly grated ginger and 3 garlic cloves: Fresh aromatics make all the difference in the sauce
- 1½ tbsp cornstarch: Thickens the sauce so it clings beautifully to the cauliflower
- 1 tsp toasted sesame oil: Adds that nutty finish that makes the sauce taste complete
- 1 to 2 tsp sriracha: Adjust this based on your heat tolerance
- 3 cups cooked rice: Jasmine or brown rice make the perfect base for these bowls
- 1 medium carrot and 1 cup snow peas: Add fresh crunch and color to contrast the crispy cauliflower
- 2 to 3 green onions and 2 tbsp sesame seeds: These garnishes make each bowl feel restaurant special
Instructions
- Get your oven ready:
- Preheat to 425°F and line a baking sheet with parchment paper for easy cleanup
- Set up your breading station:
- Mix flour with salt and pepper in one bowl, pour plant milk in a second, and place panko in a third
- Coat each cauliflower floret:
- Dip in flour, shake off excess, dunk in milk, then press into panko until well covered
- Arrange and oil the florets:
- Place coated pieces on the baking sheet and drizzle or spray with vegetable oil for maximum crispiness
- Bake until golden brown:
- Cook for 25 to 30 minutes, flipping halfway through, until deeply golden and crispy all over
- Start the sauce base:
- Whisk together soy sauce, water, vinegar, hoisin, brown sugar, ginger, and garlic in a saucepan
- Simmer and thicken:
- Bring to a bubble over medium heat, stir in the cornstarch slurry, and cook for 2 to 3 minutes until thickened
- Finish the sauce:
- Remove from heat and stir in sesame oil and sriracha to taste
- Coat the crispy cauliflower:
- Toss the baked florets gently with the warm sauce until every piece is glossy and coated
- Build your bowls:
- Start with rice, top with sauced cauliflower, then add carrots, snow peas, green onions, and sesame seeds
 Save
Save This recipe has become my go to for dinner guests who swear they dont like vegetarian food. Watching them go back for seconds and thirds, then ask for the recipe, has become one of my favorite kitchen moments.
Making It Extra Crunchy
If you have an air fryer, you can get even crispier cauliflower in less time. Cook at 400°F for about 15 minutes, shaking the basket halfway, and you might never go back to oven baking.
Customizing Your Bowl
The beauty of this recipe is how adaptable it is to whatever you have in your fridge. Steamed broccoli, sliced bell peppers, or edamame all work beautifully as additions or substitutions.
Perfect Pairings
A simple cucumber salad with rice vinegar dressing helps cut through the rich sauce. If you want to keep the Asian theme going, miso soup or potstickers make this feel like a complete takeout feast at home.
- Double the sauce recipe if you love things extra saucy
- Cooked quinoa works great instead of rice for added protein
- Leftovers keep well for 2 to 3 days though the cauliflower loses some crunch
 Save
Save Theres something deeply satisfying about recreating takeout favorites in your own kitchen. This recipe proves that plant based eating can be just as crave worthy and comforting as the original.
Recipe FAQs
- → Can I make these bowls gluten-free?
-
Yes, substitute regular flour and panko with gluten-free alternatives, and replace soy sauce with tamari to keep the bowls gluten-free while maintaining texture and flavor.
- → How do I store leftovers?
-
Store components separately in airtight containers for up to 4 days. Keep cauliflower and sauce separate from rice and vegetables to maintain crispiness. Reheat cauliflower in the oven or air fryer.
- → Can I air-fry the cauliflower?
-
Absolutely. Air-fry at 400°F for 15-18 minutes, shaking halfway through. The cauliflower becomes even crispier with less oil than traditional baking methods.
- → What other vegetables work well in these bowls?
-
Steamed broccoli, bell pepper strips, edamame, snap peas, or shredded cabbage all complement the tangy sauce. Use whatever crisp vegetables you enjoy for texture and color contrast.
- → How can I adjust the spice level?
-
Start with 1 teaspoon of sriracha or chili sauce for mild heat. Add up to 2 teaspoons for medium spice, or include red pepper flakes if you prefer more intense heat in the sauce.
- → Can the sauce be made ahead?
-
Yes, prepare the sauce up to 3 days in advance and store it refrigerated. Reheat gently on the stove, adding a splash of water if it becomes too thick during storage.