 Save
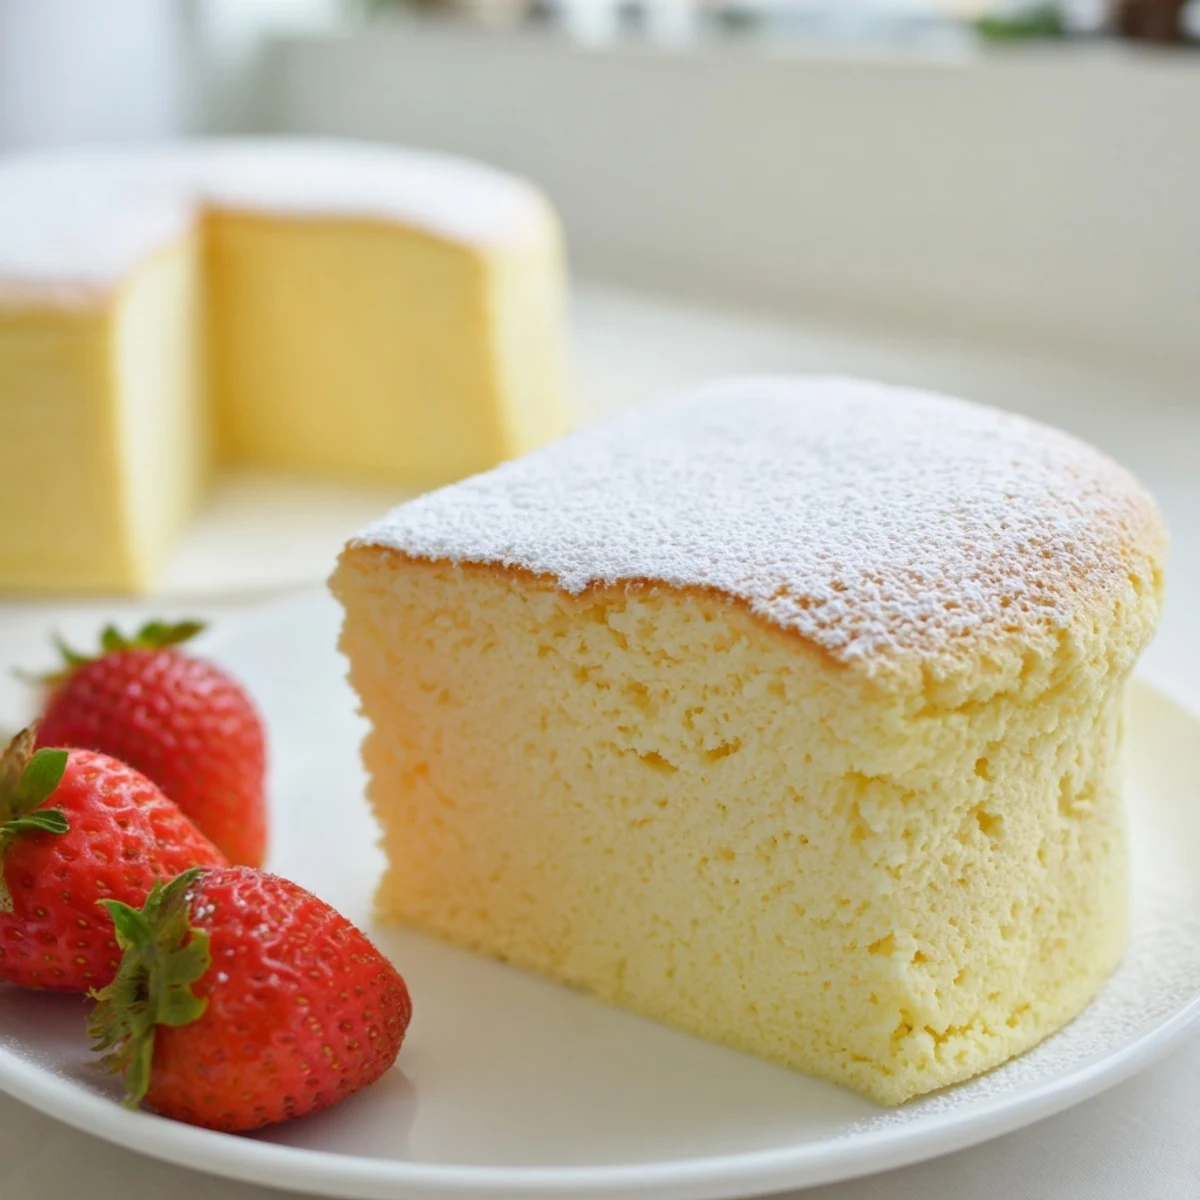
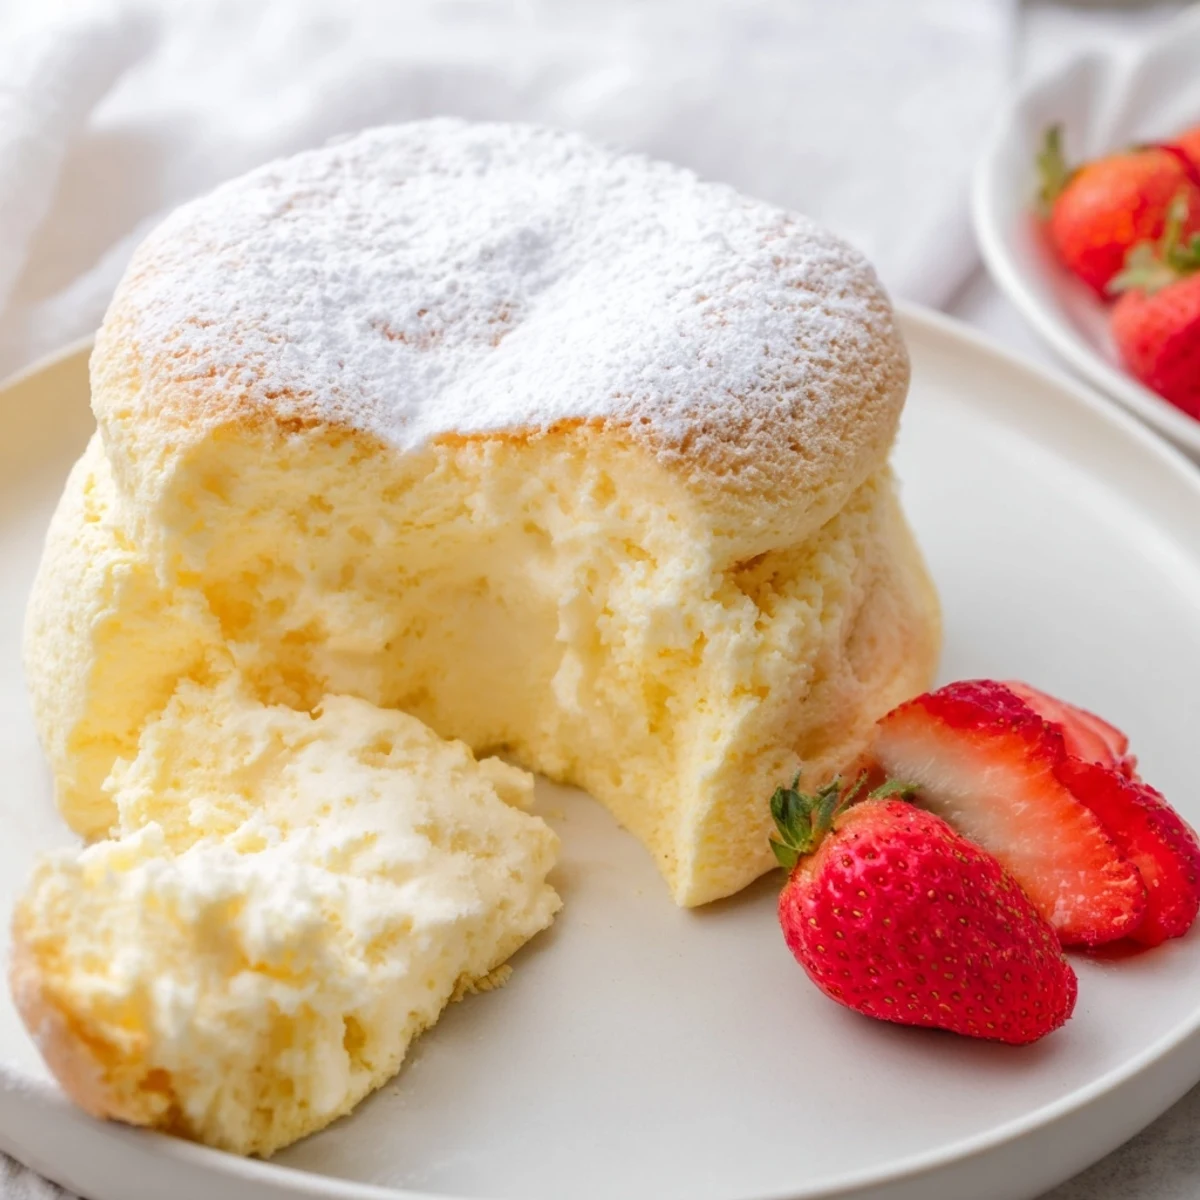
Save Create a stunning fluffy Japanese cheesecake with a soufflé-like texture that's incredibly light and airy. This cloudlike dessert features a delicate balance of cream cheese, butter, and milk combined with perfectly beaten egg whites to achieve its signature jiggly consistency. The water bath technique ensures even baking while preventing cracks, resulting in a beautifully golden treat that's less sweet than traditional versions.
The first time I saw a Japanese cheesecake, I thought someone had accidentally left a soufflé in the oven too long. It wobbled like jelly but held its shape with quiet confidence, nothing like the dense, brick-heavy cheesecakes I grew up with. When I finally took a bite, that cloudlike texture made me understand why people obsess over these cakes. My kitchen smelled like warm lemons and contentment for days afterward.
I made this for my sisters birthday last spring, nervous about every step of the folding process. When I pulled it from the oven, I thought Id failed because it had puffed up so dramatically. But as it cooled, it settled into this gentle, golden dome that made her eyes light up before she even tasted it. We ate it standing up in the kitchen, forks in hand, not wanting to wait for proper plates.
Ingredients
- Cream cheese: Room temperature is nonnegotiable here, otherwise you will get lumps that refuse to disappear no matter how much you whisk
- Cake flour: Do not swap this for allpurpose flour, the lower protein content is what creates that delicate tender crumb
- Cornstarch: Works alongside the cake flour to keep the texture light and prevent the cake from becoming rubbery
- Six egg whites: This might feel excessive but every single one contributes to the signature airy structure
- Lemon juice and zest: Cuts through the richness and adds a bright fragrance that makes the cake feel special
- Granulated sugar: Split into two portions because the egg whites need their own dedicated sugar to form stable peaks
Instructions
- Melt the base:
- Set up a double boiler with simmering water and combine cream cheese, butter, and milk in a heatproof bowl. Stir until you have a silky smooth mixture, then let it cool until it is just warm to the touch.
- Add the dry ingredients:
- Sift together cake flour, cornstarch, and salt directly into the warm cream cheese mixture, whisking constantly to prevent any lumps from forming.
- Enrich with yolks:
- Whisk in the egg yolks one at a time, followed by lemon juice, vanilla, and zest if you are using it. The batter should be thick, glossy, and smooth.
- Make the meringue:
- In a completely clean bowl, beat egg whites until foamy, then gradually add 70g sugar in three batches. Continue beating until you have stiff glossy peaks that hold their shape when you lift the beaters.
- Fold together:
- Gently fold one third of the meringue into the yolk mixture to lighten it, then carefully fold in the remaining meringue in two additions. Take your time and use a rubber spatula to preserve as much air as possible.
- Prepare for baking:
- Pour the batter into a parchment lined 8inch pan and tap firmly on the counter to release air bubbles. Wrap the outside of the pan with foil so no water sneaks in during the water bath.
- Bake with patience:
- Set the cake pan inside a larger roasting pan and pour hot water until it reaches halfway up the sides. Bake for 60 to 70 minutes until golden and set, then turn off the oven and crack the door open for 15 minutes.
- The cooling ritual:
- Let the cake cool completely in the pan before attempting to remove it, then refrigerate for at least 2 hours. This step feels endless but the texture improvement is worth every minute of waiting.
 Save
Save There is something almost meditative about watching the cake rise in the oven, that slow transformation from glossy batter to golden dome. My neighbor actually knocked on my door once because she could smell vanilla wafting through the hallway vents. I ended up sharing slices with three different apartments that evening.
The Water Bath Secret
The bainmarie technique does more than prevent cracking, it creates a humid environment that allows the cake to cook gently and evenly. I have tried shortcuts like skipping the foil or using less water, and every single shortcut resulted in a texture that was just slightly off. The extra 30 seconds of preparation pays off in spades.
Making It Your Own
While the classic version is perfect as is, I have experimented with adding matcha powder for earthiness or swapping lemon for orange zest in the winter. The base technique remains the same, but these small tweaks can make the cake feel tailored to the season or occasion.
Serving Suggestions
This cheesecake needs almost nothing to shine, but a light dusting of powdered sugar right before serving makes it look bakery worthy. Fresh berries, a drizzle of honey, or even just eating it plain at midnight standing in front of the refrigerator are all valid choices.
- Bring the cake to room temperature for 20 minutes before serving
- Use a serrated knife with a clean damp cloth between slices for perfect portions
- Store in the refrigerator but bring to room temperature for the best texture
 Save
Save Every time I make this cake, I am reminded that good things really do come to those who wait, and that patience in the kitchen is rewarded with the most unforgettable desserts.
Recipe FAQs
- → What makes Japanese cheesecake fluffy?
-
The fluffiness comes from incorporating stiffly beaten egg whites into the batter, creating a soufflé-like texture. The gentle folding technique preserves air bubbles while the water bath ensures even, gentle baking.
- → Can I substitute cake flour?
-
Cake flour is essential for achieving the light, delicate texture. All-purpose flour will result in a denser consistency. If unavailable, you can make cake flour by measuring 1 cup all-purpose flour and removing 2 tablespoons, then replacing with 2 tablespoons cornstarch.
- → Why does my cheesecake crack?
-
Cracking typically occurs from overbaking or rapid temperature changes. The water bath helps maintain moisture and gentle heat. Leaving the oven door ajar after baking allows gradual cooling, preventing sudden contraction that causes cracks.
- → How long should I chill before serving?
-
Refrigerate for at least 2 hours to allow the cheesecake to set properly. The texture improves after chilling, becoming firmer yet still maintaining its signature fluffy quality. It can be stored for up to 3 days.
- → What's the best way to serve?
-
Serve chilled with a dusting of powdered sugar and fresh berries for a beautiful presentation. The light texture pairs wonderfully with fruit compote or a dollop of lightly sweetened whipped cream.