 Save
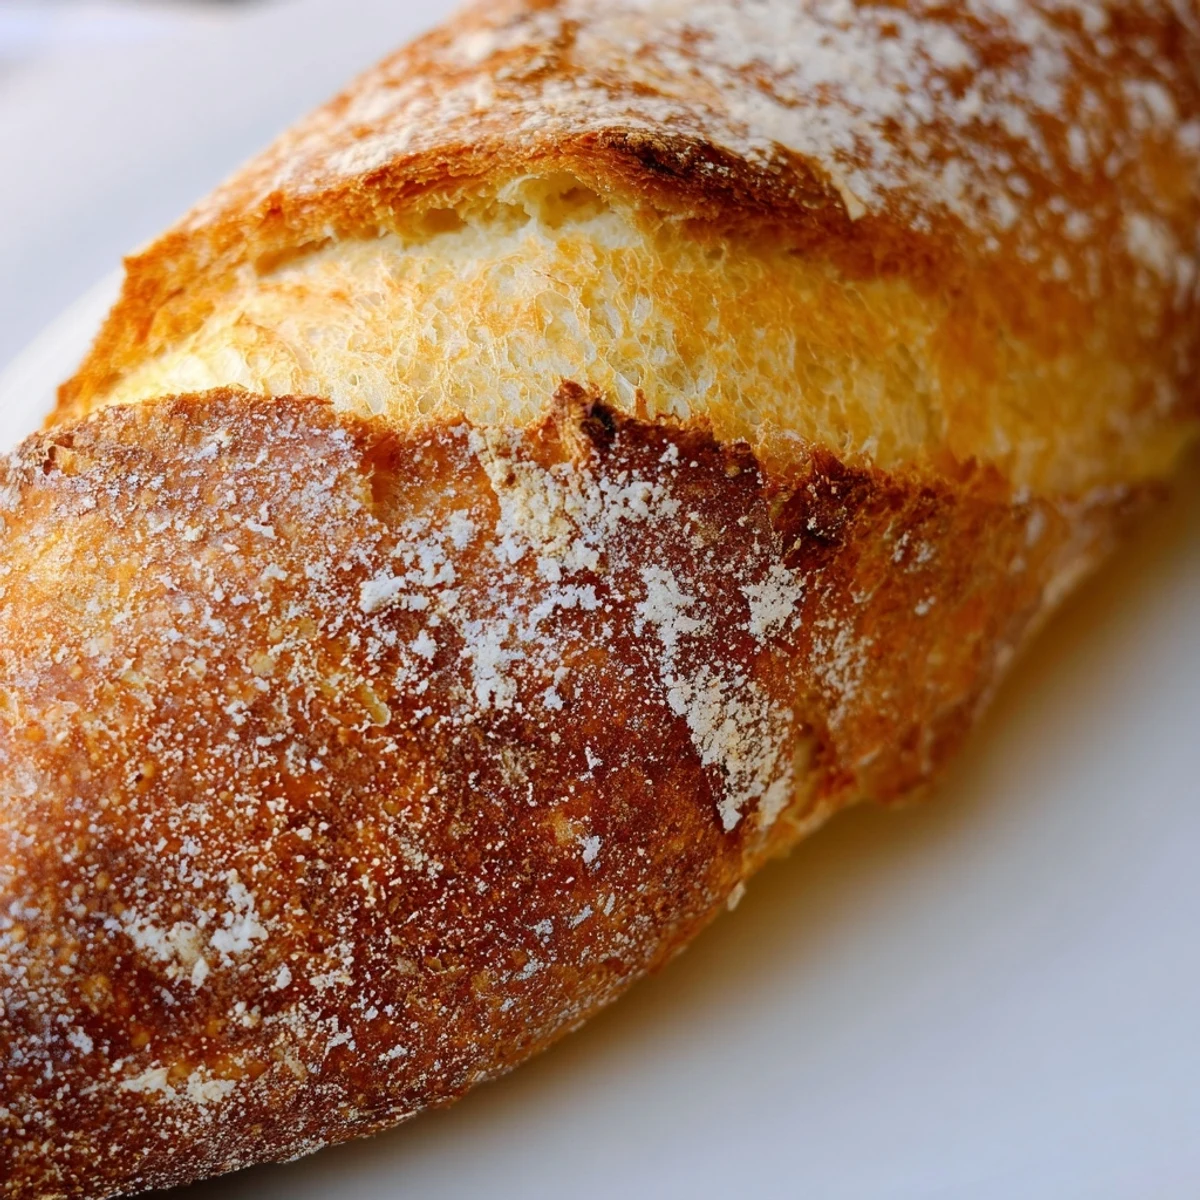
Save Create bakery-style French bread rolls with a beautifully golden, crispy crust and soft, tender interior. These classic rolls use basic pantry staples - bread flour, yeast, water, and salt - transformed through proper kneading and steam baking.
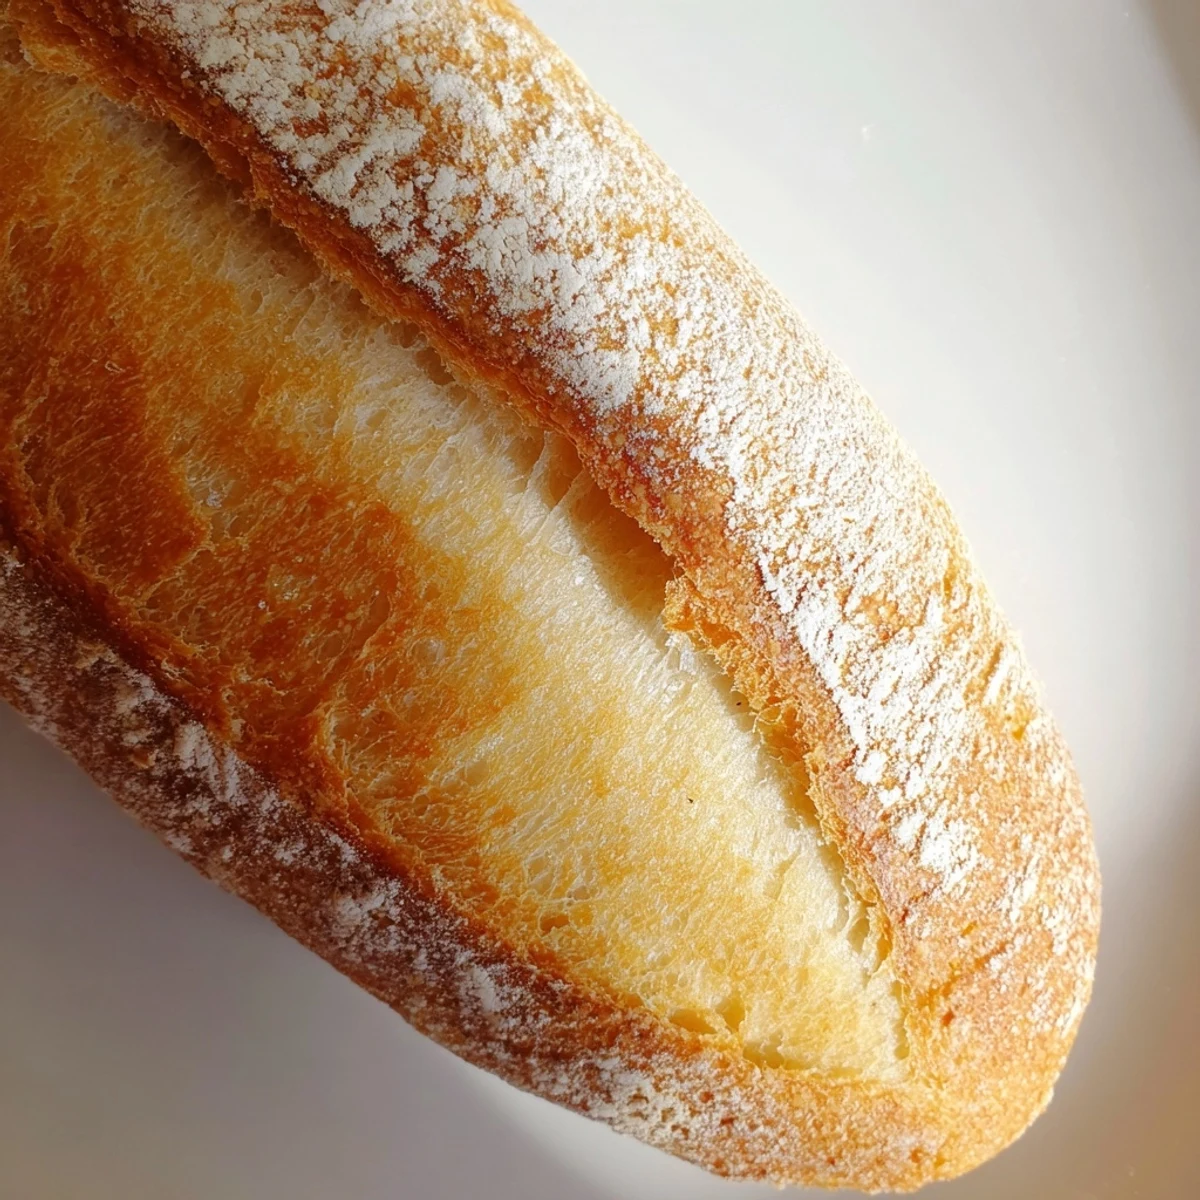
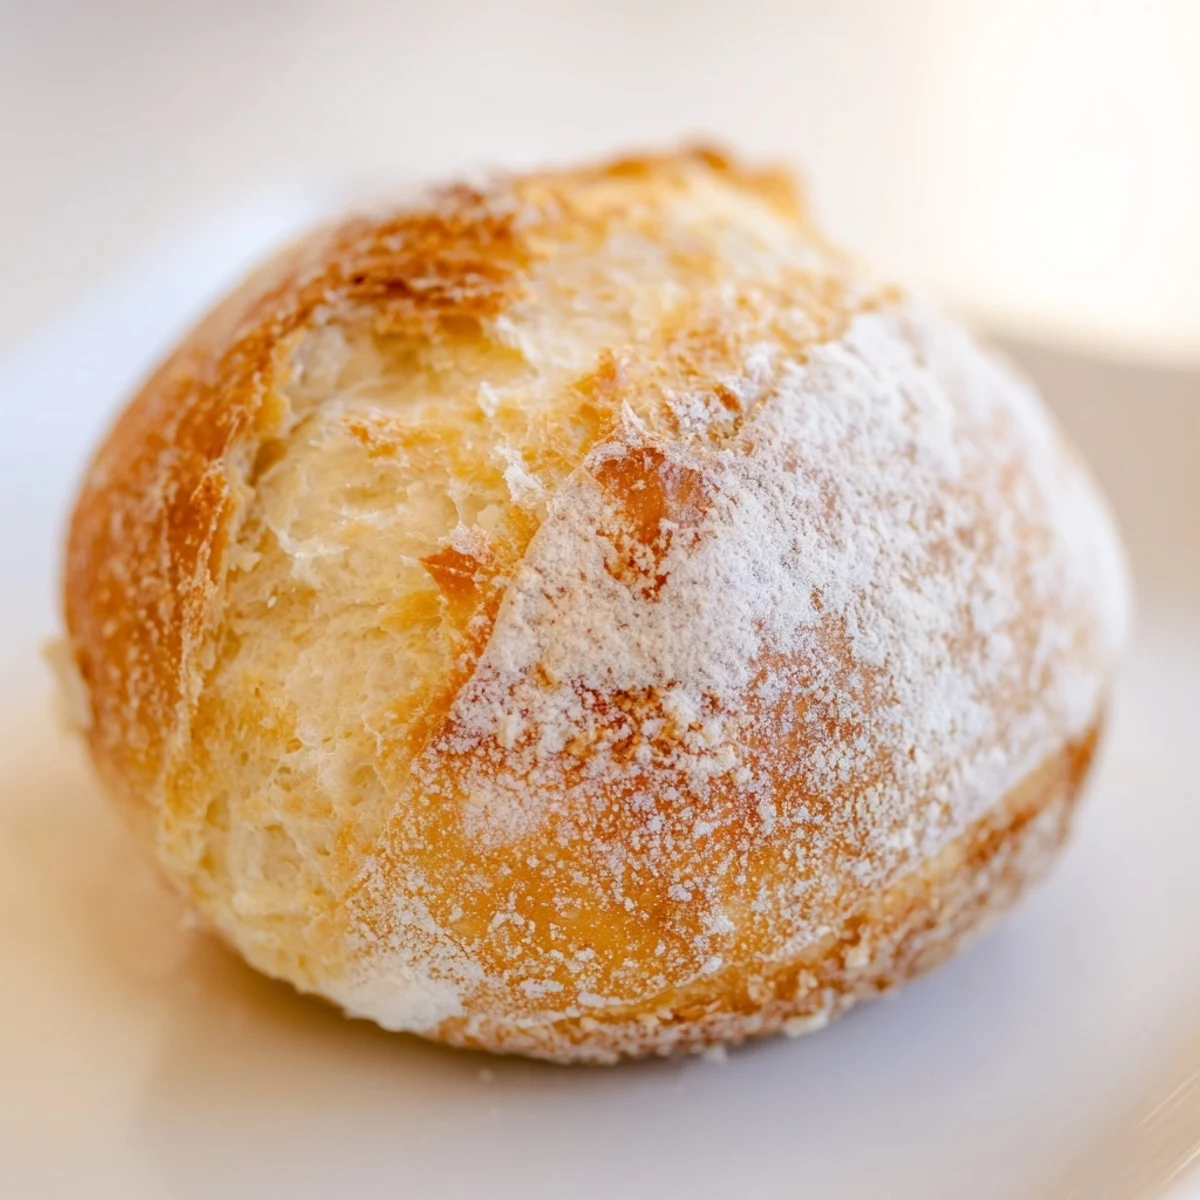
The secret to the crackly crust lies in placing a water tray in the oven while baking, creating professional bakery steam results at home. After one rise, shape into eight rolls, let proof again, then slash and dust with flour before baking at high heat.
Serve these versatile rolls warm with melting butter, alongside hearty soups and fresh salads, or slice for sandwiches. They're ideal for dinner parties, weekday meals, or weekend baking projects.
There is something almost meditative about making bread from scratch. The smell of yeast activating, the rhythm of kneading, and watching dough rise slowly in a warm corner of my kitchen. These French bread rolls became my weekend ritual during a particularly cold winter when baking felt like the only way to bring warmth into the house.
I first made these rolls when friends were coming over for soup on a snowy evening. The kitchen filled with the incredible aroma of baking bread, and everyone kept checking the oven asking if they were done yet. Seeing people break apart the steaming rolls and spread melting butter across them made all the waiting worth it.
Ingredients
- Bread flour: The higher protein content creates that perfect chewy texture and structure
- Active dry yeast: This is what gives the rolls their lift and airy interior
- Lukewarm water: Should feel like bath temperature, too hot kills the yeast
- Salt: Essential for flavor but also strengthens the gluten structure
- Sugar: Feeds the yeast and helps develop that beautiful golden crust
Instructions
- Activate the yeast:
- Dissolve the sugar in lukewarm water, sprinkle in the yeast, and wait until the surface becomes foamy and alive
- Build the dough:
- Add flour and salt to the yeast mixture, then knead until the surface becomes smooth and springs back when pressed
- First rise:
- Place dough in a greased bowl, cover, and let it rest in a warm spot until it has doubled in size
- Shape the rolls:
- Gently deflate the dough and divide into eight pieces, forming each into a tight ball
- Second rise:
- Arrange on parchment paper, cover loosely, and let rest until puffy and slightly expanded
- Create steam:
- Place a tray of water on the bottom oven rack while preheating to develop a crispy crust
- Sslash and dust:
- Lightly flour each roll and make a shallow cut with a sharp knife to help them expand evenly
- Bake to golden:
- Bake until deep golden brown, then cool on a wire rack to preserve the crust
 Save
Save My neighbor smelled these baking from across the hallway and knocked on my door just to ask what I was making. We ended up sharing the warm rolls with butter right there in the kitchen, talking for hours. Sometimes the best part of baking is not just eating but the way it brings people together.
Getting the Crust Right
The secret to restaurant quality crust at home is all about steam. The water tray in the oven creates moisture that keeps the exterior soft during initial baking, then the final minutes dry it out into that perfect crackly shell. I tried making these once without steam and they were still good, but something was missing.
Shaping for Maximum Rise
When forming the rolls, keep the surface smooth by tucking the edges underneath and creating surface tension. A tightly shaped roll holds its shape better and rises more evenly. The first time I made these, my shapes were uneven and some came out lopsided. Practice makes perfect.
Storage and Freshness
These rolls are best eaten the same day they are baked, ideally while still warm. If you need to store them, place in a paper bag which helps maintain crust texture better than plastic. To refresh day old rolls, sprinkle with water and warm in a 350 degree oven for a few minutes.
- Freeze unbaked rolls after the first rise for fresh bread anytime
- Double the recipe and freeze half the dough for future meals
- Stale rolls make excellent breadcrumbs or croutons for salads
 Save
Save There is nothing quite like pulling apart a freshly baked roll, steam escaping into the air, and knowing you created something this wonderful with your own hands. Happy baking.
Recipe FAQs
- → What makes French bread rolls crusty?
-
The steam created by placing a water tray in the bottom oven rack during baking forms a crispy, golden crust. Baking at high temperature (230°C/450°F) also contributes to that authentic crackly exterior.
- → Can I make these rolls ahead of time?
-
Yes, shape the rolls and let them rise for the second time, then refrigerate for up to 12 hours before baking. Bring to room temperature while preheating the oven, then bake as directed.
- → Why is my dough not rising?
-
Ensure your water is lukewarm (not hot) and yeast is fresh. Cold water won't activate the yeast properly, while hot water can kill it. Also, find a warm, draft-free spot for rising.
- → Can I use all-purpose flour instead of bread flour?
-
Bread flour works best due to higher protein content creating chewier texture. All-purpose flour will still produce good results, though the texture may be slightly less chewy and the crust less crispy.
- → How do I store leftover rolls?
-
Store cooled rolls in an airtight bag at room temperature for up to 2 days. For longer storage, freeze in freezer bags for up to 3 months. Reheat frozen rolls at 180°C for 10 minutes.
- → What can I add for extra flavor?
-
Try replacing some water with milk for richness, or add poppy seeds, sesame seeds, or coarse sea salt on top before baking. You can also mix herbs like rosemary or thyme into the dough.