 Save
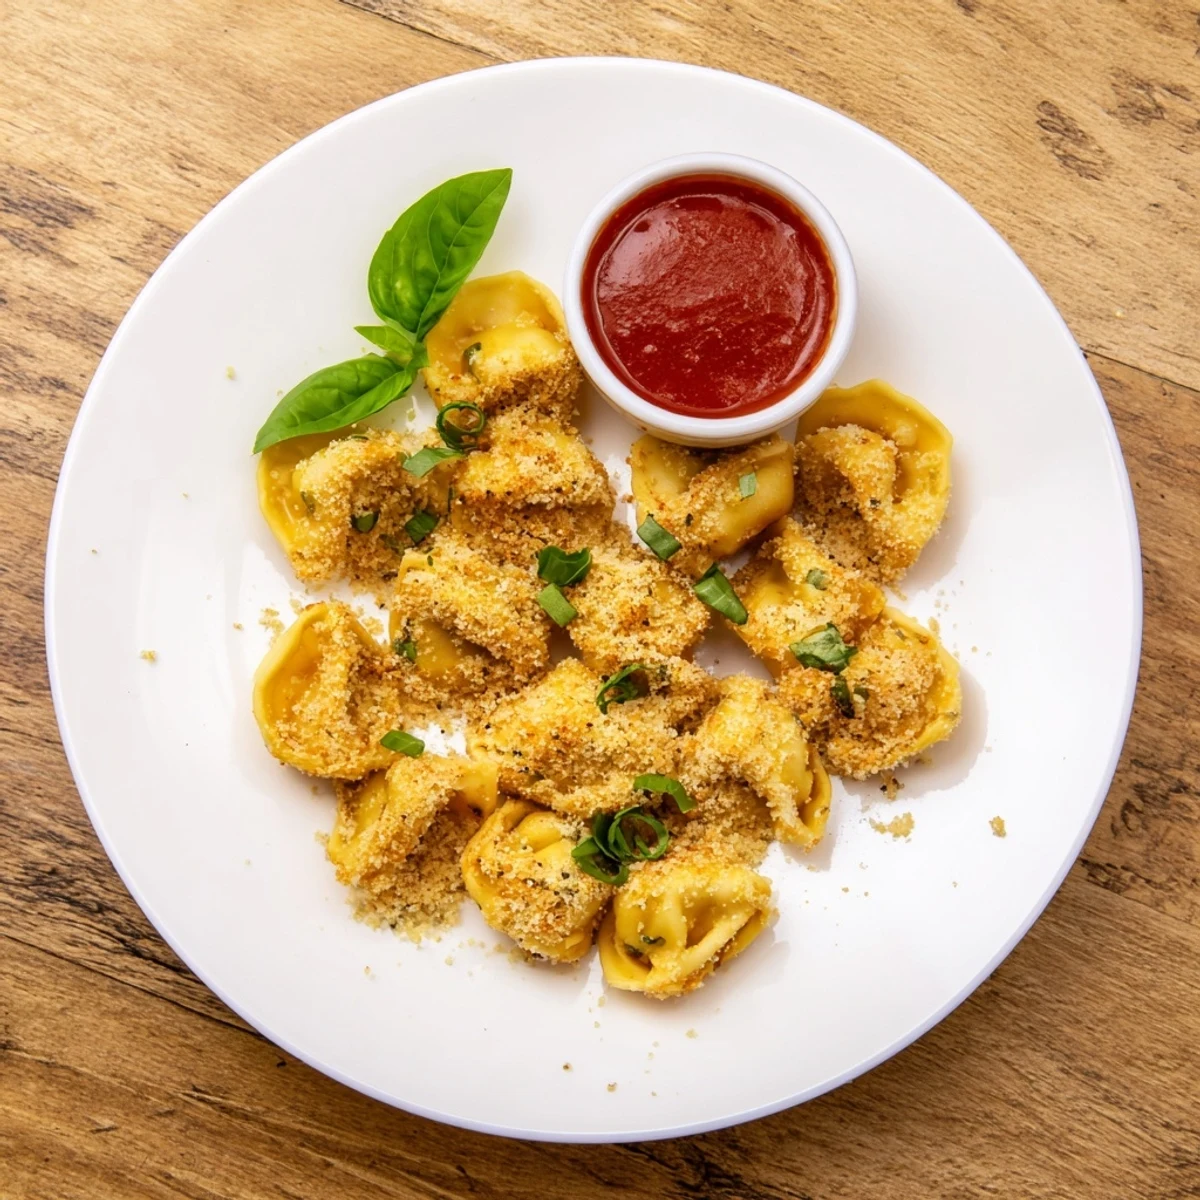
Save Create restaurant-style crispy tortellini at home with minimal effort and maximum flavor. These golden bites feature a triple-layered coating starting with a light dusting of flour, followed by an egg wash, then finished with a seasoned blend of Italian breadcrumbs, grated Parmesan, garlic powder, and aromatic herbs.
The air fryer delivers perfectly crisp exteriors while keeping the tender pasta filling moist and delicious. Ready in just 20 minutes from start to finish, these make an impressive appetizer for gatherings or a satisfying snack any time.
Serve alongside warm marinara for dipping, and garnish with fresh basil for an elegant touch that elevates the presentation.
Last winter, during a snowed-in weekend with friends, we needed something satisfying to munch on while binge-watching movies. Someone suggested air fryer tortellini, and honestly, I was skeptical—how could pasta possibly get crispy without being greasy? The first batch came out golden, irresistibly crunchy, and disappeared before the next round finished cooking. Now it is my go-to for gatherings because everyone gathers around the kitchen waiting for the basket to ding.
My youngest nephew helped me make these for a family game night, and he took his breading station duties very seriously. The kitchen smelled like garlic and toasting breadcrumbs, which drew everyone in before dinner was even ready. Seeing his proud face when the first crispy tortellini emerged made the recipe an instant household legend.
Ingredients
- 400 g refrigerated or frozen tortellini: Cheese or spinach filling works beautifully—frozen needs a quick boil first
- 60 g all-purpose flour: Creates the base for the breading to adhere properly
- 2 large eggs plus 2 tablespoons milk: Whisked together to help the breadcrumbs stick
- 80 g Italian-style breadcrumbs: The main coating for that satisfying crunch
- 40 g grated Parmesan: Adds savory depth and helps the breading turn golden
- 1 teaspoon garlic powder: Infuses each bite with aromatic flavor
- 1 teaspoon dried Italian herbs: Oregano and basil bring classic notes
- ½ teaspoon salt and ¼ teaspoon black pepper: Simple seasoning to enhance the flavors
- 240 ml marinara sauce, warmed: The perfect dipping companion
Instructions
- Get everything ready:
- Preheat your air fryer to 200°C for 3 minutes while you set up three shallow bowls for the coating station.
- Prep your tortellini:
- If using frozen tortellini, boil according to package directions, then drain and let cool slightly so they are easier to handle.
- Set up your breading station:
- Place flour in one bowl, whisk the eggs with milk in another, and mix breadcrumbs with Parmesan, garlic powder, herbs, salt, and pepper in the third.
- Coat each piece:
- Dredge tortellini in flour, dip into the egg mixture, then press gently into the breadcrumb blend to coat evenly.
- Arrange for air frying:
- Place breaded tortellini in a single layer in the air fryer basket, giving each piece space to crisp up evenly.
- Crisp to golden perfection:
- Air fry for 8 to 10 minutes, shaking the basket halfway through, until the coating is deeply golden and the texture is crunchy.
- Serve immediately:
- Transfer to a serving platter alongside warmed marinara sauce and sprinkle with fresh basil or parsley if you like.
 Save
Save These crispy tortellini have turned quiet Tuesdays into impromptu happy hours. Something about dipping hot, crunchy pasta into warm sauce makes conversation flow easier and laughter come quicker.
Perfecting Your Breading Technique
Keep one hand for dry ingredients and one hand for wet to avoid creating thick clumps on your fingers. Press the breadcrumb mixture gently but firmly onto each tortellini so it stays put during air frying. A light spray of oil helps the breading turn that beautiful golden brown we all want to see.
Customization Ideas
Add a pinch of red pepper flakes to the breadcrumb mix if you enjoy some heat. Try swapping in panko breadcrumbs for an even lighter, crunchier texture. For extra cheesy goodness, mix some shredded mozzarella into the breading before coating.
Serving Suggestions
Pair these with a simple green salad dressed with vinaigrette to balance the richness. They work wonderfully alongside soup as a crunchy twist on the classic bread dipper. For a full Italian-inspired spread, serve as an appetizer before a main pasta course.
- Offer a second dipping sauce like garlic aioli or pesto mayonnaise
- Keep finished batches warm in a 200°F oven while you finish the rest
- Double the recipe because these vanish faster than you expect
 Save
Save Whether for parties, movie nights, or just because, these crispy tortellini bring joy to any table.
Recipe FAQs
- → Can I prepare these ahead of time?
-
Yes, you can bread the tortellini up to 4 hours before cooking. Arrange them in a single layer on a parchment-lined baking sheet and refrigerate until ready to air fry. For best results, let them sit at room temperature for 15 minutes before cooking.
- → What dipping sauces work best?
-
Classic marinara is the traditional choice, but try pesto for an herby kick, garlic aioli for creaminess, or spicy arrabbiata for heat. A simple basil-infused olive oil also pairs beautifully with the crispy coating.
- → Do I need to pre-cook frozen tortellini?
-
Yes, frozen tortellini should be boiled according to package directions before breading and air frying. This ensures the pasta inside is fully tender while the exterior gets crispy. Drain thoroughly and pat dry before breading.
- → Can I bake these instead of using an air fryer?
-
Absolutely. Preheat your oven to 400°F (200°C), arrange breaded tortellini on a greased baking sheet, and bake for 12-15 minutes, flipping halfway through. They may be slightly less crispy than the air fryer version.
- → How do I store and reheat leftovers?
-
Store cooled tortellini in an airtight container in the refrigerator for up to 3 days. Reheat in the air fryer at 375°F for 3-4 minutes to restore crispiness. Microwaving will make them soggy.
- → Can I make these gluten-free?
-
Yes. Use gluten-free all-purpose flour, gluten-free breadcrumbs, and ensure your tortellini is certified gluten-free. The coating process and cooking time remain the same.